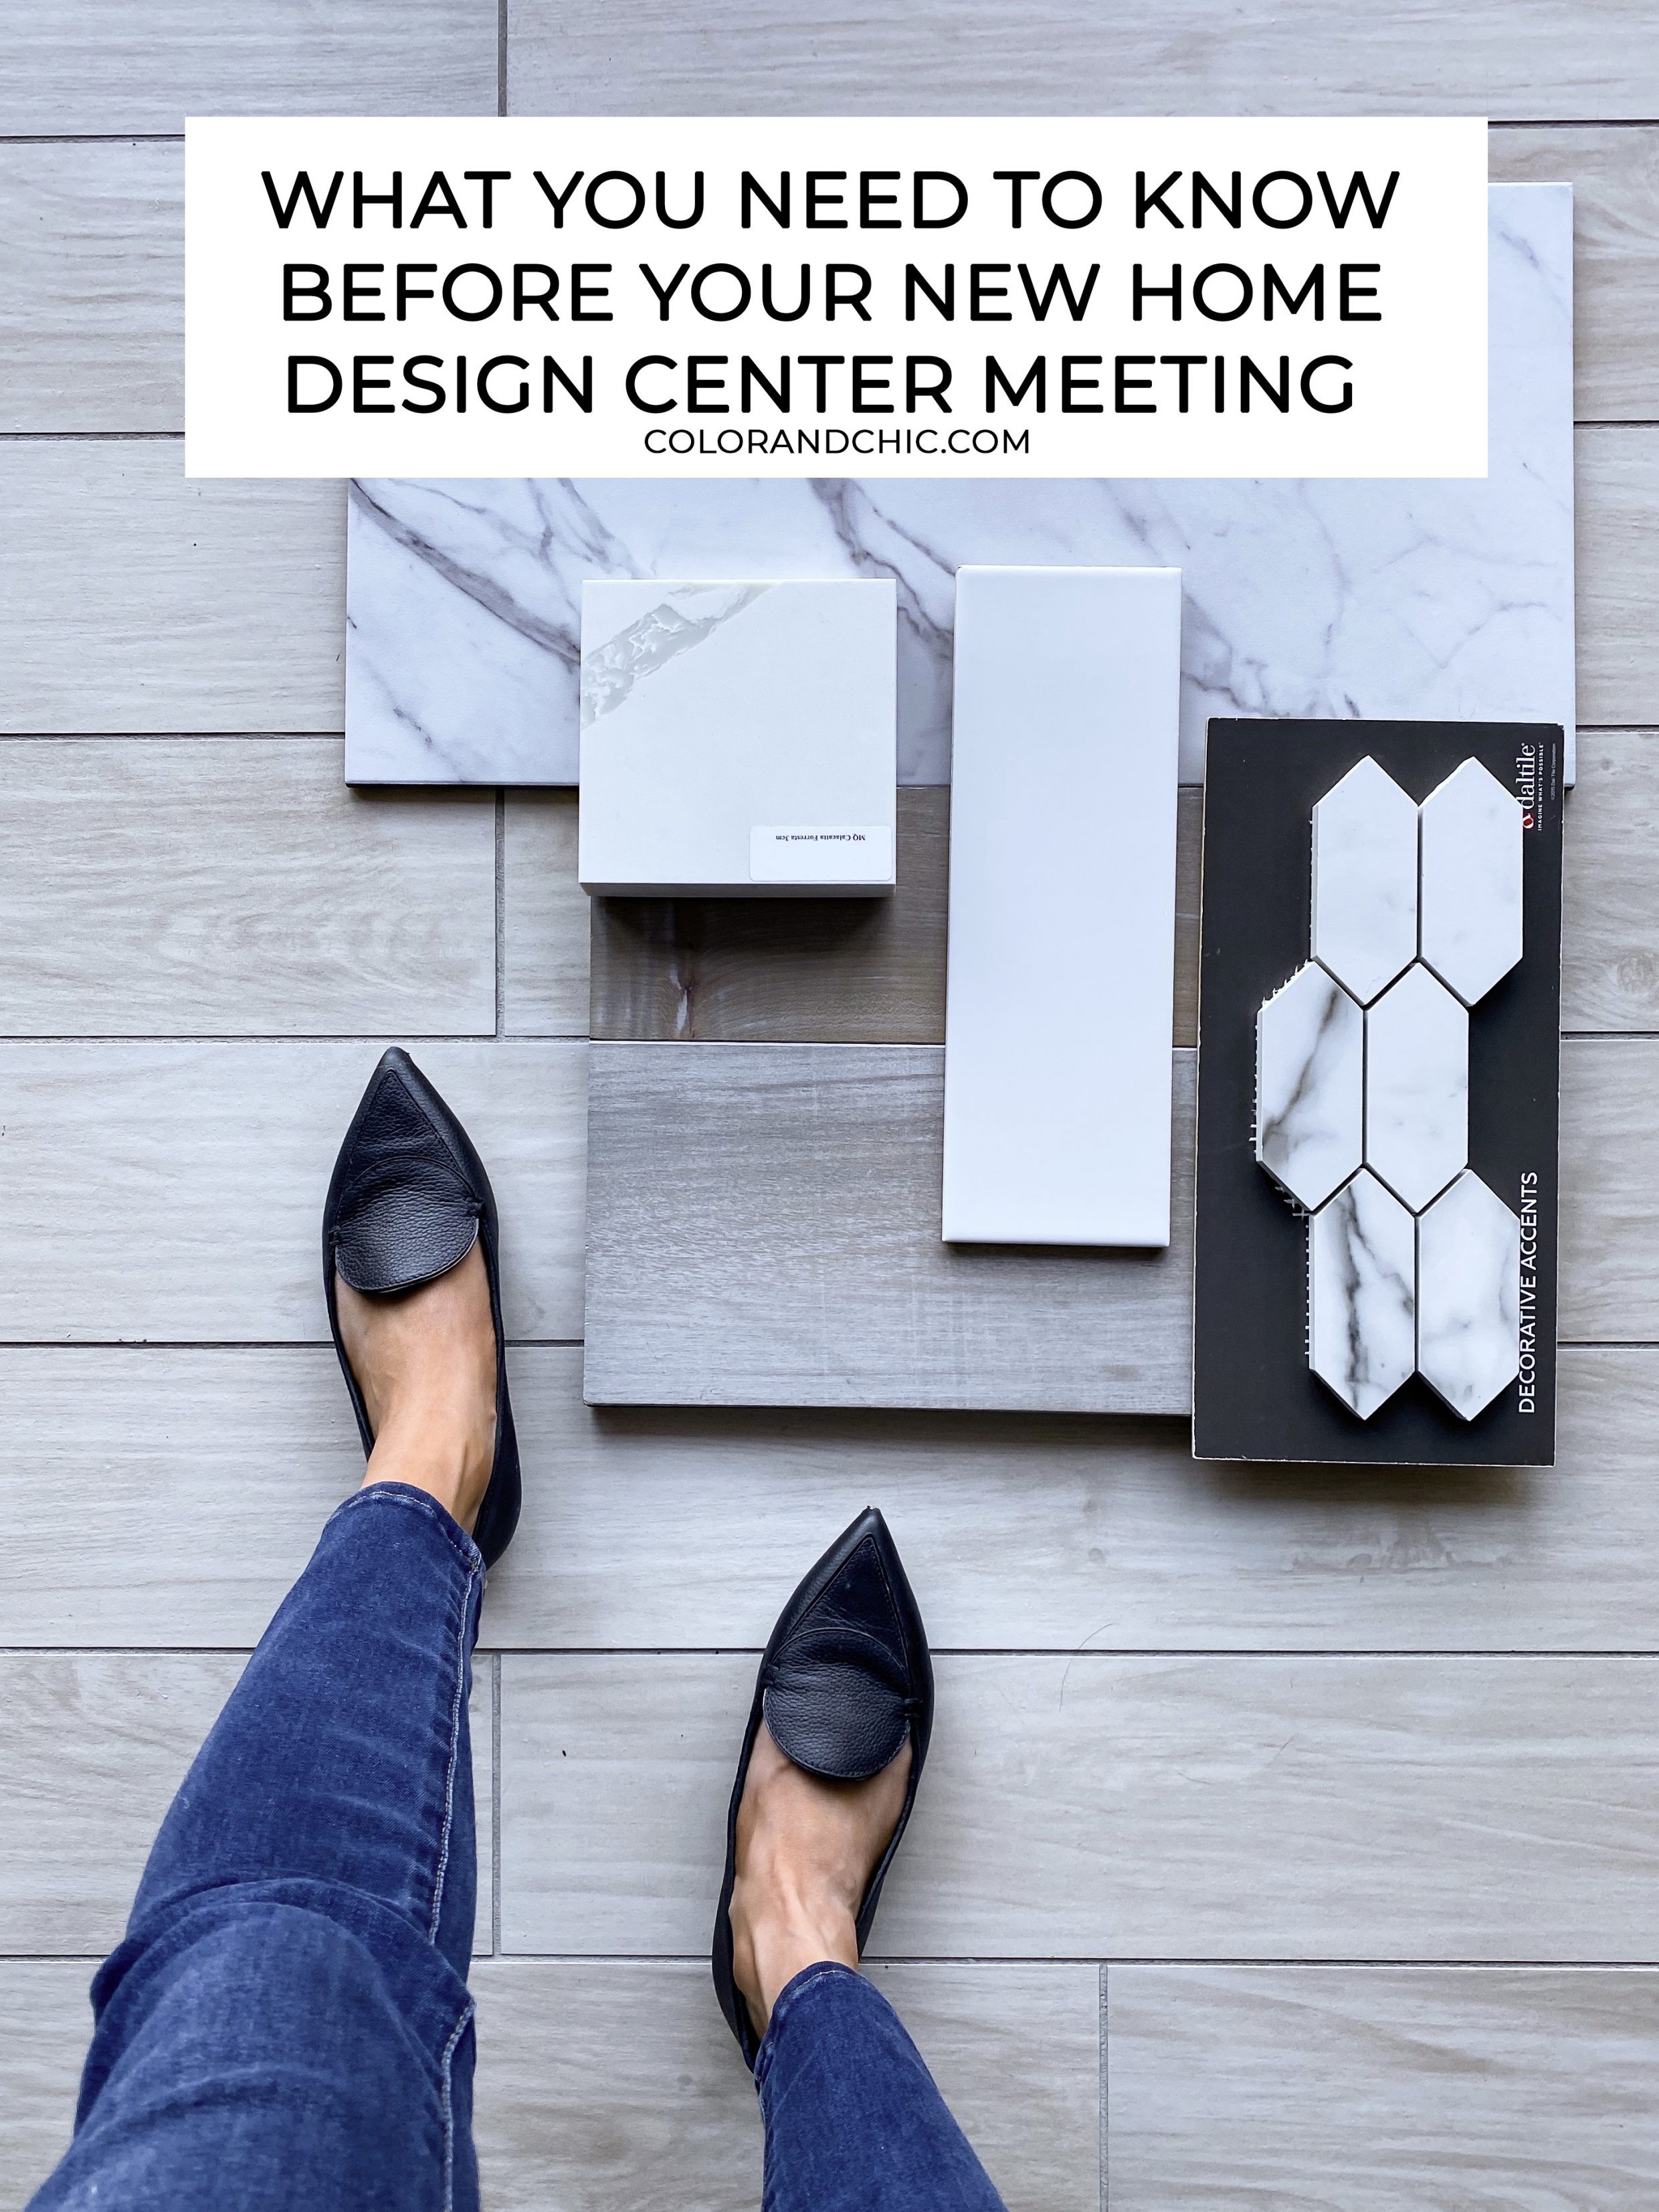
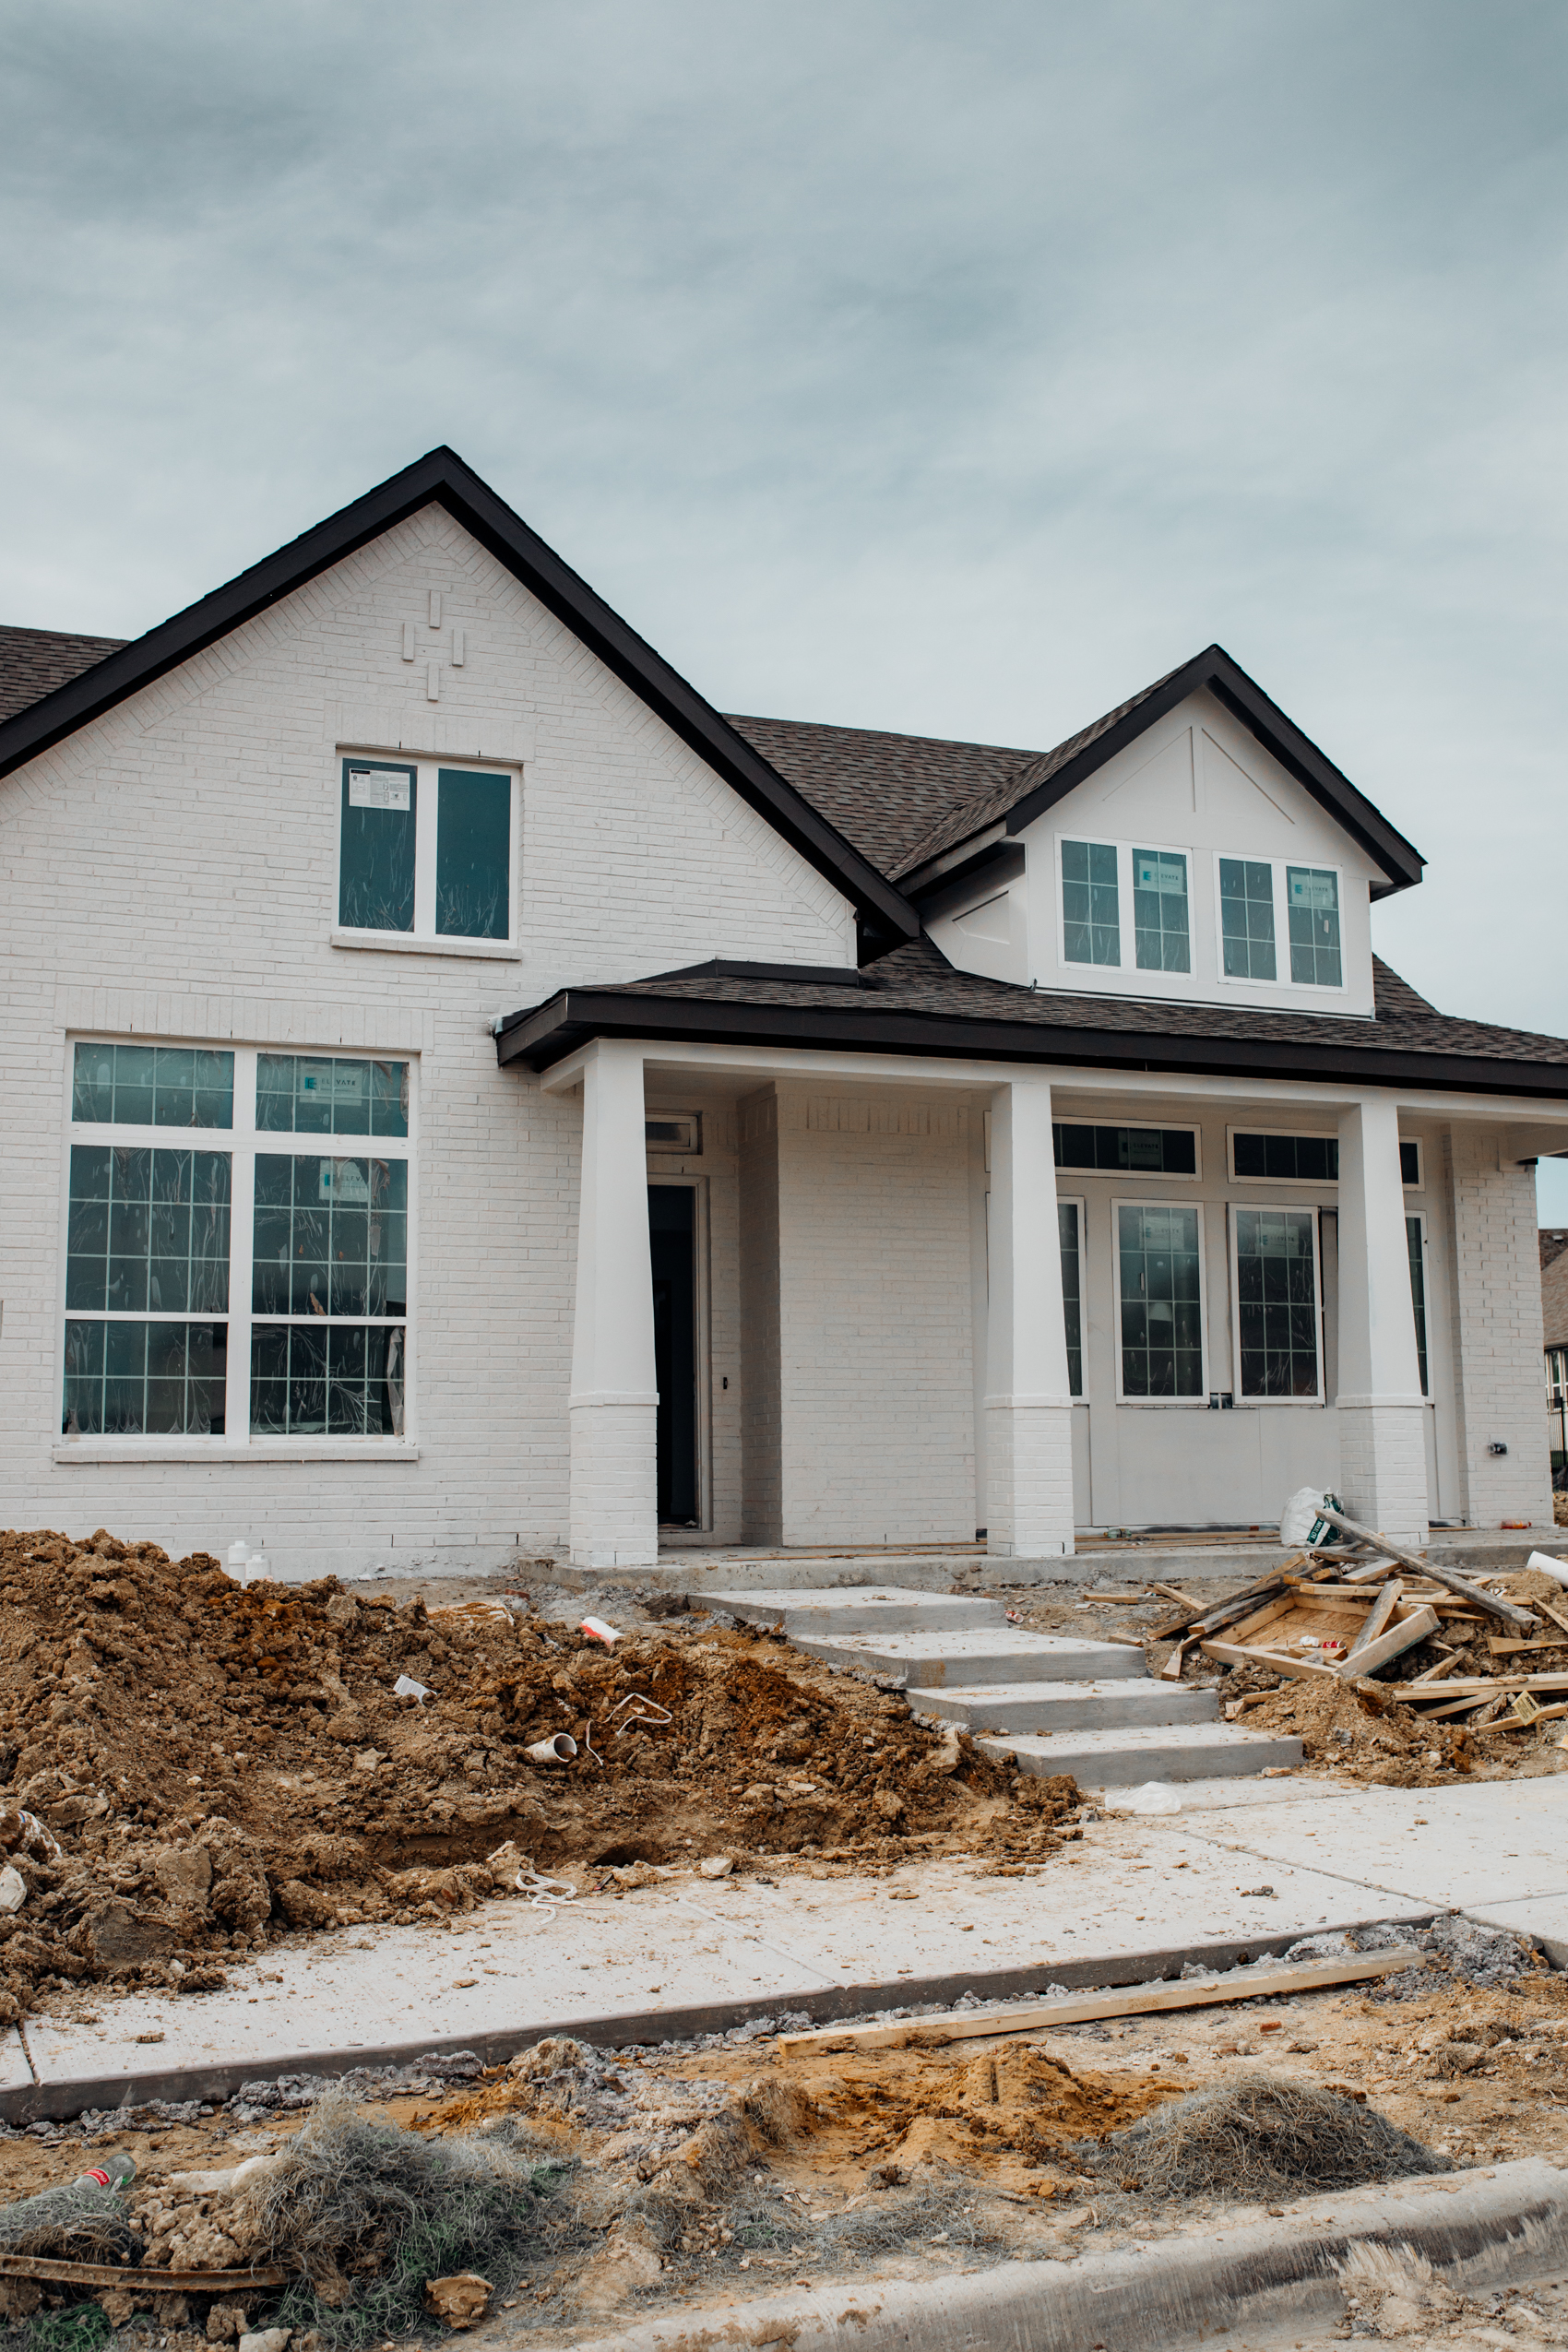
Earlier, I took a deep dive into our process of finding our new home builder, the steps of going under contract and what it’s actually like to build your first home. Now, I’m excited to continue and share what you need to know before your new home design center meeting. This will also include builder upgrades that are worth it and those that aren’t. Of course, personal preference and the number of projects you’re willing to take on afterward are factors in this decision. I highly recommend going into this meeting prepared because chances are you will get thrown a curveball at some point!
Per our new home build contract, we had less than a month to finalize our design center decisions. If we failed to do so, the builder would choose for us. Needless to say, that was not going to happen, ha! Our builder sets up two four-hour meetings, usually about a week apart. Sometimes, builders will offer incentives for the design center, such as $15,000 credit or maybe 50 percent off if you spend a certain amount. Make sure you read the fine print and understand exactly what you’re getting! Let’s dive into what you need to know before your new home design center meeting so you are prepared. At the end of this post, I’ll include the finishes and upgrades we chose!

VISIT THE DESIGN CENTER BEFORE YOU SIGN
Being financially responsible is very important to us and we wanted to know as close as possible how much upgrades would cost us. I do want to point out, you do not have to upgrade anything! You can choose options that come standard with your home and not spend an extra penny. However, most people choose to upgrade at least some things. Before Johnny and I even signed the contract to start our new home build, we took a trip to our new home design center to take a look at how much our upgrades would cost. I cannot recommend doing this enough. Many people will buy a house with the base price in mind and then get in way over their heads after visiting the design center. For example, the base value of your house is $400,000. After a trip to the design center, all of your dream finishes cost $70,000. Your house now costs $470,000. To avoid this, visit the design center before you go under contract so you have a better idea of the final costs.
ASK QUESTIONS & JOT EVERYTHING DOWN
Don’t be afraid to tell your sales manager you’d like to schedule a meeting with the design center. It’s in their interest to make sure you’re as educated as possible because you’ll be more likely to sign a contract. From there, you’ll usually get paired with a designer at the new home design center who will walk you through the options. They’ll be quick and brief so as not to take up too much time (the usual design center meetings take hours), but don’t be afraid to ask questions, ask for price estimates and jot them down. I wrote everything down in my phone. Once we left that meeting, Johnny and I had a rough estimate of how much our upgrades would cost.
KNOW WHAT COMES STANDARD
Don’t be a snob. Repeat after me: I am not too good for what comes standard. Ask your designer what comes standard in your new home. This will vary by the builder so what’s standard for one builder might be an upgrade for another. You might be surprised to learn some or most of the standard options will work great in your home! If not, you’ll either know what to upgrade or potentially make a project out of once you move in.
Here are a few things we kept standard in our new build home:
[one_half]
- Front Door (changing this once we move in)
- Mirrors in bathrooms (changing once we move in)
- All lighting except bathrooms (more on that later)
- Carpet in the bedrooms[/one_half]
[one_half_last]
- Fireplace
- Utility room
- Shower Frame
- Most appliances[/one_half_last]
MAKE A BUDGET
Figure out what you can afford to spend on top of the base price of your house. It’s usually recommended to budget 10 percent of the base price of your home for upgrades. For example, if your house’s base price is $400,000 plan, you should budget $40,000 for upgrades. That said, you do not have to upgrade anything in your home if you don’t want to. Once you figure out your budget, tell your design center representative right away. It’s their job to help you stay on budget while making your home beautiful. Johnny and I did go over budget a little bit, but we wanted to hit our builder’s incentives.
WHAT’S WORTH DOING NOW VERSUS LATER
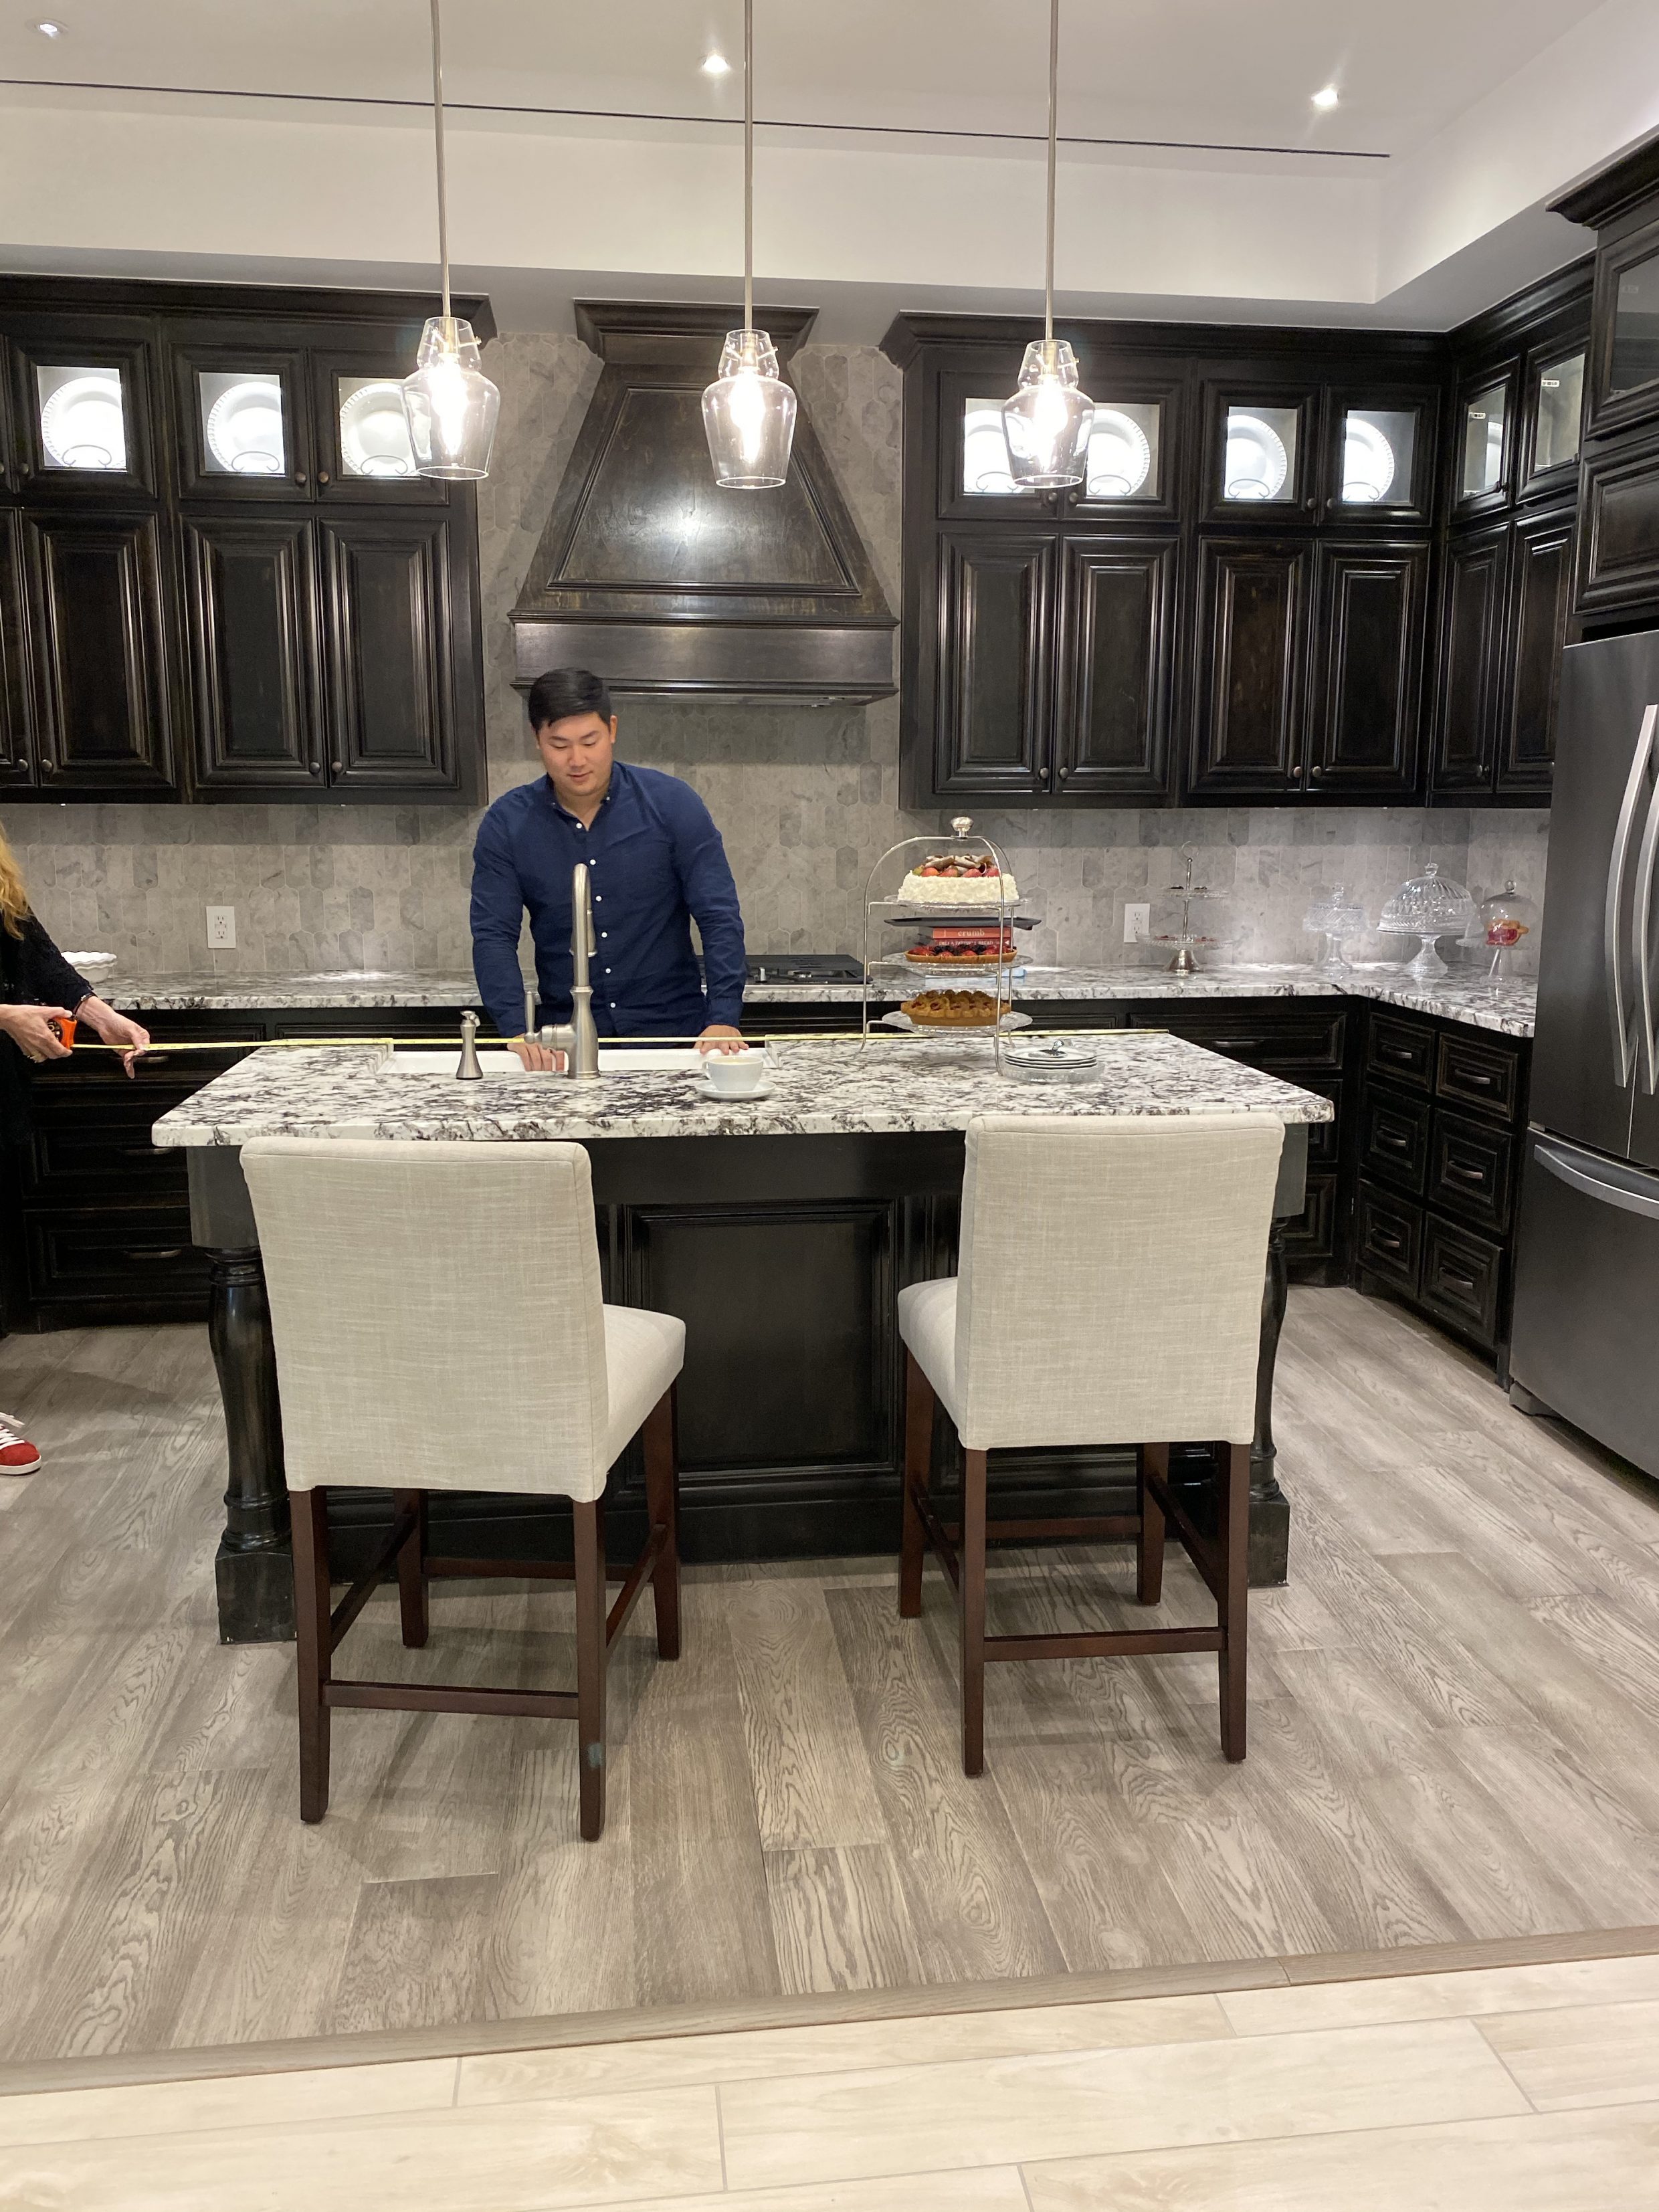
Anything electrical or structural you may want is worth upgrading through your builder. We added eyeball lights in our living room, plumbing for a sink in our laundry room and a custom appliance garage to hide our various small appliances. We also needed to upgrade our cooktop and vent hood to get a certain look in our kitchen we wanted. This would have cost an arm and a leg to do in the future. Don’t forget the exterior of your home, too. We added plugs in the front patio and backyard.
What’s worth upgrading is up to personal preference and also where you live. However, I will recommend spending the majority of your upgrades on the kitchen and master bathroom. If you plan to sell your home, these are the two areas where prospective homebuyers will see the most value. Our designer, Toni from House Sprucing, said demolition is expensive and to take that into consideration if we wanted to do something after closing on the house. A good rule of thumb is if it requires a massive tear out, take a long time to renovate and a big mess to clean, just upgrade now. However, don’t be afraid to get quotes from the design center and compare it quotes from local contractors.
PRICE WHAT YOU WANT, THEN CUT DOWN
Johnny and I asked our design center representative to price almost everything we wanted (that was within reason, we didn’t ask for floors we knew we couldn’t afford) for the entire house. Most of the time, this process could take a day or so because every house requires different amounts of material and they want to be exact. One we had our list (it was about 70 items long) and the price (we almost fainted looking at it) we sat down with a cup of coffee and started cutting things down. I’ll be honest: this is extremely stressful and exhausting. It’s very easy for things to add up and the next thing you know you have $100,000 worth of upgrades. But this is why you made a budget.
WHAT’S NOT WORTH UPGRADING
- LIGHT FIXTURES
- Almost never worth upgrading. The builder’s options usually aren’t all that great and you’ll most likely have to compromise while paying a lot of money. We only upgraded the bathroom lighting because going up one level was very affordable and the options were great! However, every other light in our house will be “builder basic” and we are swapping them out once we move in. It’s more cost-effective to find lights you truly love elsewhere and hire an electrician to install.
- CABINET HARDWARE
- Same reason as above. There are tons of options for quality cabinet hardware. I love solid brass cabinet hardware because it’s durable, long-lasting and looks stunning. Think of hardware as the jewelry of your kitchen. Johnny and I are most likely getting these. Nowadays most builders don’t install any hardware, so you’ll need to drill your own holes. I recommend getting this installation template to make your life easier.
- PLUMBING FIXTURES
- Yes, it’s nice to not have work to do once you move in, but for a fraction of the price, you can swap out faucets, showerheads and such for something much nicer and better quality! There are a few exceptions and our master bathroom fell into this. The first is any plumbing that’s wall-mounted should be upgraded through the builder because these are a pain to change out. We had to upgrade our master bathroom because of our freestanding tub, which happens to come standard! To swap the fixture for this, Johnny would need to unseal the entire tub, lift the top layer off, change them and then put the lid of the tub back on. I’m pretty sure this voids the warranty, too. Since the entire bathroom has to have the same finishes, if we wanted nice finishes on the tub we needed them for our faucets and showerheads. We did not upgrade the secondary bathroom.
MAKE AN INSPIRATION BOARD
The easiest way to do this is on Pinterest. I highly recommend you make an account if you don’t already have one. If you’re not already following me, you can do so here. This is the easiest way to discover and save anything you like in one spot. Johnny and I created a board of homes, scenes and decor we love. Then, we looked at the board as a whole and realized our style is modern, minimalist and has small hints of glam. Toni, the designer we’re working with, instantly could tell what style we were after peeking at our board. Whether you work with your own designer or will be relying on the design center rep, it’s great to have this board to share with them so they can see your style. This will also make choosing finishes a lot easier and quicker.
4×12 Subway Tile | Gold Faucet | Pendant Lights
Black Hardware | Barstools

PLAN AHEAD
FUTURE PROJECTS
If there is something you’re dreaming of and your builder doesn’t offer it, plan for it. Johnny and I want some type of cement or concrete look finish surrounding our fireplace, but our builder can’t do that. Instead of getting tile installed, we asked for plain sheetrock with no texture. Not only will this give us the modern, minimal look we want, but give us a blank slate for the future when we want to hire a contractor. We stuck with standard carpet in all the rooms because there’s a chance we would swap everything out to be hardwood in the future. We didn’t want to “waste” money by paying for something we’d remove later.
Another item to note is anything you may need electrical or plumbing for. If you want an appliance garage make sure there is an outlet for you to plug those appliances into. Maybe you have a lot of hot styling tools, maybe install a plug into your bathroom drawers or cabinets.
FURNITURE
If you are bringing any existing furniture or have something in mind, try and bring swatches or photos of it so the design rep can see! This is especially helpful if you want to paint the island a bold color or go for a statement backsplash. You don’t want things to clash! If you’re going for neutrals be sure to pay attention to whether or not it leans more warm-toned or cool-toned. Putting a cool-toned sofa into a room with warm whites can make your sofa look blue or gray when it’s not!
CARE & MAINTENANCE
Something to think of is what living with the finishes you choose will be like. As gorgeous as marble is, it’s a pain to keep clean. Opt for quartz or something with a similar look that’s lower maintenance. We sprung for herringbone subway tile in the master shower but are good with a squeegee and cleaning every time we shower.
THE FINISHES WE CHOSE AT OUR NEW HOME DESIGN CENTER MEETING
Eeeeek! I’m so excited to share what we chose at our new home design center meeting! I will note, for aesthetic purposes, I included some things we did not get (for example, we will have a gold faucet in our kitchen, but we didn’t upgrade through the design center) simply for aesthetic purposes. Overall, it took Johnny and me about three weeks to land where we were comfortable with the amount we wanted to spend and the aesthetic of the house. This part will be stressful and it’s important to remember that. It’s also important to remember to stick to your budget. There are so many shiny things at the design center, but that doesn’t mean you need them!
EXTERIOR FINISHES
- Painted Brick: Sherwin Williams Toque White
- Painted Trim: Sherwin Williams Tricorn Black
- Windows: Elevate Windows
INTERIOR FINISHES
- Walls: Sherwin Williams Extra White
- Trim: Sherwin Williams Pure White
- Hardwood Floors: We got engineered hardwood floors and it took us a while to decide between two different options. One was more expensive and ultimately being fiscally response won. We chose these maple floors by Shaw and love how they are made in the USA.
- Doors: Shaker Style One-Panel
- Door Hardware: Kwikset Halifax in Iron Black

MODERN KITCHEN FINISHES
Surprise! We wanted a white kitchen! Haha, just kidding I know this isn’t a surprise. We will, however, have an accent color on the front of our island, but we are doing that ourselves, so we’ll see what we end up going with there! To be honest, we spent a lot of money on our kitchen but we know kitchen renovations and projects take a lot of work and time so we would rather spend that money now, especially on a new build. It just doesn’t make sense to build a house and then renovate the kitchen.
- White Shaker Cabinets: This was an upgrade with our builder, which was a little shocking. In a few other builders, shaker cabinets are a standard option but this was a non-negotiable for us. We also added soft-close to all the cabinetry.
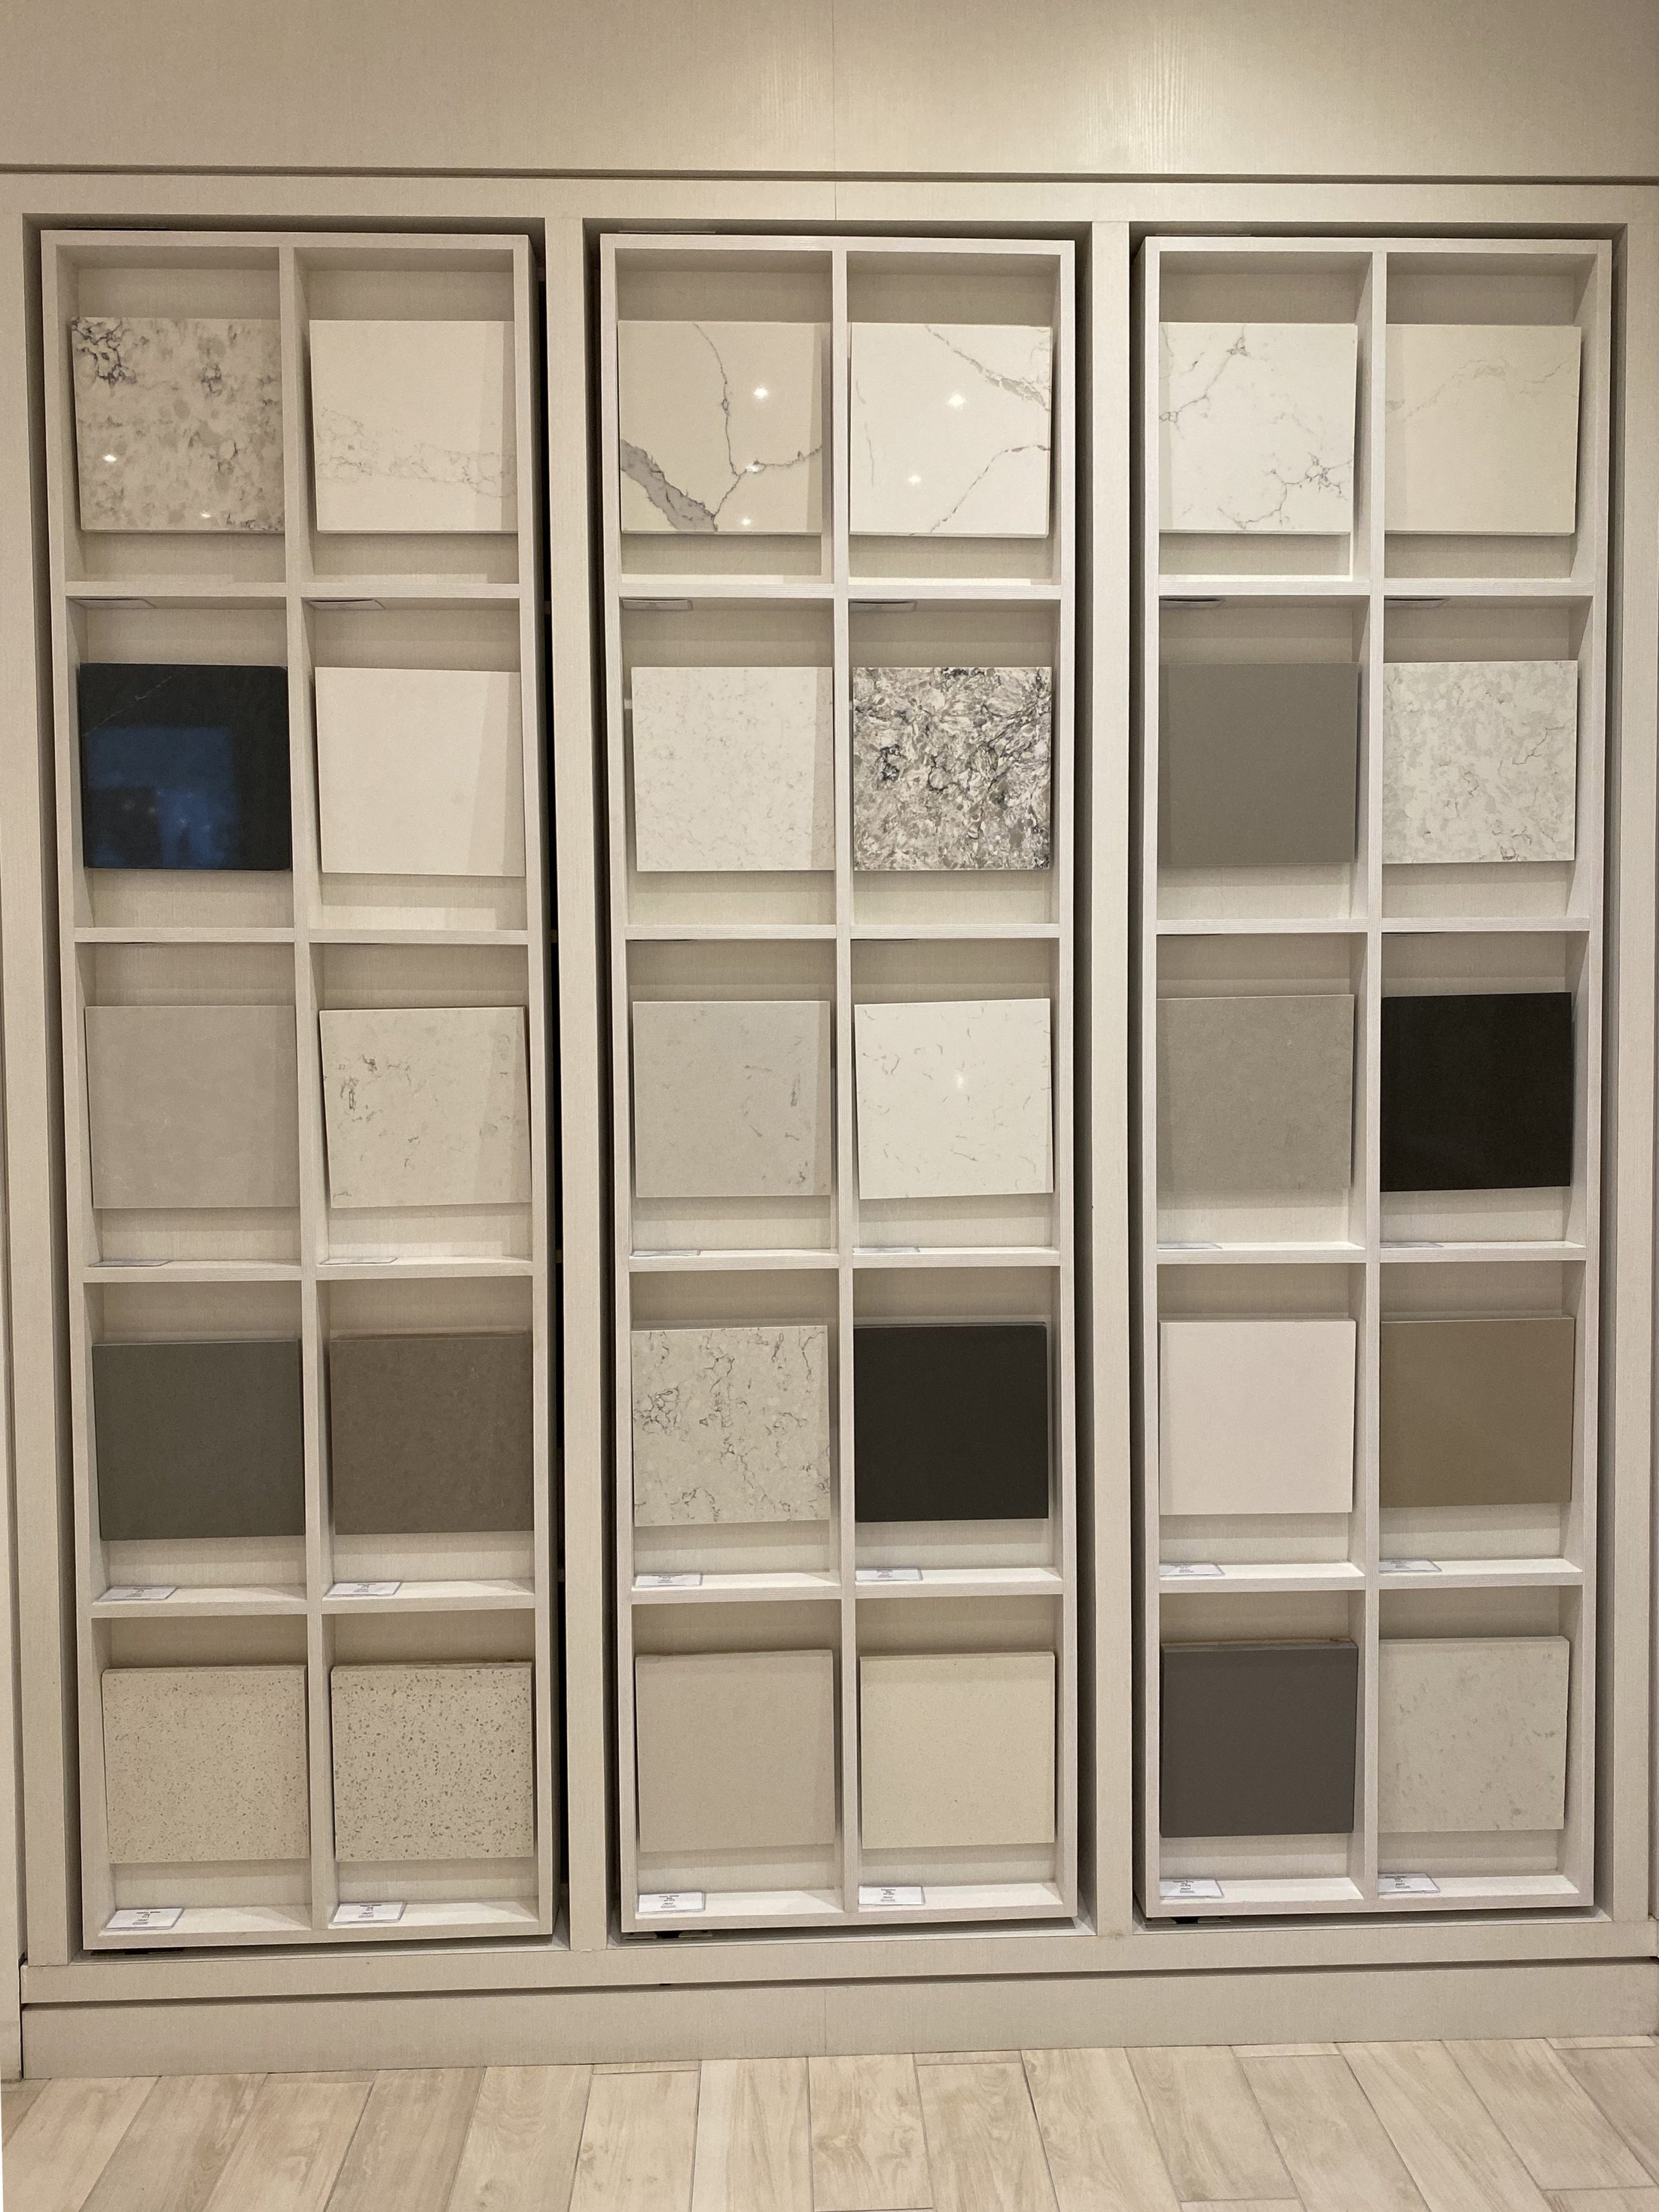
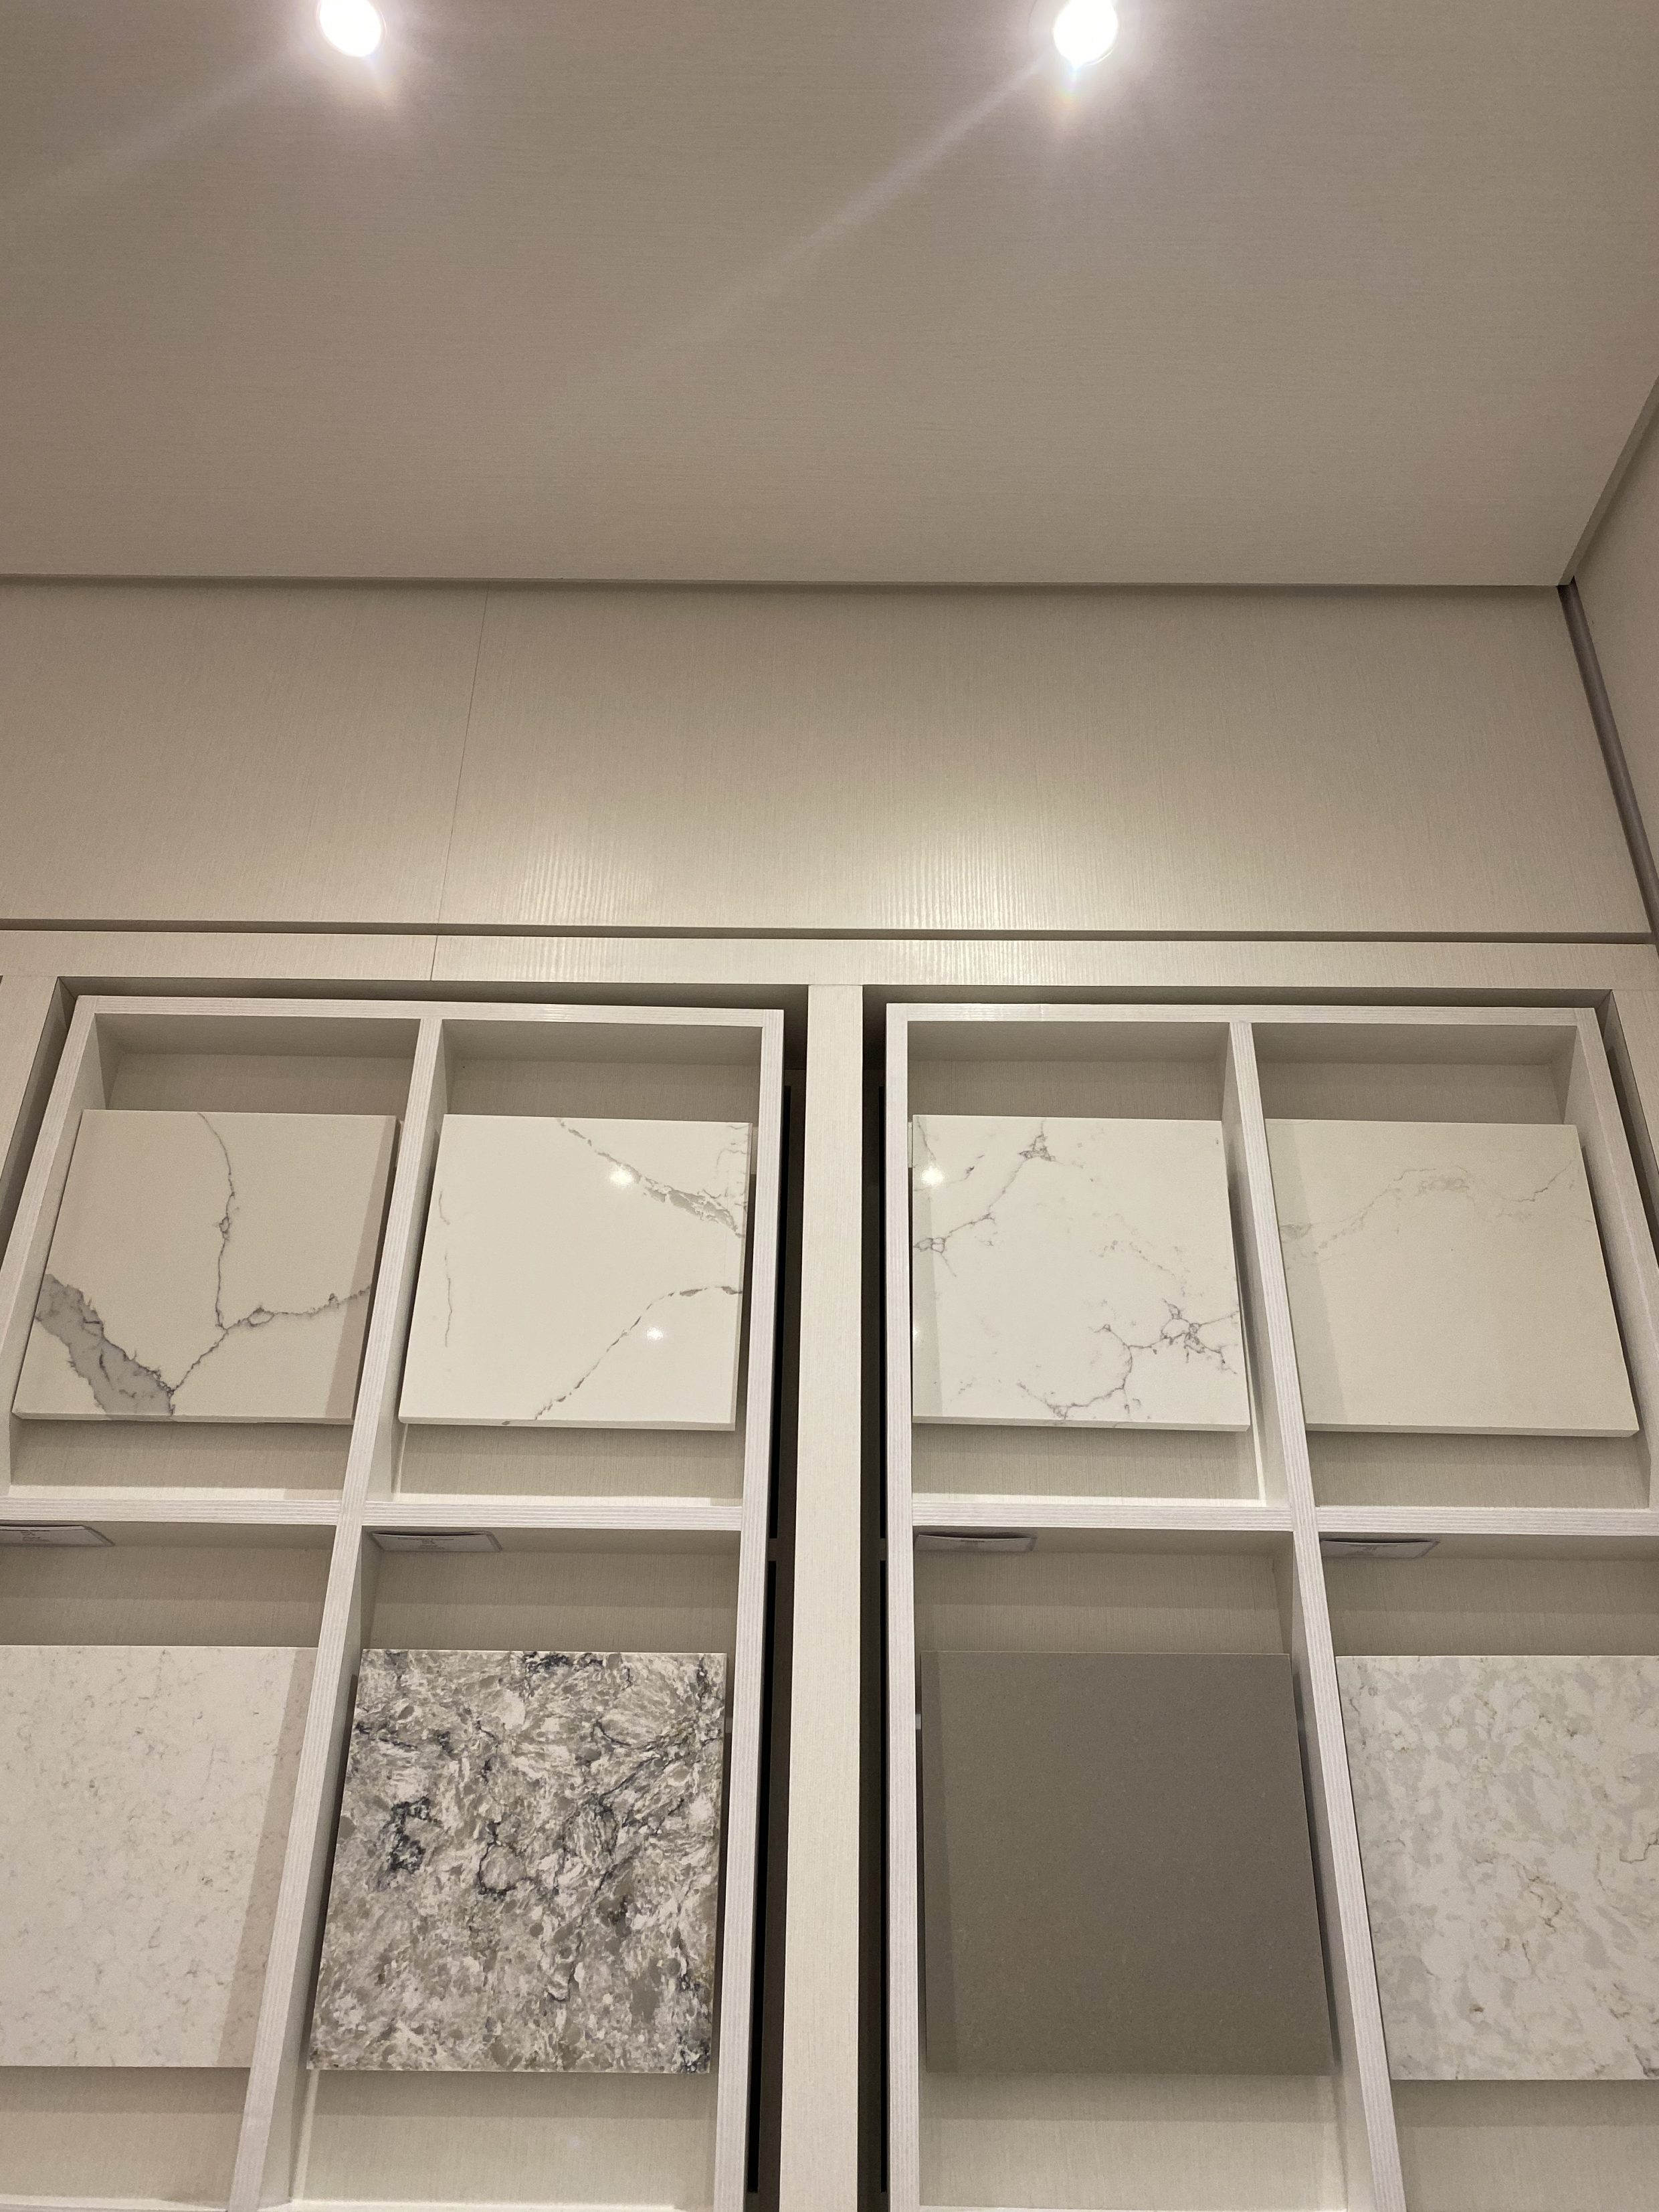
- Waterfall Quartz Island: We are so so excited about this! Completely Johnny’s idea, we really wanted our kitchen to make a statement and having an island where the stone falls down the edge really does that. We chose high-level quartz with gorgeous movement for the island and plain white quartz to save money on the back counters. Our builder is soucing all stone from Allied Stone.
- 4×12 Subway Tile: I love the look of a longer subway tile. It feels a more modern than farmhouse, yet has that classic feel. We felt it in our wallets for this one, but knew it would be worth it for a clean look. We used white grout.
- Apron-Front Sink: I’ve always wanted one and I can’t believe it’s happening! It’s huge and I can’t wait to easily be able to wash our large pots, pans and woks without it awkwardly hitting the side of the sink or just not fitting!
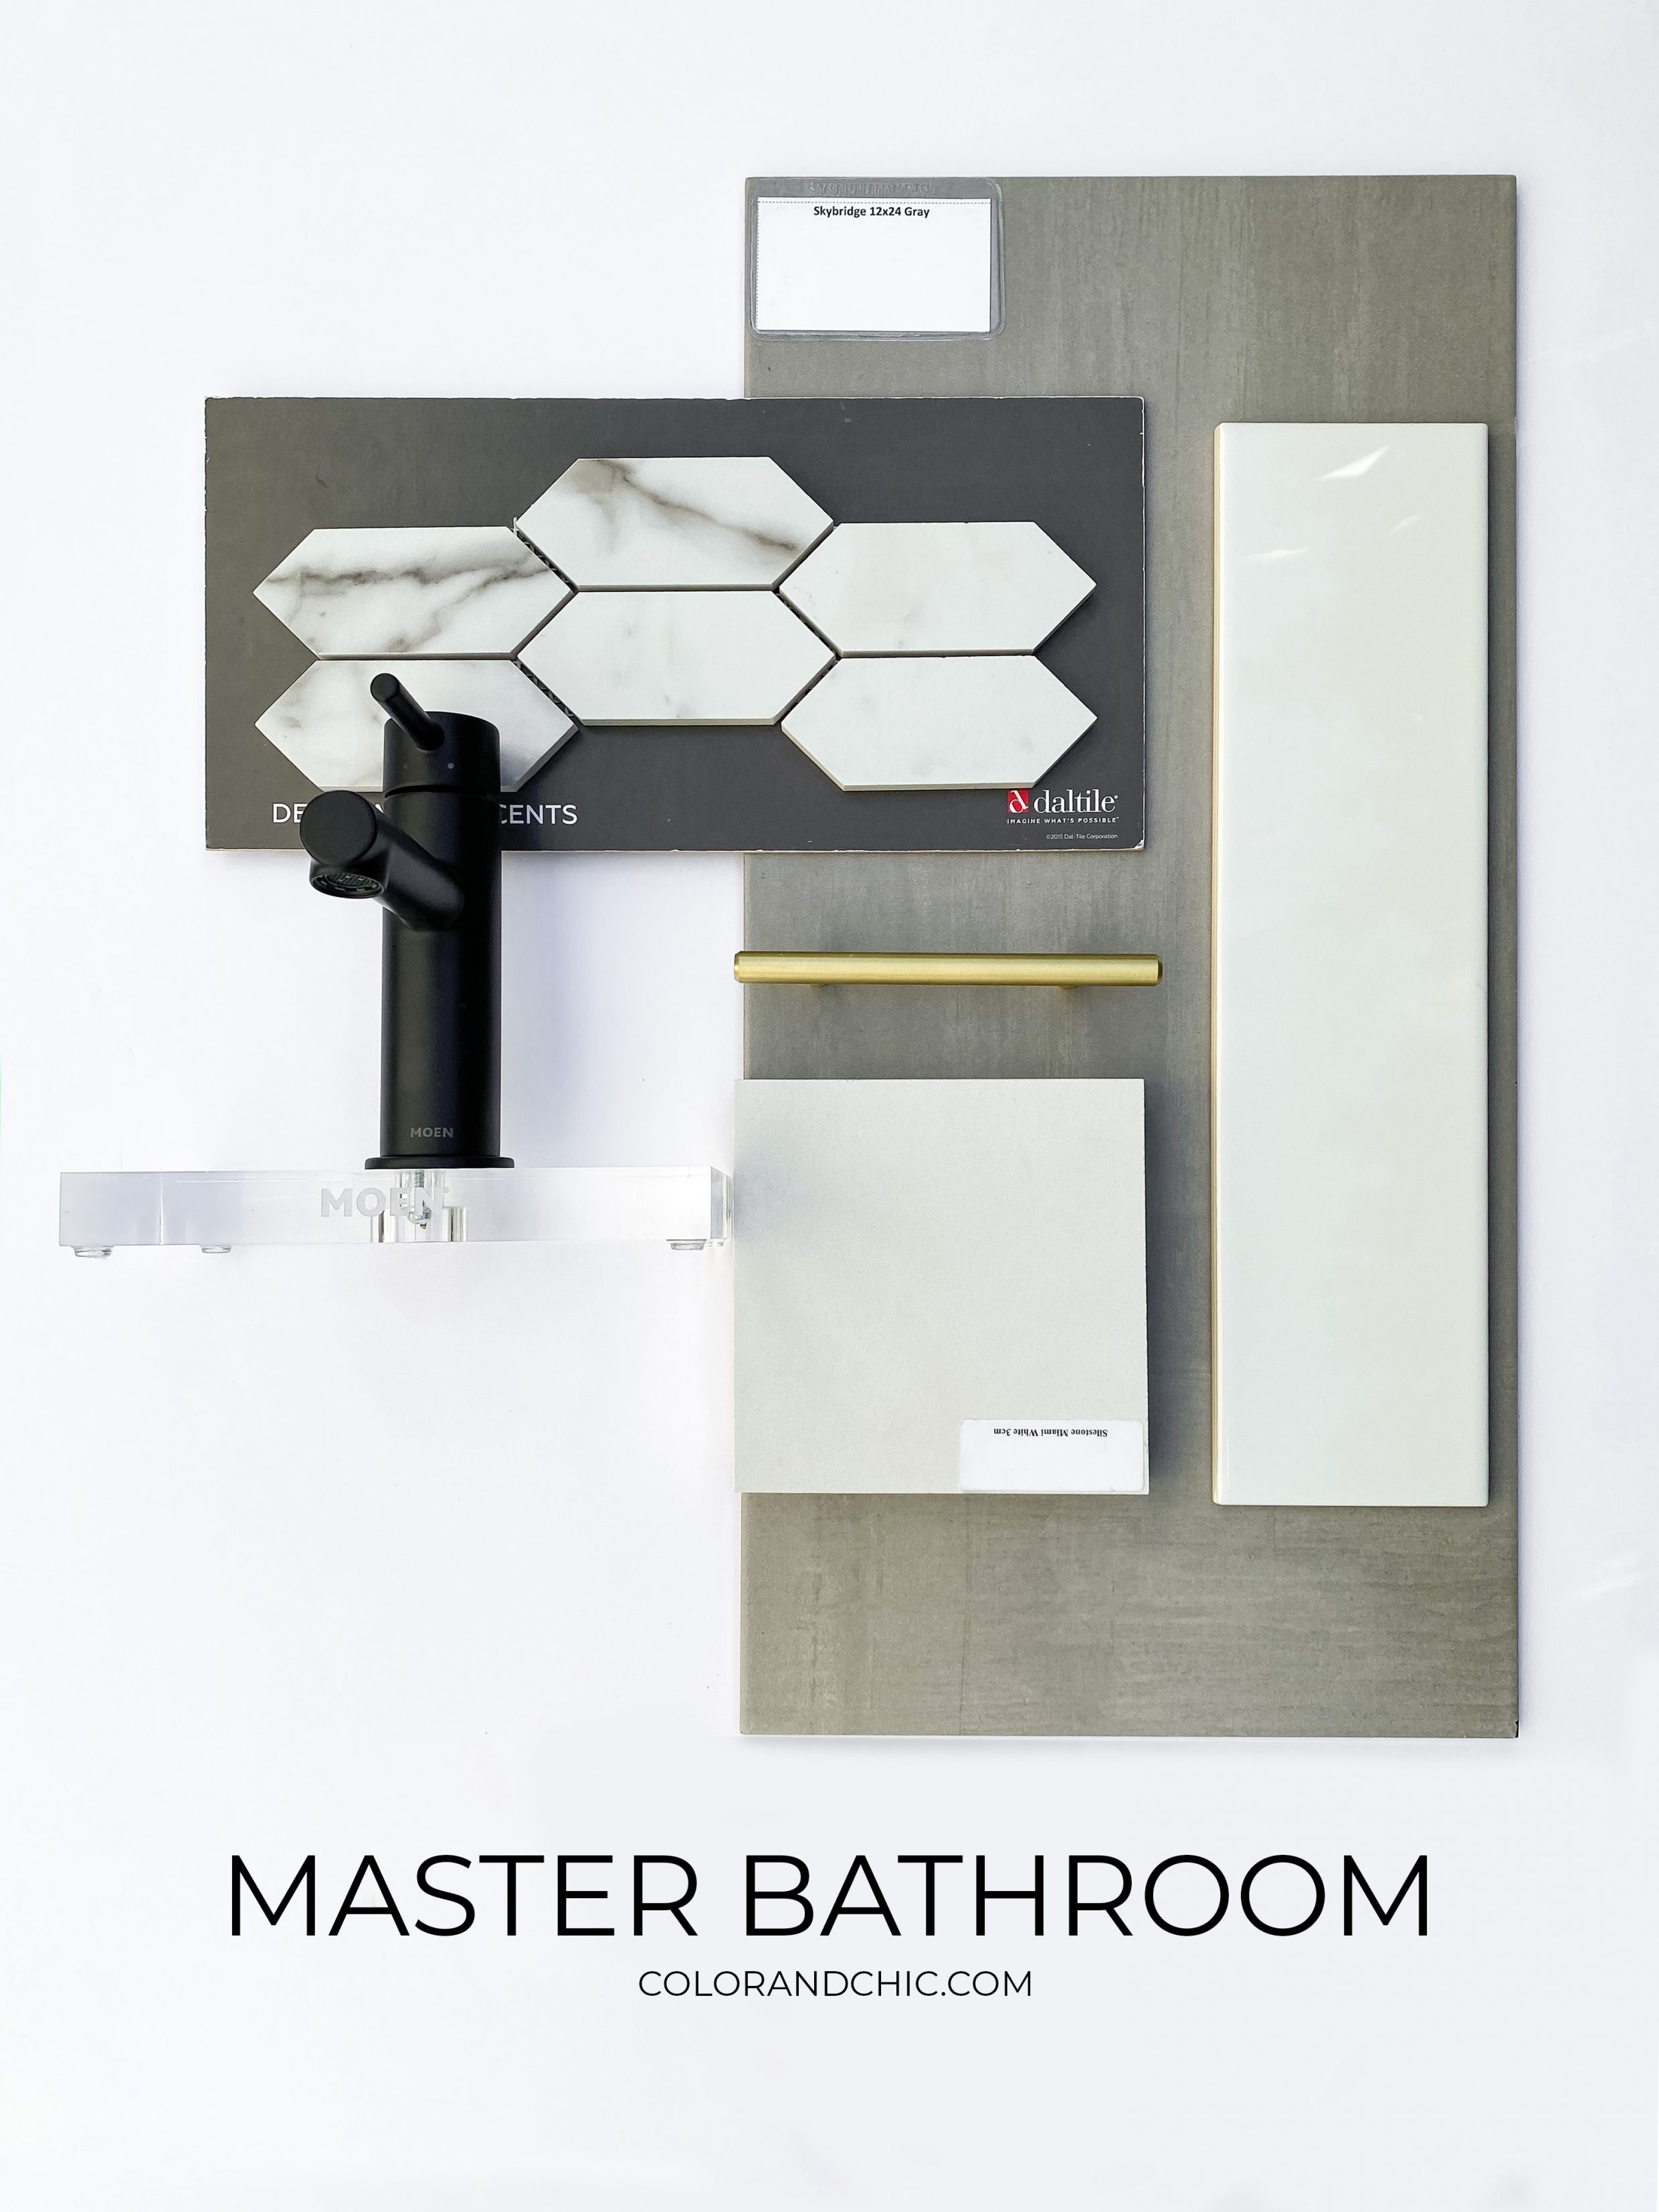
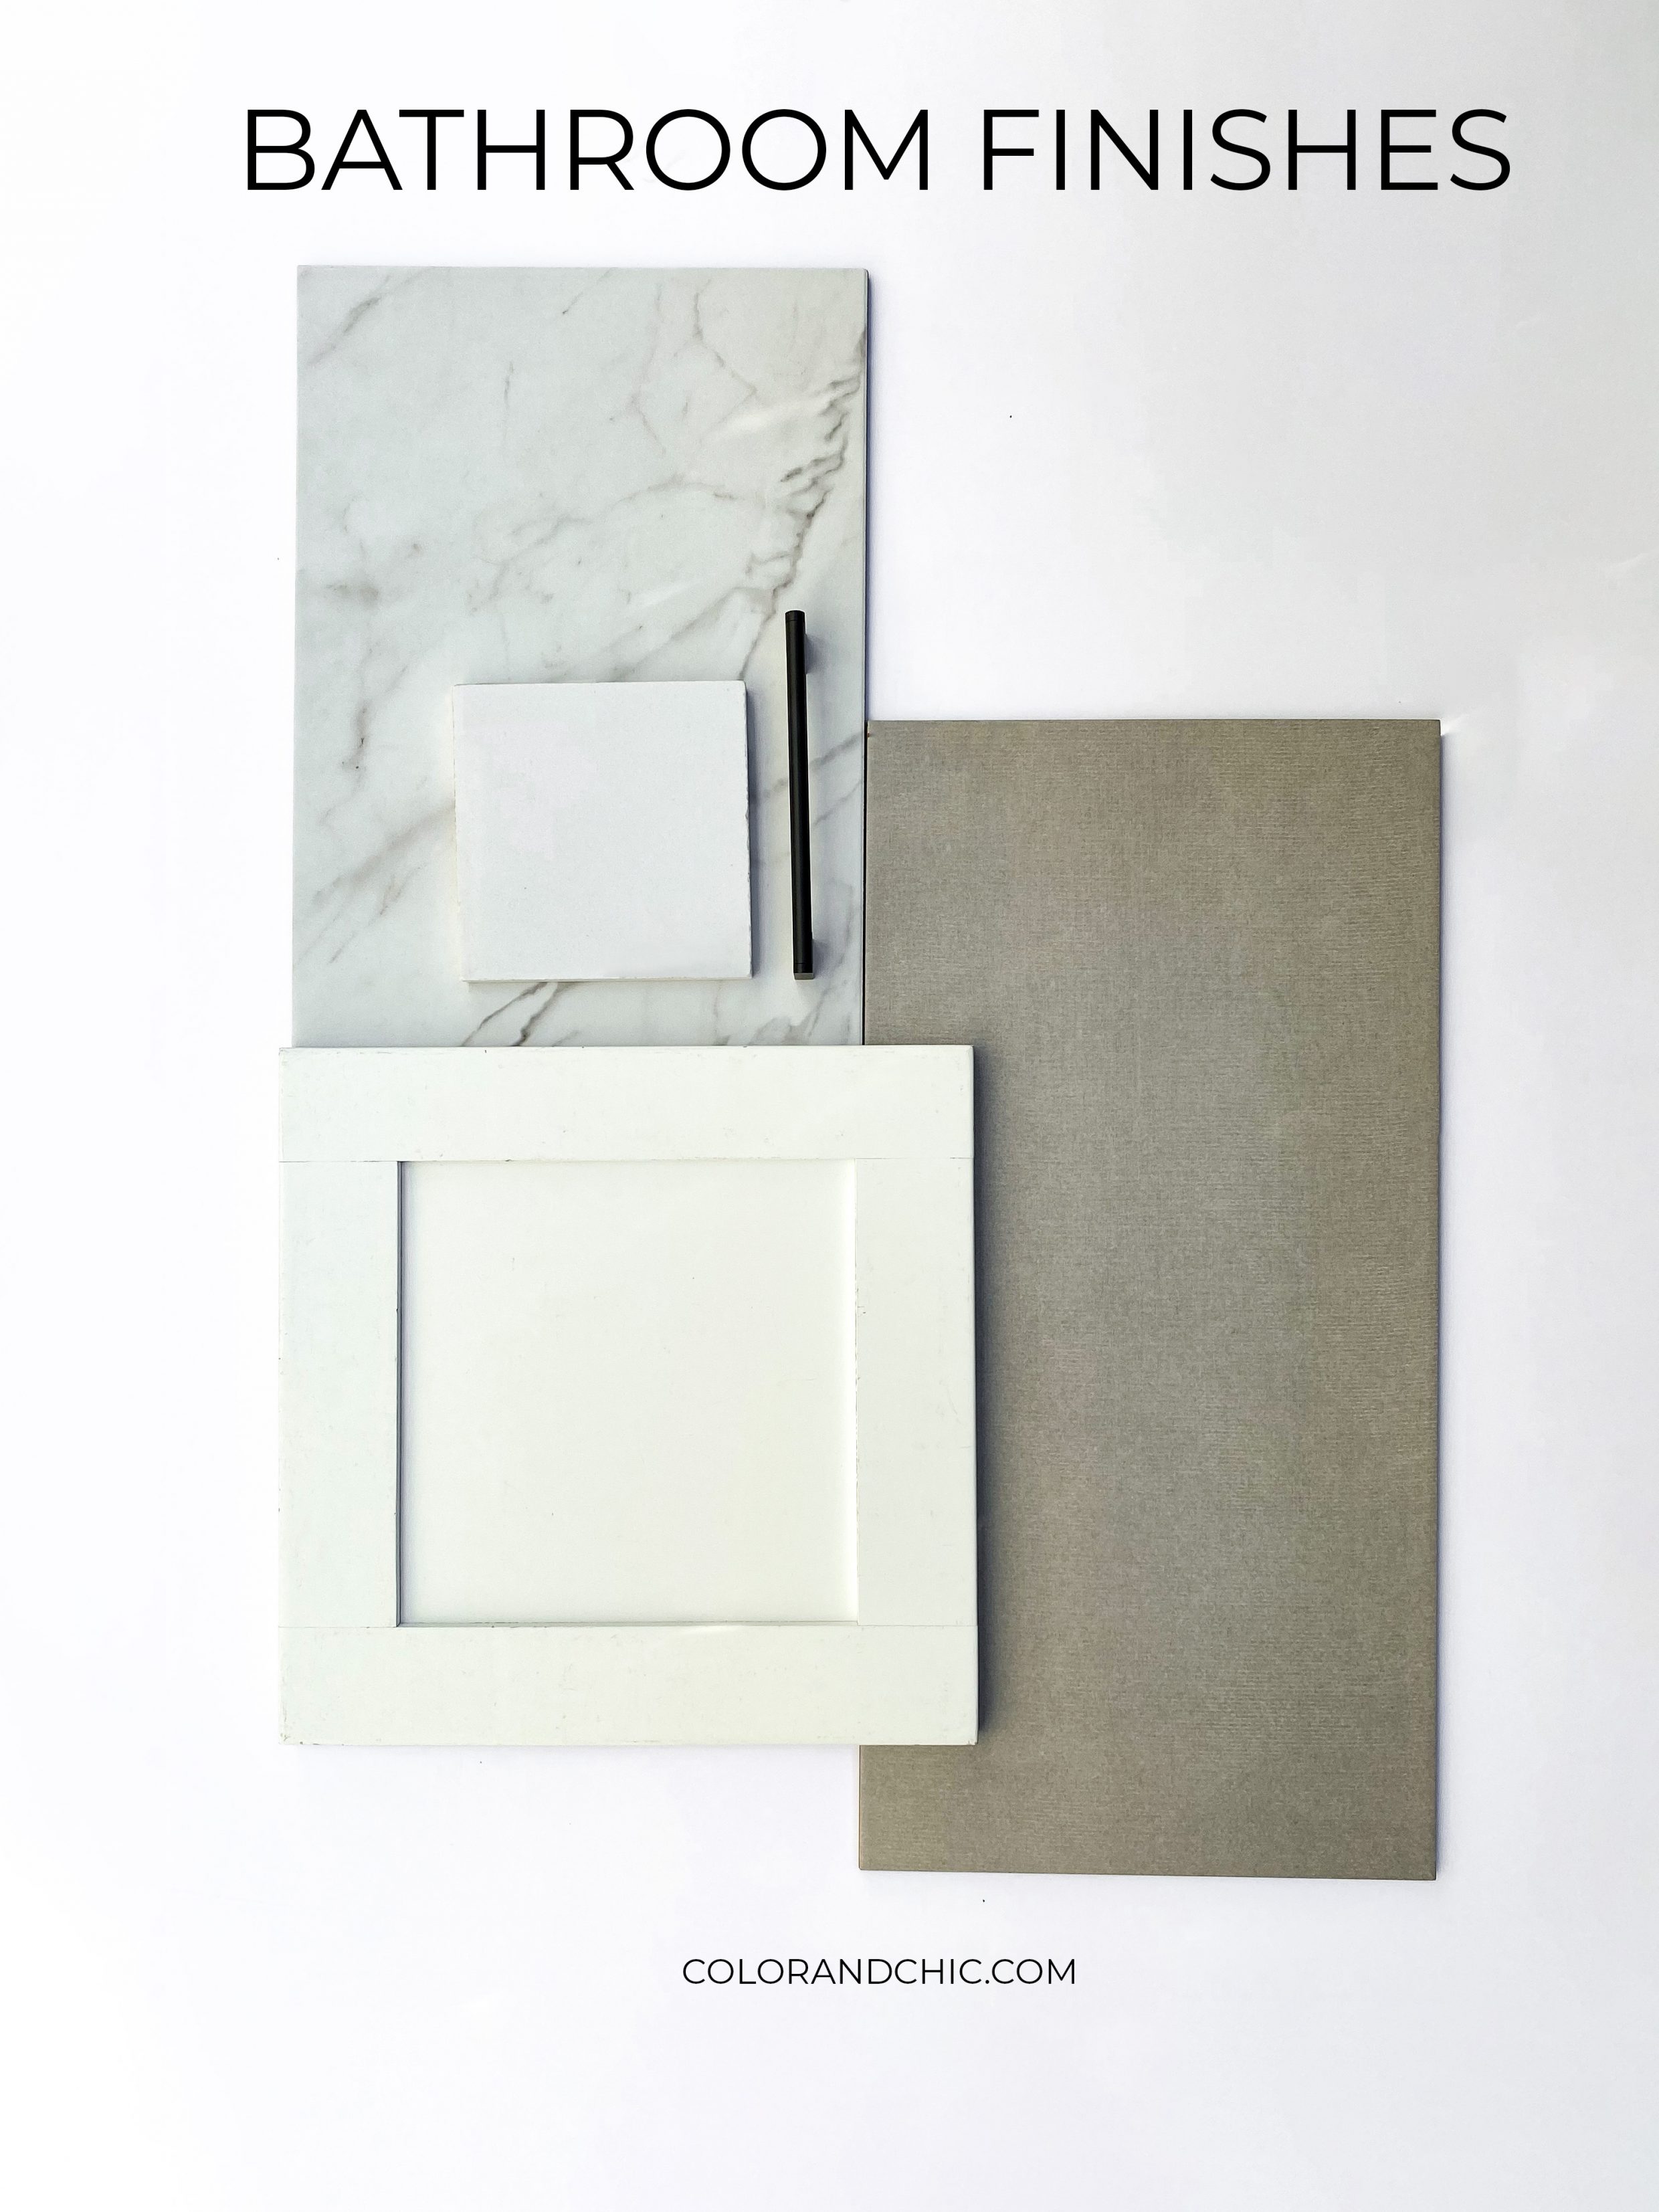
BATHROOM FINISHES
- 12×23 TILE: We got an upgraded tile for the floor of both bathrooms. In the secondary bathroom, we put a fun marble-look tile on the floor and a cement/concrete look on the walls of the shower. We have the gray cement tile on our master bathroom floor.
- Herringbone Subway Tile: We originally were going to get this in a brick pattern, but last-minute sprung for herringbone because it makes more of a statement! It’s more expensive because there are so many cuts and the labor to lay down herringbone is so much more intensive, but I’m so thrilled to see the finished look! We finished with #165 Delorean Gray Grout
- Calacatta Marble Hexagon Tile: This will be our mud basin, aka the bottom of our shower! It’s a busier pattern, so we wanted it to be in a small space so it wouldn’t overwhelm our bathroom. We used white grout in between.
- Moen Align Fixtures: We were forced to get these for our master but I’m pretty excited! It’s a sleek and minimal look in a modern black and that’s what we wanted to go for in our bathroom!
Nordstrom Anniversary Sale 2021 Preview Picks
TOPS & SWEATERS

BOTTOMS
BLAZERS & COATS
ACTIVE
ACCESSORIES & SHOES
BEAUTY