
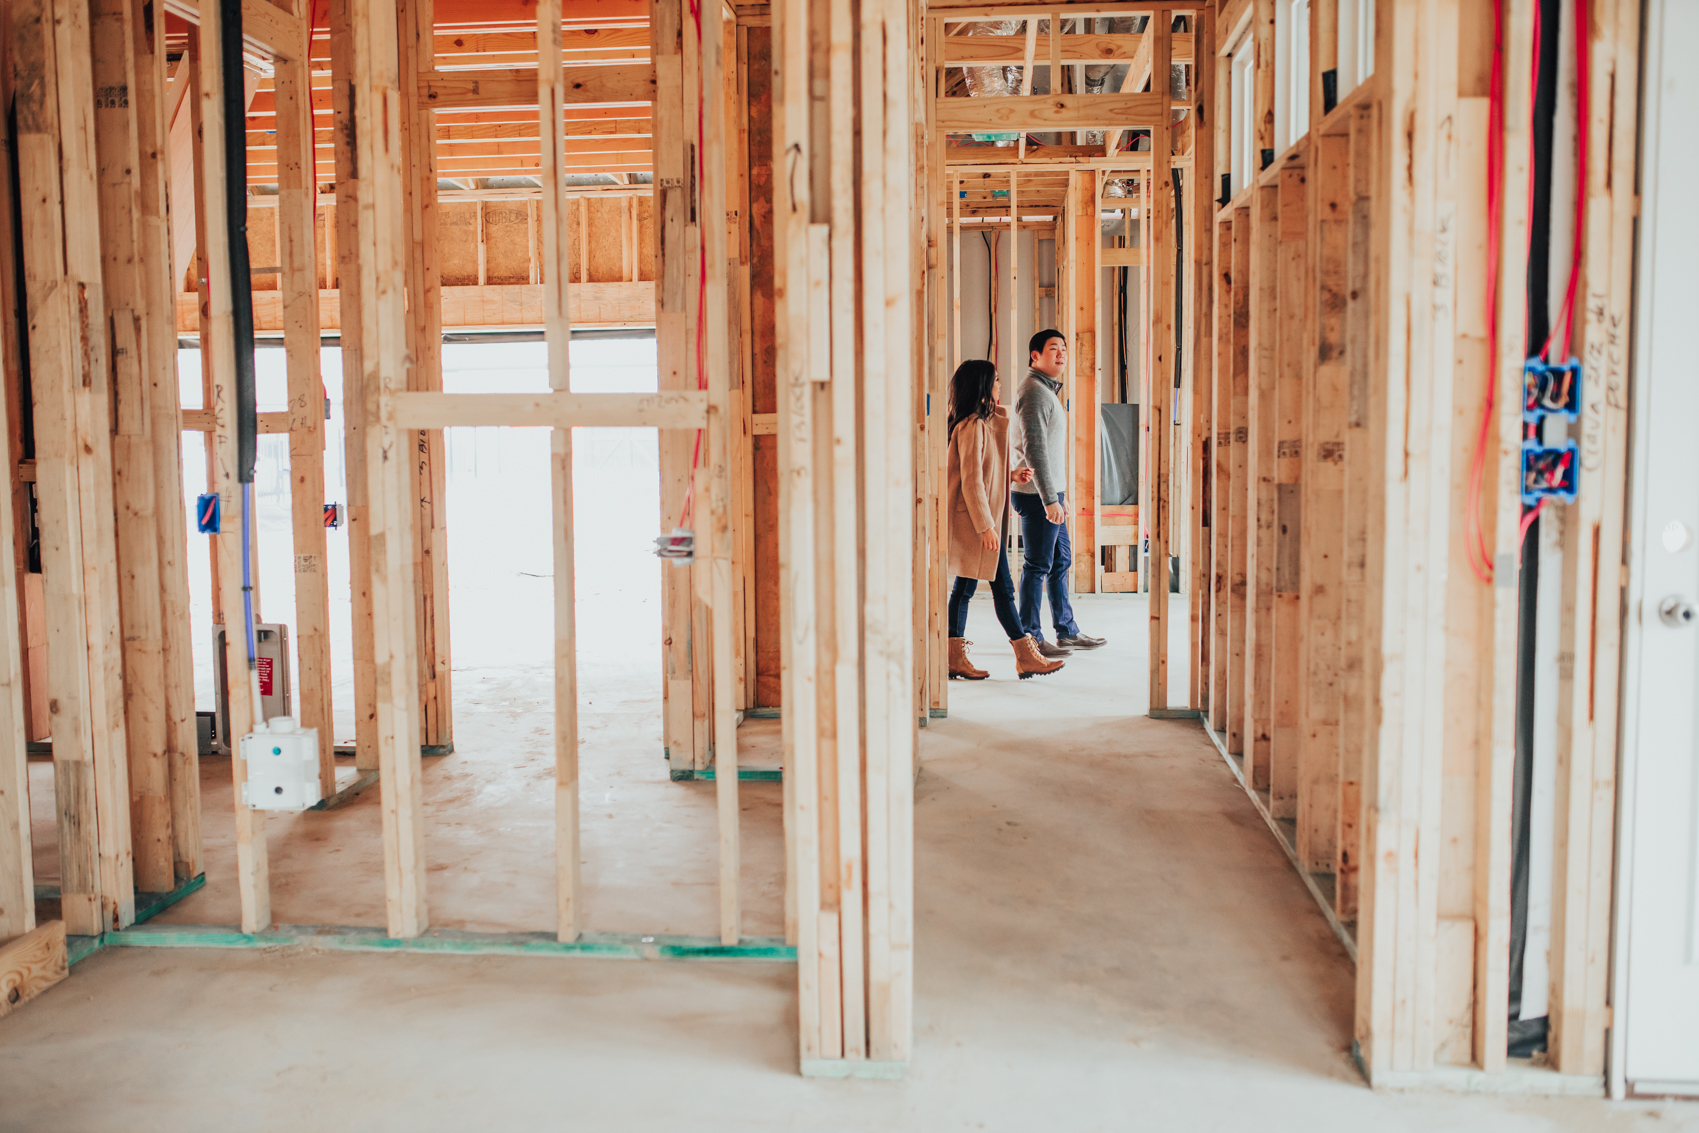
[outfit_details]On Her: Cashmere Sweater, Dark Jeans, Winter Boots, Wool Coat, Kendra Scott Earrings
On Him: Gray Patagonia Better Sweater, Checkered Shirt, Navy Chinos, Chelsea Boots[/outfit_details]
Welcome to our future home! To think on January 1, Johnny and I were standing on freshly-poured foundation and now we are in our home with walls, rooms and windows. In case you missed it, we deep-dived into what actually building a new home is like and our journey on this post. Until this phase, everything has been moving quickly and smoothly for the most part. We just had our pre-drywall meeting and want to share exactly what happens at that meeting, how you can prepare and lessons we learned from it. This is also the stage to make any final decisions if you are building a spec or new construction home. Our builder calls it stage four. That’s when we can no longer make any changes. This includes swapping out tile, changing paint colors or adding any extra wiring for lights. Let’s jump into the bones of this house!


HIRE A THIRD-PARTY INSPECTOR
I can’t stress enough how important it is to hire a third-party inspector who works for you. Yes, the builder will do his own inspections. So will the city you’re building in along with a third-party inspector the builder hires. However, none of these people work for you. We love our project manager, but we wanted someone who is licensed and could be straight up with us and keep our project manager in check.
A few days before our formal Pre-Drywall Meeting with Sam, our project manager, we had a Greenworks Inspector come out to our house to do a walkthrough. Make sure you clear this with your project manager as they are required to give you a timeframe to do this. After a quick 30 to 45 minute walkthrough, while taking photos, the inspector walked us through a few major items. He mentioned nothing major was wrong (thank goodness!), but did find a few areas needing improvement before the drywall goes up. One of those includes the complete sealing of electrical wires as they enter the ceiling. We were told they needed to be 100 percent sealed in case of a fire. Another detail was the flashing tape needed to be re-installed to stop any chance of leaks. Lastly, there was some damage to the thermoply that should be fixed or replaced before the drywall goes up. These are the details we would not have caught.
Lesson 1: There’s 100-200+ “items” in the house that deserve to be checked and inspected. Get a pair of licensed eyes on them all before your pre-drywall meeting.
BE THOROUGH & NOTICE ALL THE LITTLE DETAILS
The day of the Pre-Drywall Meeting with Sam, we walked into the home and ran through the plan together. Funny enough, the first thing that came up was whether we should extend our fence about 15’. The jury is still out on that depending on cost, but I think we’ll end up doing to give us more backyard that feels “ours” versus having the fence straight right off our patio.
Lesson 2: There will be constant upsells. Every change will cost money.
I will say, a lot of builders do mean well when making suggestions, such as extending the fence. It’s a genuinely good idea. Whether it’s adding another can light, or an electrical outlet somewhere, it’s likely going to be much cheaper to add it now ($100-$600). Going back and making changes later down the line is much more expensive given any demolition needed versus adding them as the home is being built.
After the quick suggestion, we got into the nuts and bolts of the Pre-Drywall Meeting. Sam took us through the home, one room at a time and pointed out electrical items in the wall and how they matched the plan. He also pointed out a few structural features that were very beneficial – including specific anchors in the foundation. Honestly, this went a little over my head, but I’m glad to have something locked into our slab foundation. He also explained some of the structural features of the thermoply installed throughout the house. Red thermoply is structural (thicker/sturdier) and green is standard (for walls not structurally as important). I think the most important thing our third-party inspector did was point out any deficiencies in the thermoply install and flashing as these are critical for weatherproofing the home.
Sam walked us through all the electrical elements, from plugs, cable wires, can lights, etc. The living room was to spec. We moved onto the kitchen where we quickly found one extra blocking/wiring for a pendant over the kitchen island we didn’t have in the plan. Sam quickly said the extra one would be removed.
Lesson 3: You’ll find the project managers can get different versions of the house plan compared to the latest one and/or some drawings can be confusing leading to these errors. Nonetheless, that’s why you have these meetings.

DON’T BE AFRAID TO ASK QUESTIONS
In the kitchen, Sam walked us through the gas line, kitchen sink, vent hood and where the appliances would go. Everything checked out. We did want to see if the kitchen sink and vent hood are perfectly aligned. You can’t really tell since the vent hood and the sink aren’t installed. But we made sure to make a note of that before they install either. We also asked Sam to tell us ahead of time when our quartz countertops would be installed. We want to be there so we can keep the excess to either make a serving board or something. After all, you are paying for it.
Next up during our pre-drywall meeting, we moved through the hallway to the laundry room. Sam explained all the connections as well as some items there temporarily for testing. One of which was a 5’ pipe that was overfilled to test for leaking throughout the pipe system. He also mentioned some of the washer connections were able to be rotated during installation and that was a feature, not a problem.
As we walked into the garage near the breaker box, I noticed a stand for a water heater. I was under the impression we were getting tankless. I had to walk back to the car to grab our purchase contract where they list all the items included in the house. Under plumbing, it listed a 50-gallon tank.
Lesson 4: Bring your own copies of the contract and floorplans with you. There are 100+ items coming with your house and they’re all listed in detail. Even if you read it in detail before signing, don’t be surprised if you forget something here and there.
After going through the garage, we tackled the master bedroom, master bath and the two additional bedrooms. In the master bedroom Sam proactively found a missing plug that was supposed to be installed next to the cable wiring. The biggest thing to check while going through the bedrooms is making sure all the electric wiring matches the specification. We’re at a point where we can’t add anymore plugs as part of the original construction. However, Sam mentioned one big benefit of having a one-story house was we could have an electrician come out to drop a line into new places like our closet where we currently want to install a Samsung AirDresser.
Lesson 5: Take photos, video, or a 3D scan of your Pre-Drywall framing so you can see where all the electrical wires, pipes, and gas lines are. You’ll thank yourself later when you’re hanging things on walls or doing some renovations.
I filmed a video on my phone and took photos but we are looking into having Matterport do 3D walkthrough of our home. This is actually the software our builder uses to let potential homebuyers “tour” homes they can’t see in person and we love this idea!

WHAT’S NEXT?
From here, there are a series of inspections our home will need to pass before Sam can schedule drywall installation. We are told this is the “slowest” part of the build since we can’t physically see any changes. Once drywall starts being installed, I’m going to go over our design center choices and really familiarize myself with them. That way as they are installed, I know if the right tile or flooring is going in or not. It’s easier to change when they are a box on the floor or only a few subway tiles are installed versus the entire backsplash!
Nordstrom Anniversary Sale 2021 Preview Picks
TOPS & SWEATERS

BOTTOMS
BLAZERS & COATS
ACTIVE
ACCESSORIES & SHOES
BEAUTY