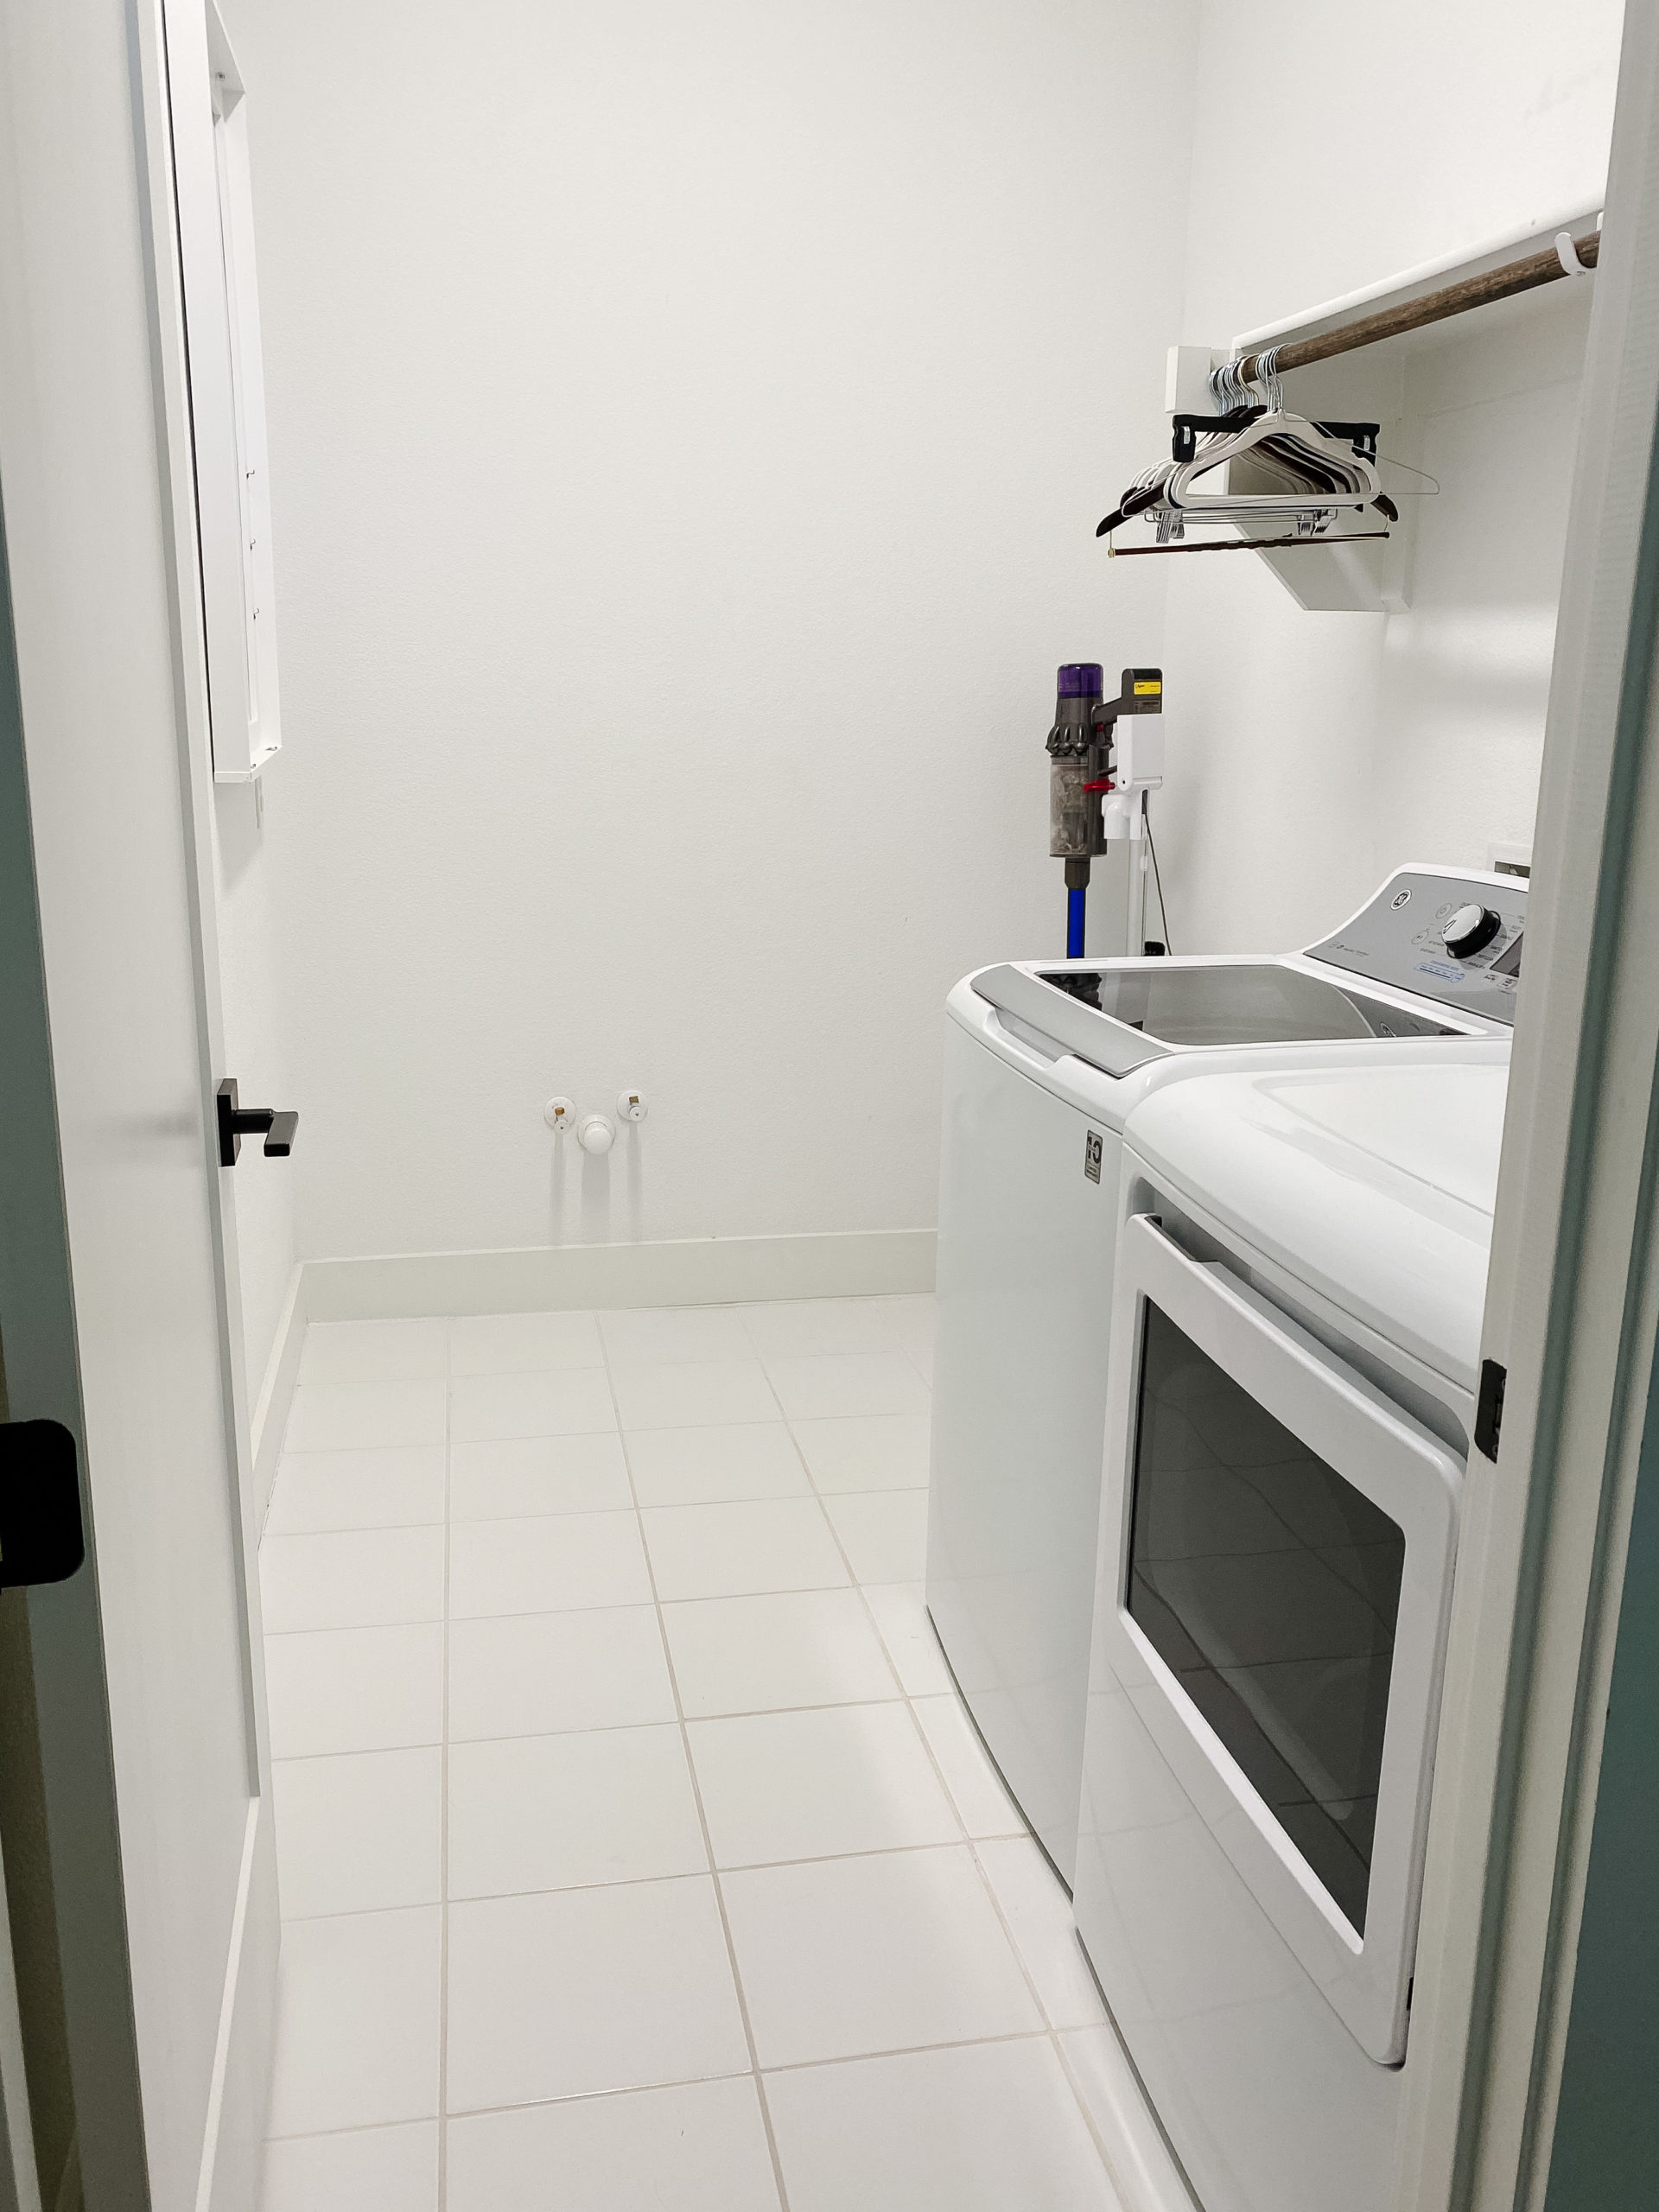
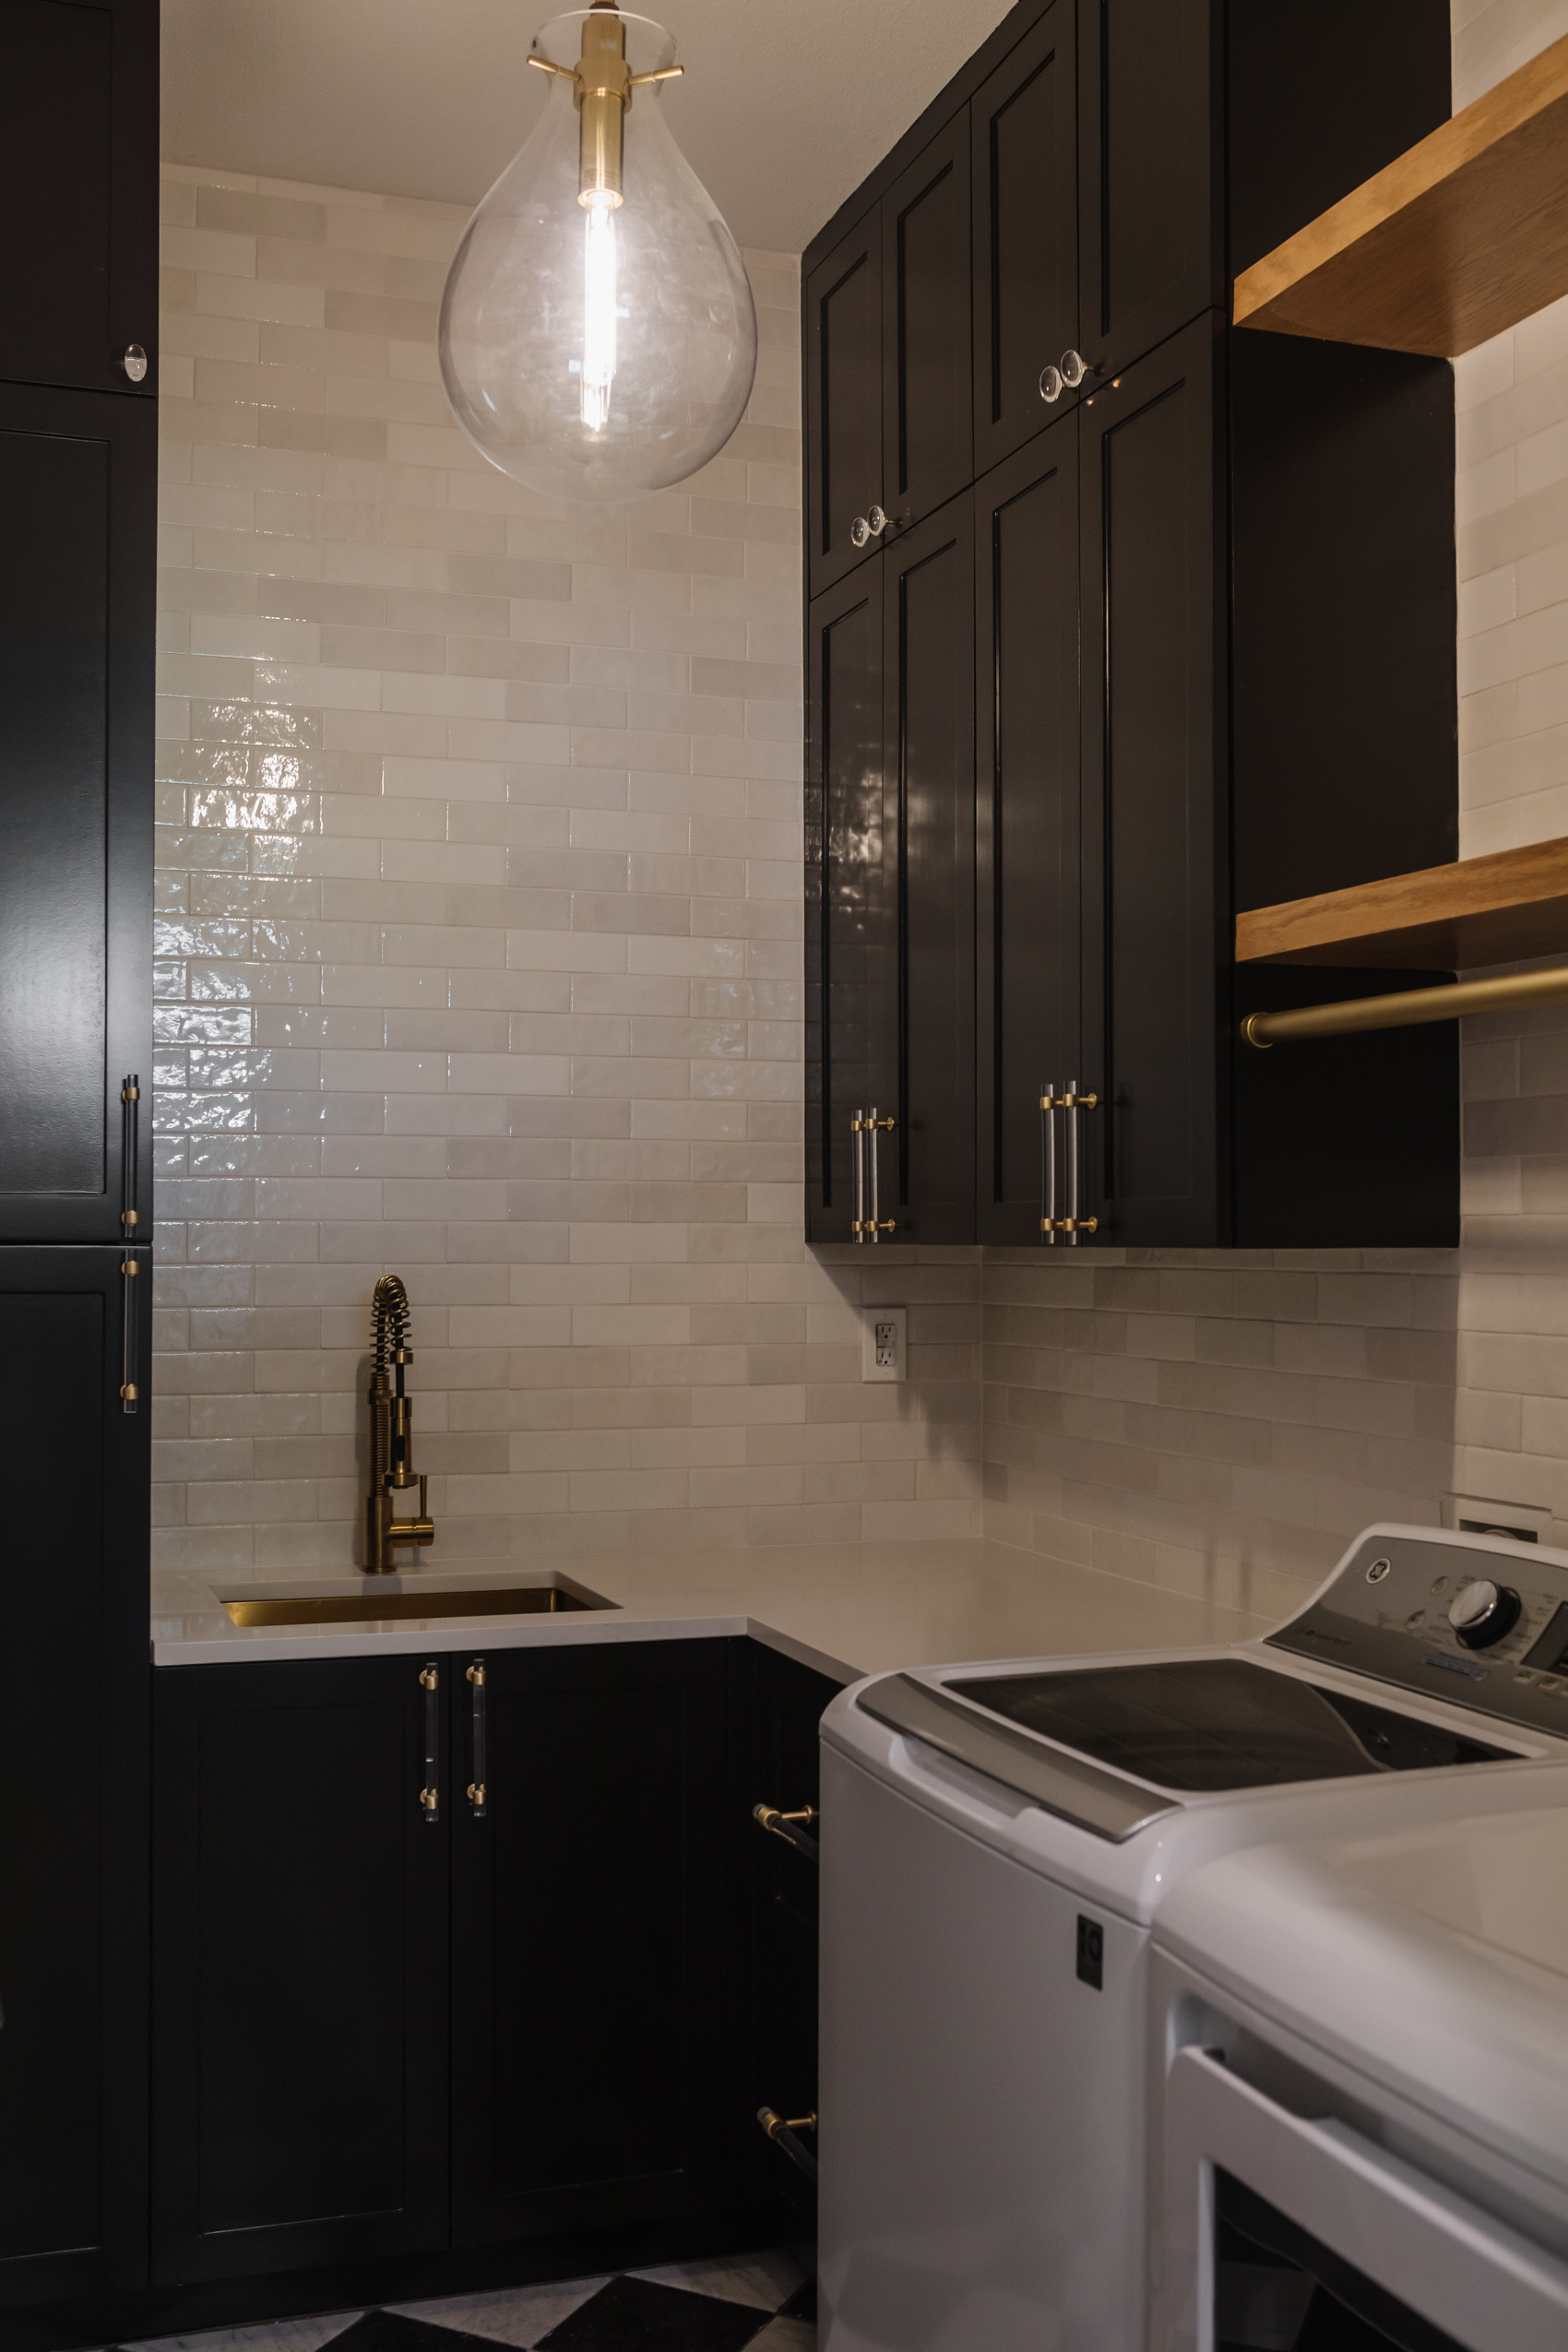
When we were building our house we couldn’t afford to build out the laundry room the way we wanted. We added pre-plumbing so we could eventually add in a sink and create a beautiful and functional laundry room. Two years in, we got to do a laundry room makeover and are over the moon with how it turned out! Here’s how we renovated our laundry room from builder basic to custom.
The Design
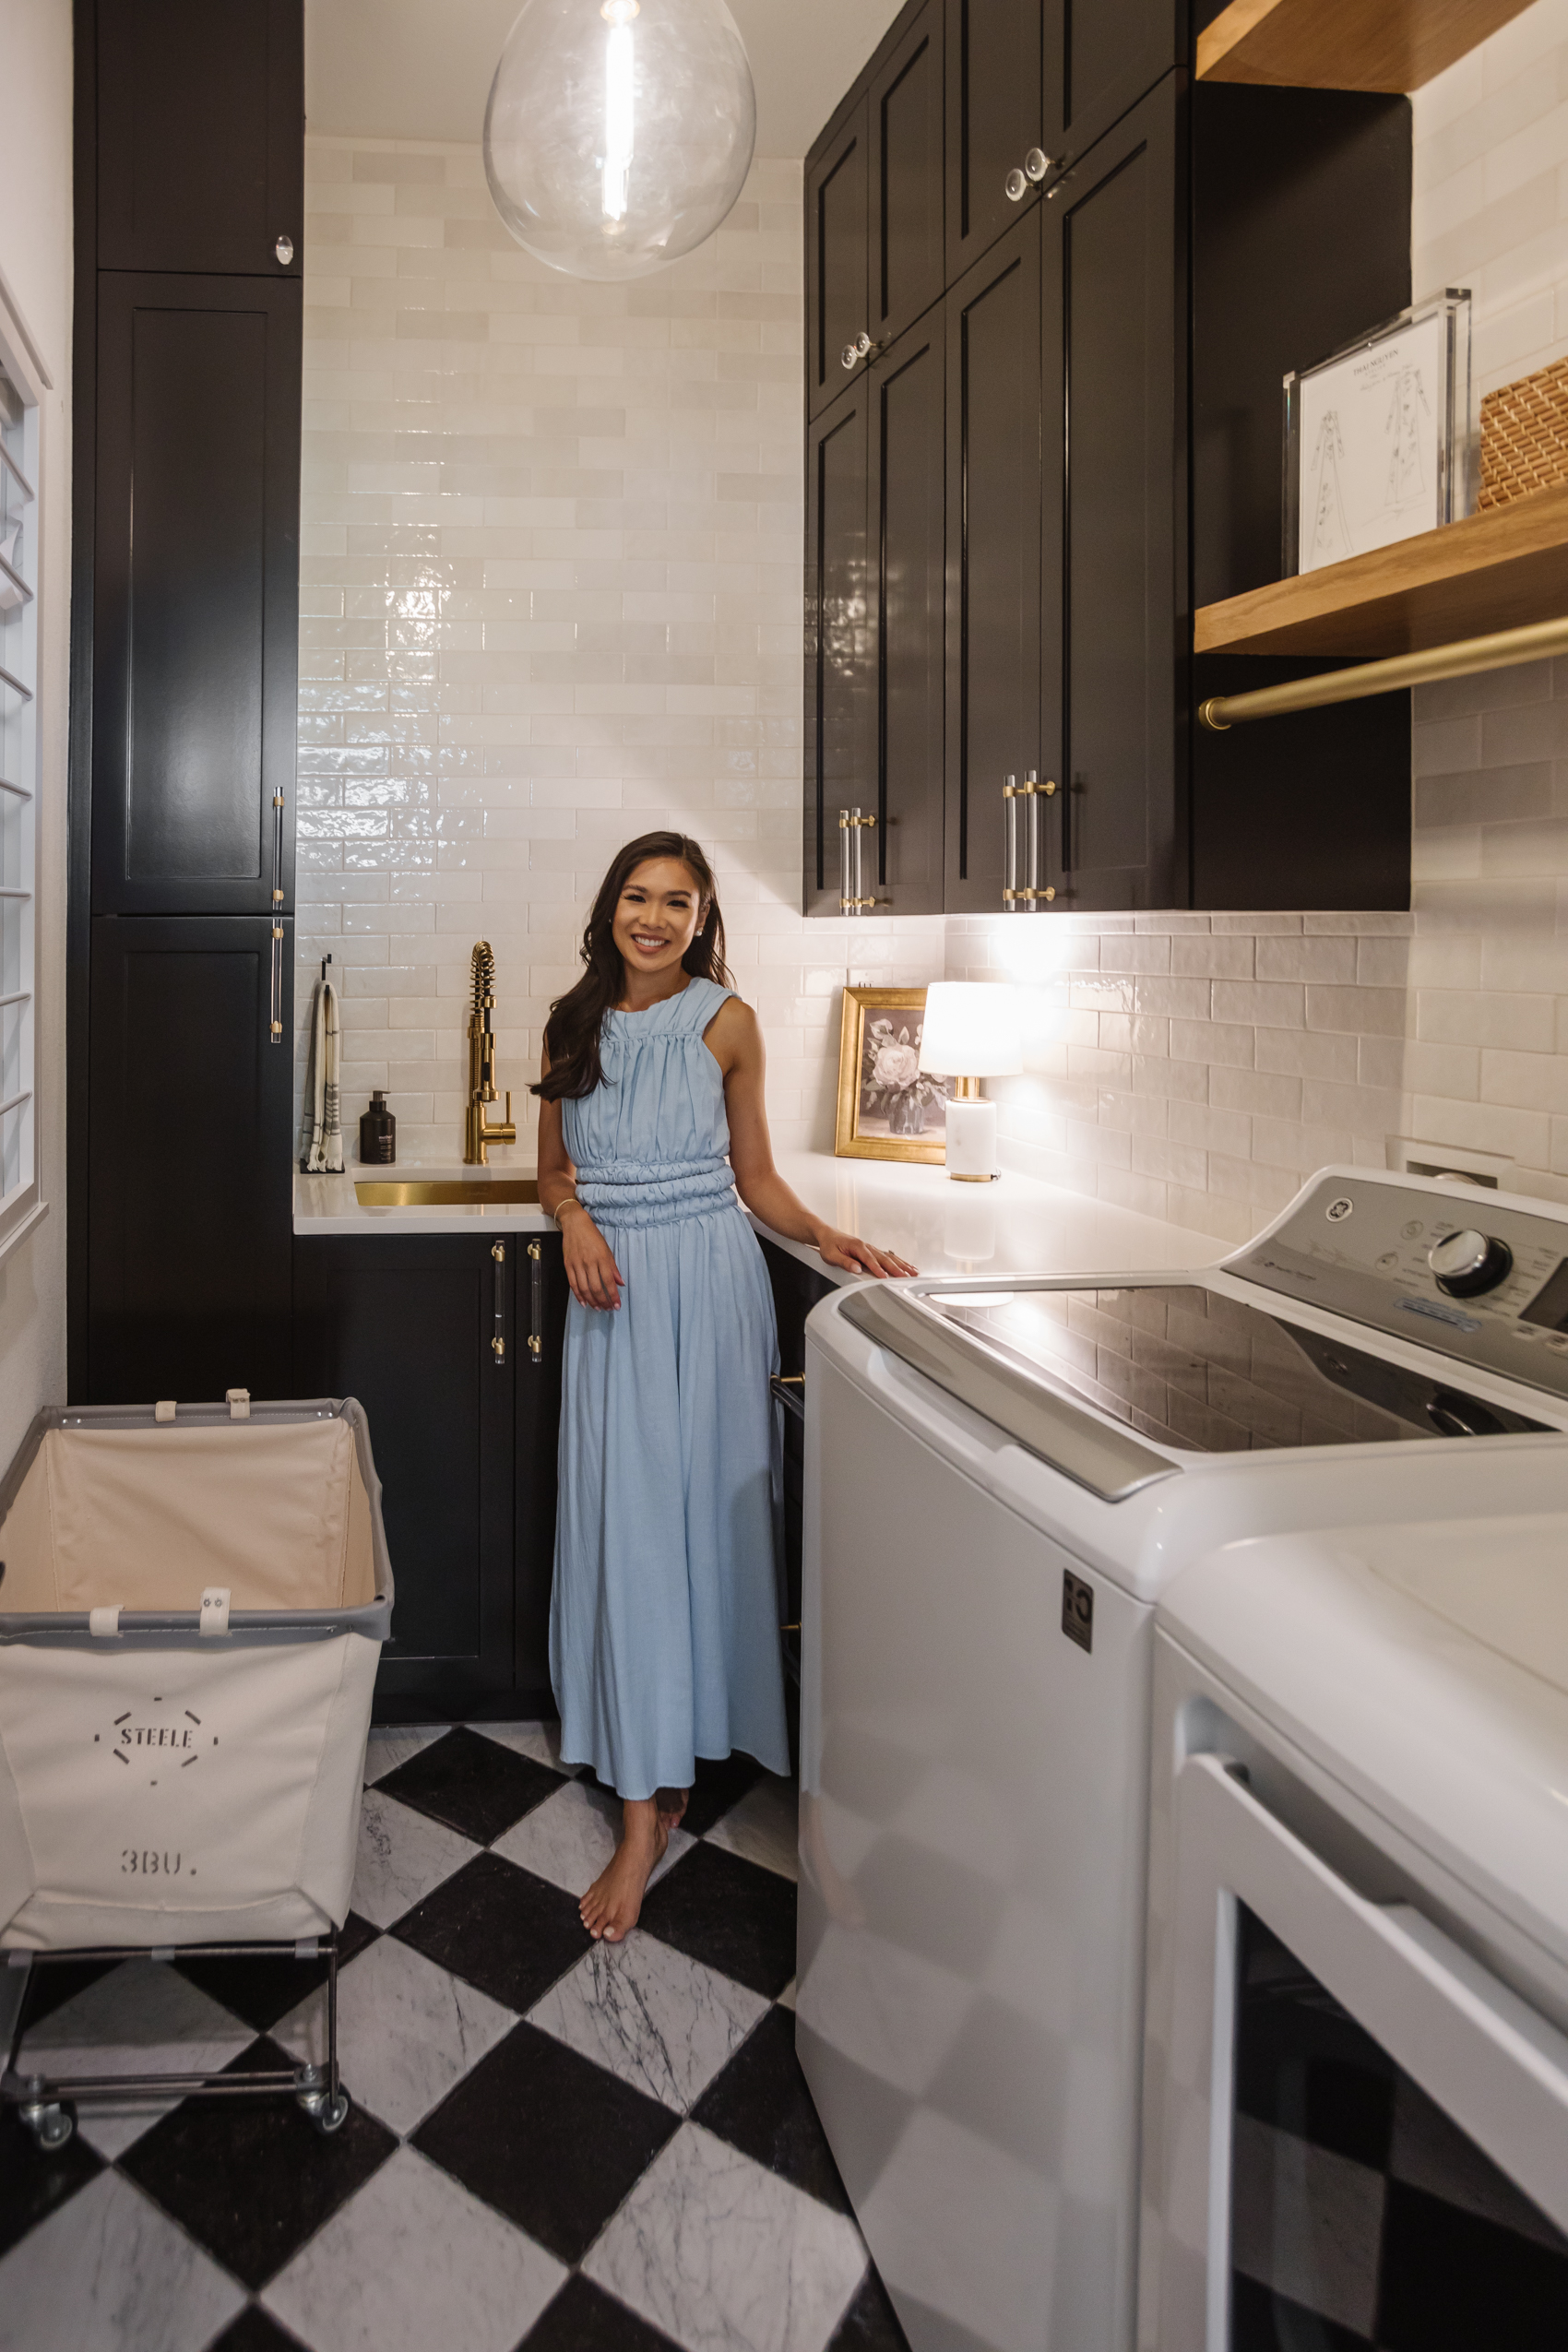
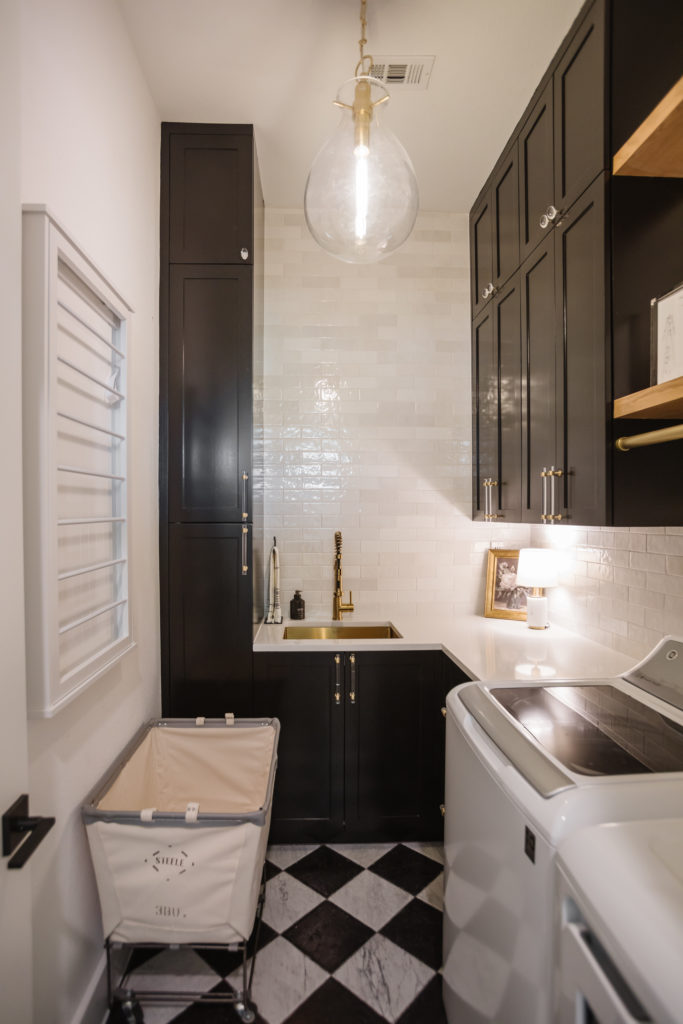
We started with an all-white canvas, literally. The upside of living in this home for two years before doing this space is we got to do a lot of laundry here. I knew what this space needed and it was storage, a lot of storage. Our laundry room is 70″x120″ so it’s a smaller space. Custom cabinets along with taking everything up to the ceiling would make it appear larger. Plus, I always love more storage space.
I also wanted ample counter space so I could fold laundry in here. A tip I learned is to fold all of the laundry in the laundry room if you can. That incentivizes you to put it back quicker. Plus, if something needs to be ironed or steamed, you’re in the right place.
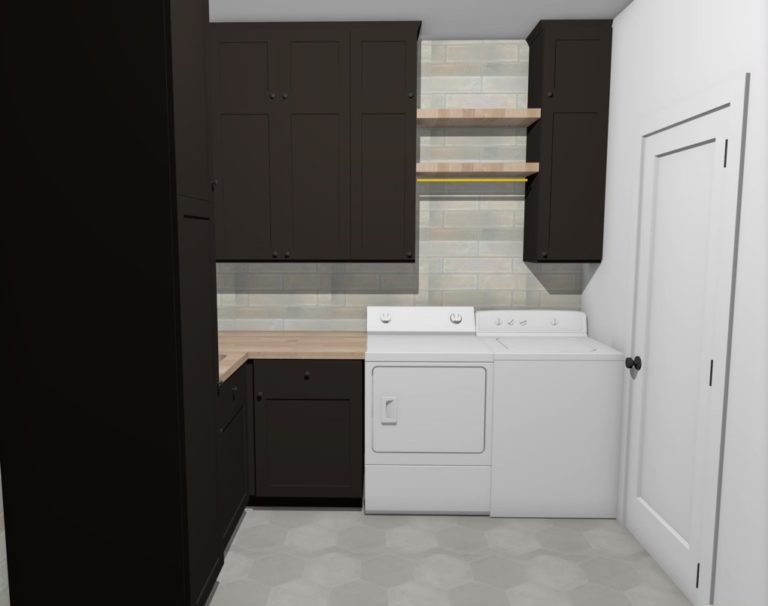
A friend who worked in interior design helped me draw up a mockup for the laundry room makeover. I love the dark cabinets and love how she made use of all the space. There is even a cabinet where we can stash our cordless vacuum and other cleaning supplies!
I showed this to my carpenter and made a few changes. The hanging rod would go all the way to the wall instead of being between cabinets. I added deep drawers instead of a cabinet next to the washing machine. I personally am a big fan of drawers over cabinets when it comes to lowers and knew this would add so much functionality.
Custom Cabinetry & Paint
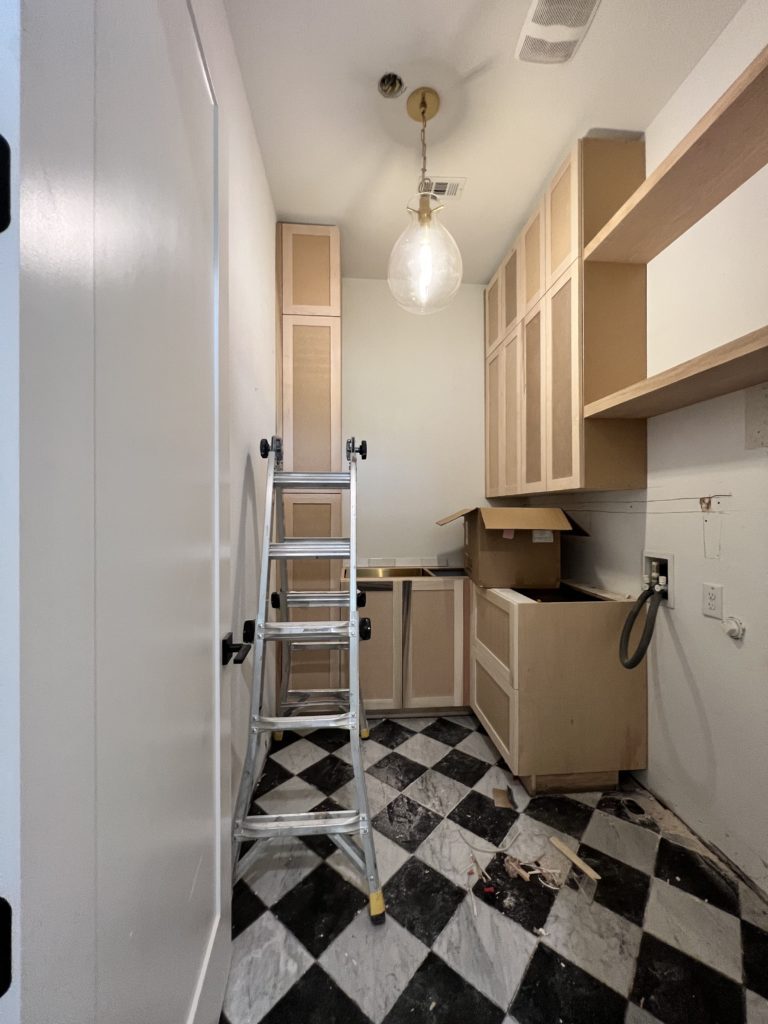
Custom cabinets are expensive, but I find if you can work with a talented carpenter, it will be worth it. This way you get exactly what you want and the end result is something high-end and will last. We have worked with our carpenter on a few projects and he does fantastic work.
I wanted a shaker-style front with a full overlay. This means when the doors and drawers are all shut, they come together and the frame of the cabinet isn’t exposed. This is actually how I wish our kitchen was!
We paid $4,200 for our custom cabinets and floating shelf, which included the installation process. It took a few weeks for our carpenter to build the cabinets and about a full day to install.
Our carpenter doesn’t paint, so we needed to hire someone who could do cabinet-grade paint and get us that ultra smooth finish. After learning from our refrigerator trim fiasco, we hired the same team who fixed that problem for us to paint this from the get-go.
The only way I’ll get cabinets painted is by having them sprayed. Even though it’s such a small space, the prep work takes a lot of time. Plus, the painters took the cabinet fronts back to the shop to paint there so they could have more room to work. They quoted us $2,900 and this also includes staining our floating shelves!

Tile
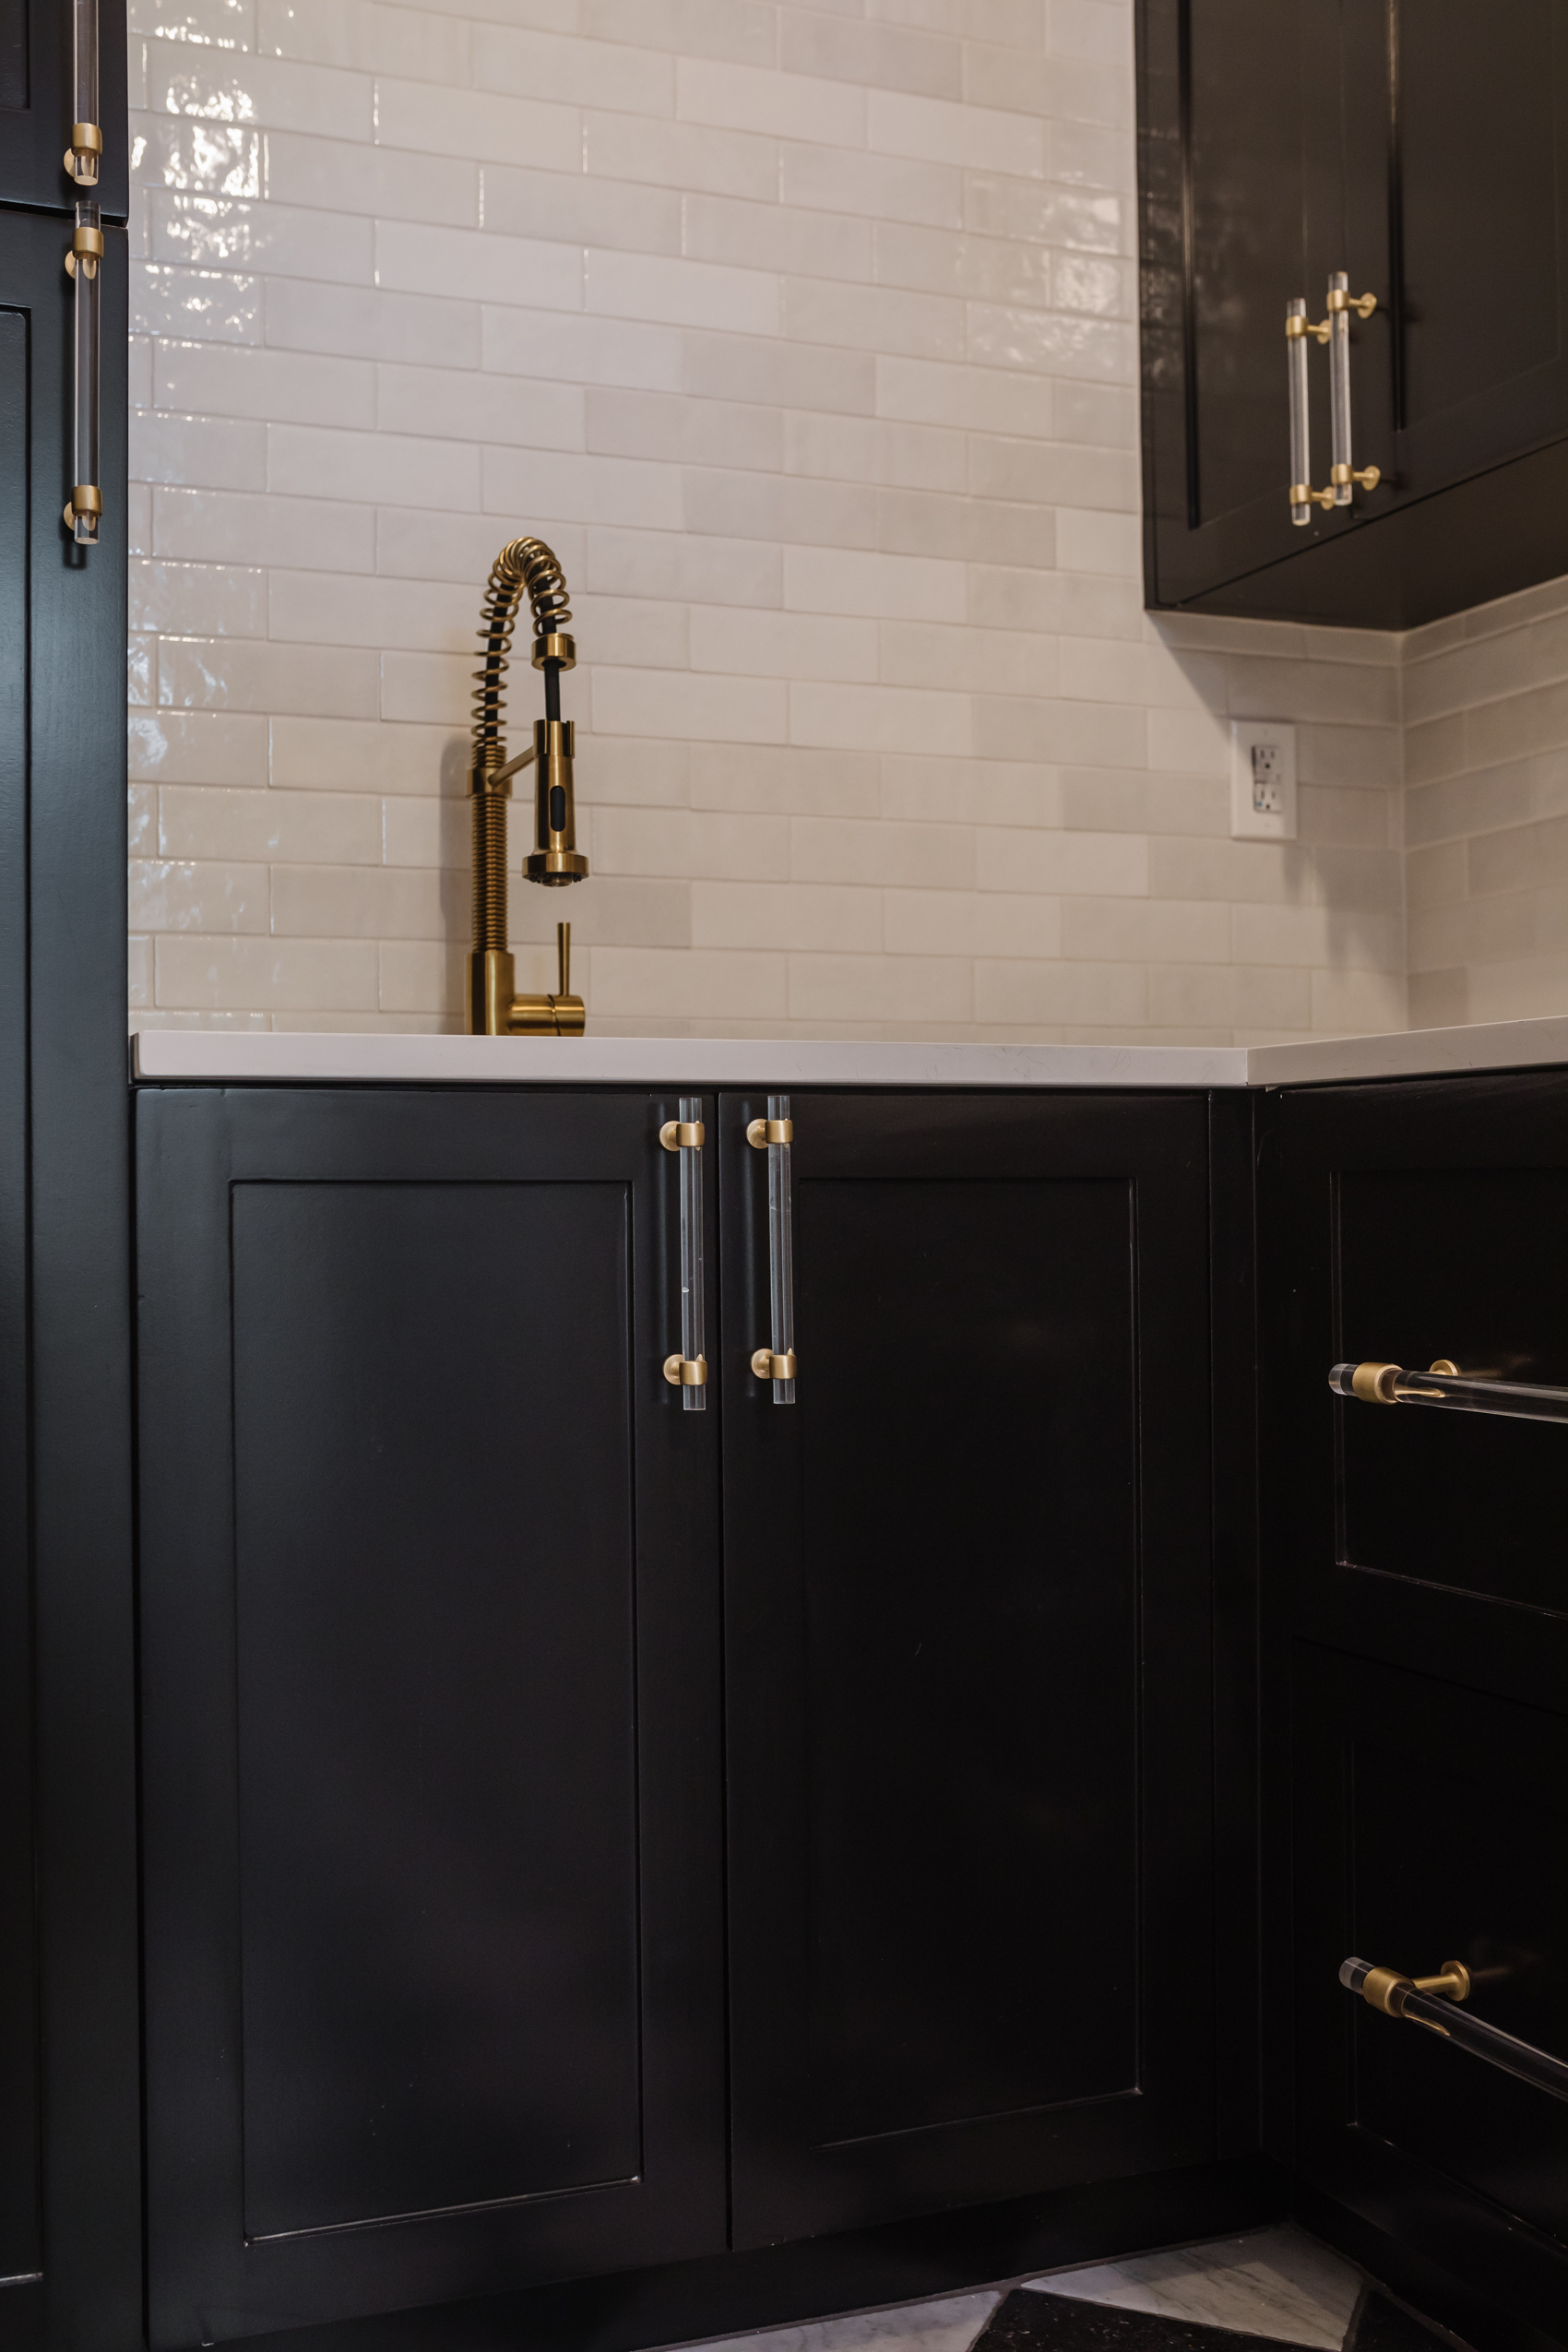
The tile would play a big role in our laundry room. We got to collaborate with Alexander James Tile Studio on this laundry room makeover project. They have stunning tile and their pricing is very fair for the quality they offer. Their tile is a true double take of something you’d find at a very high-end tile shop, but not for that price.
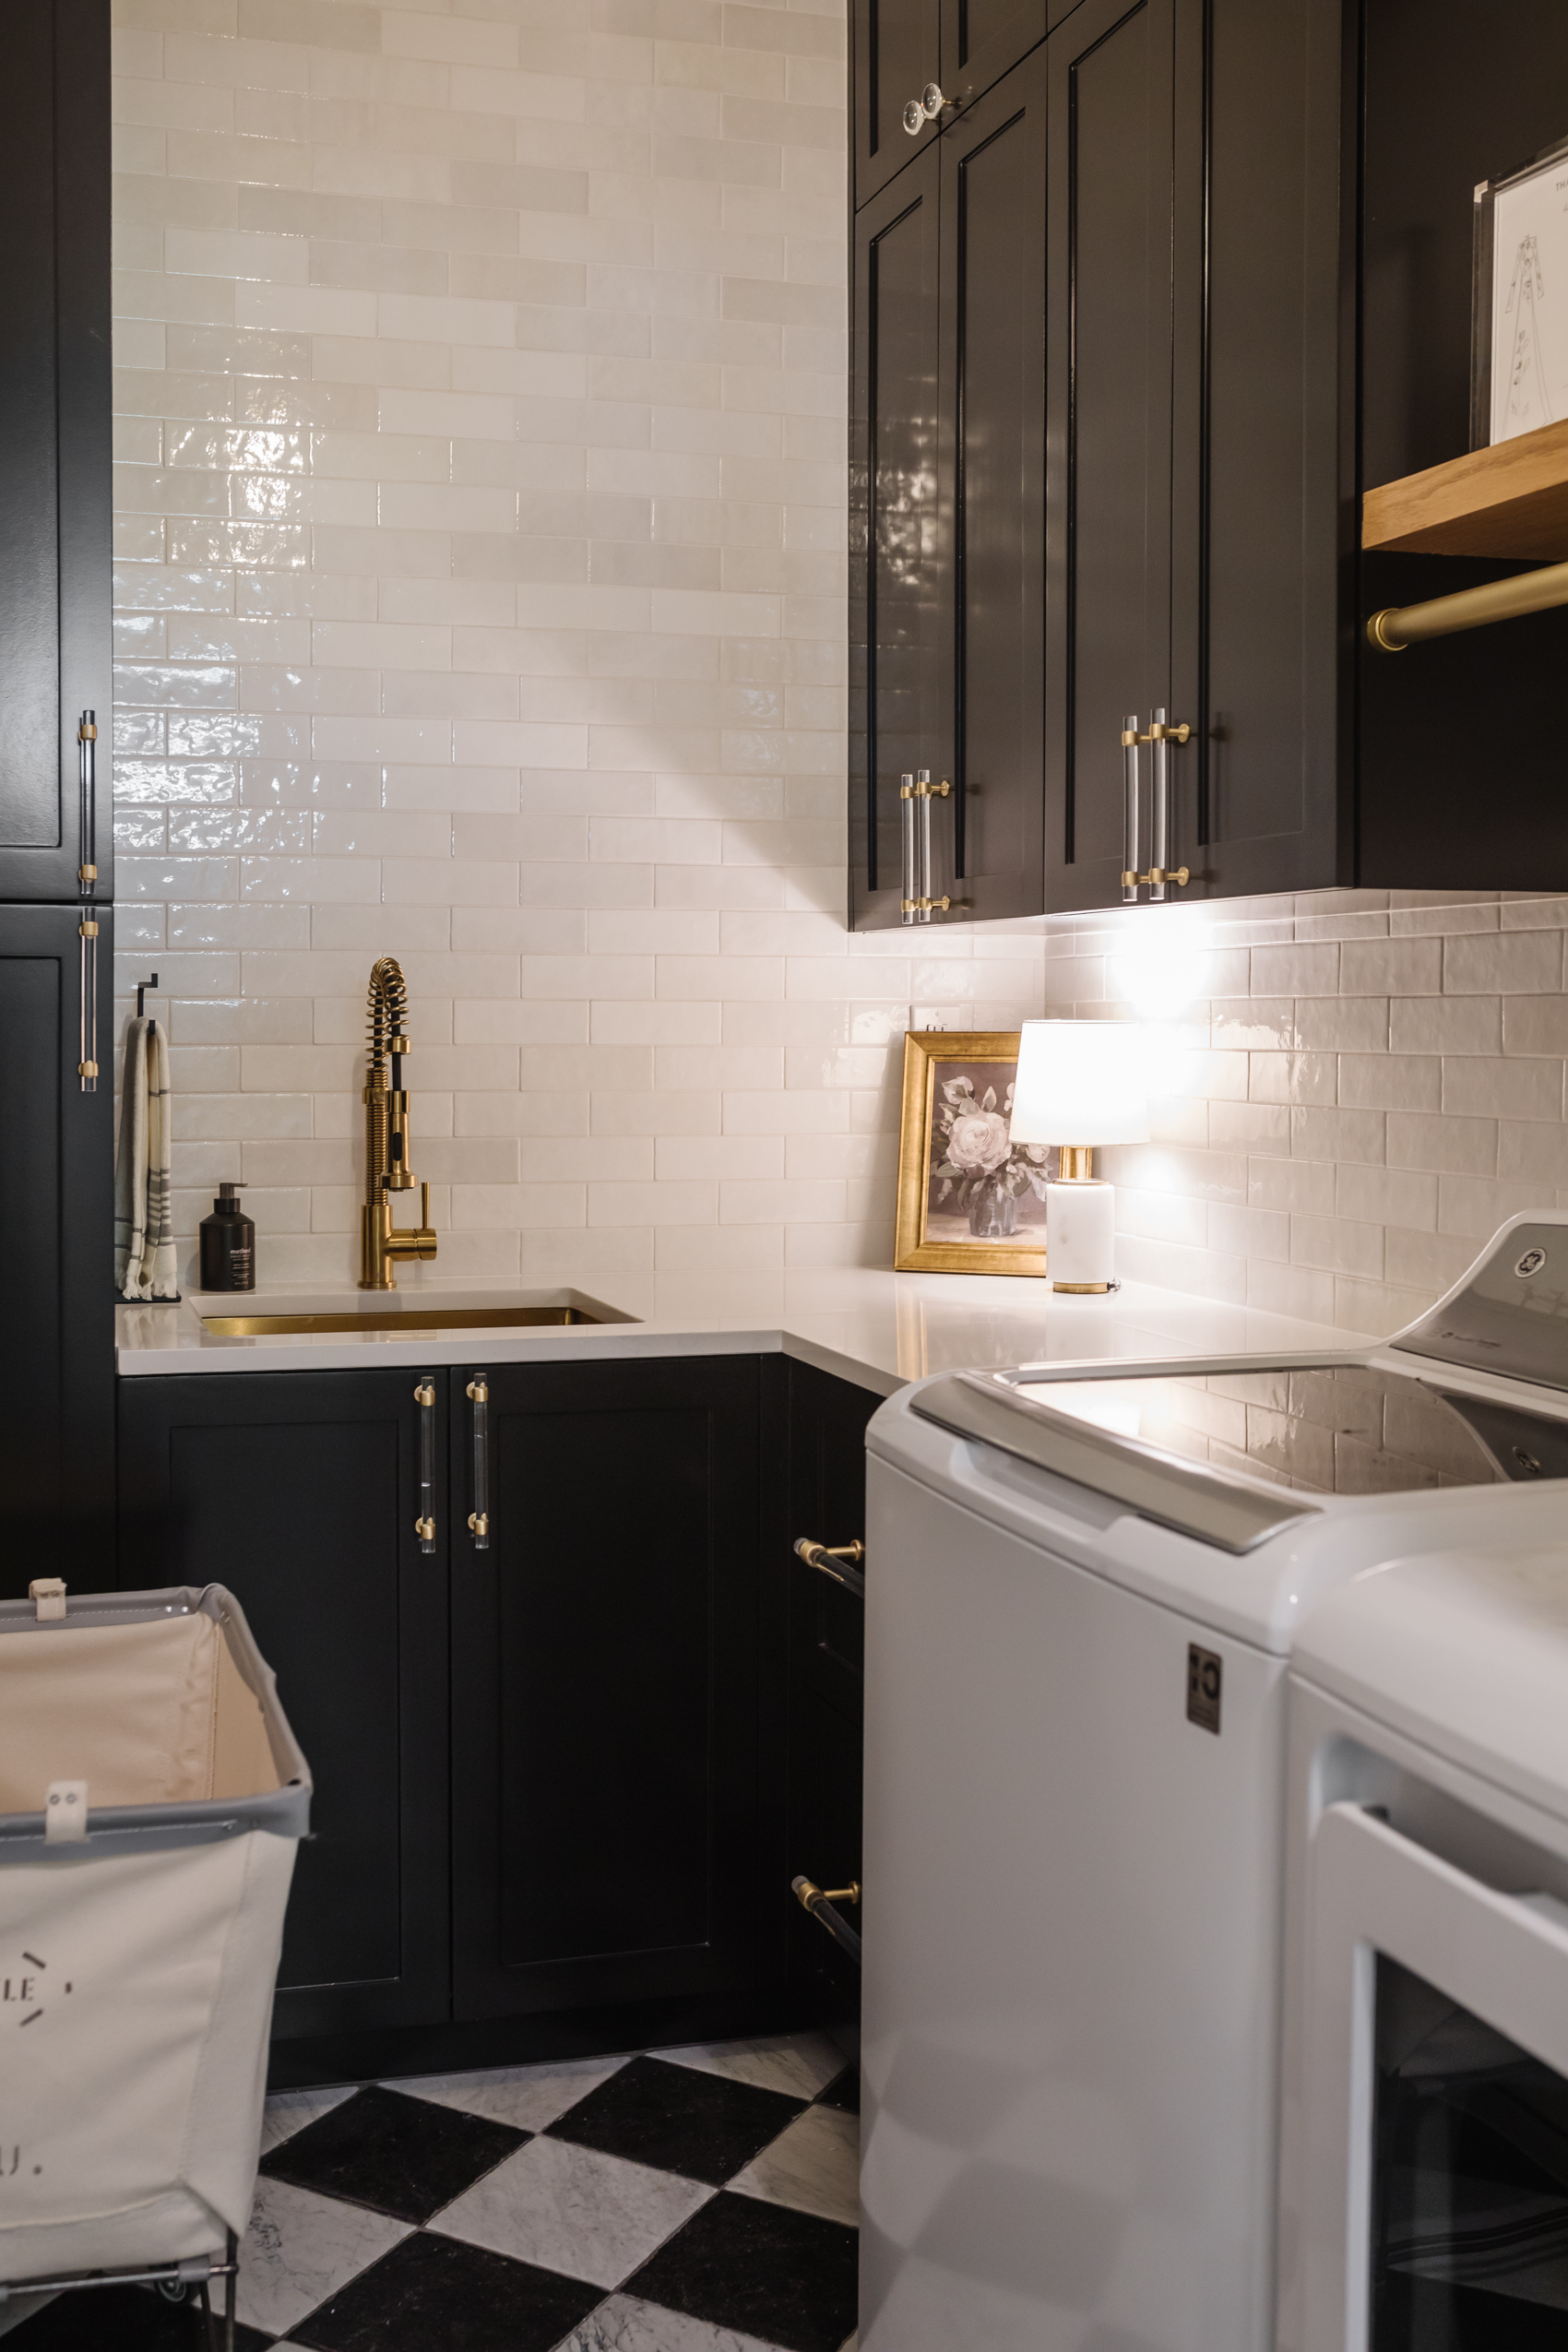
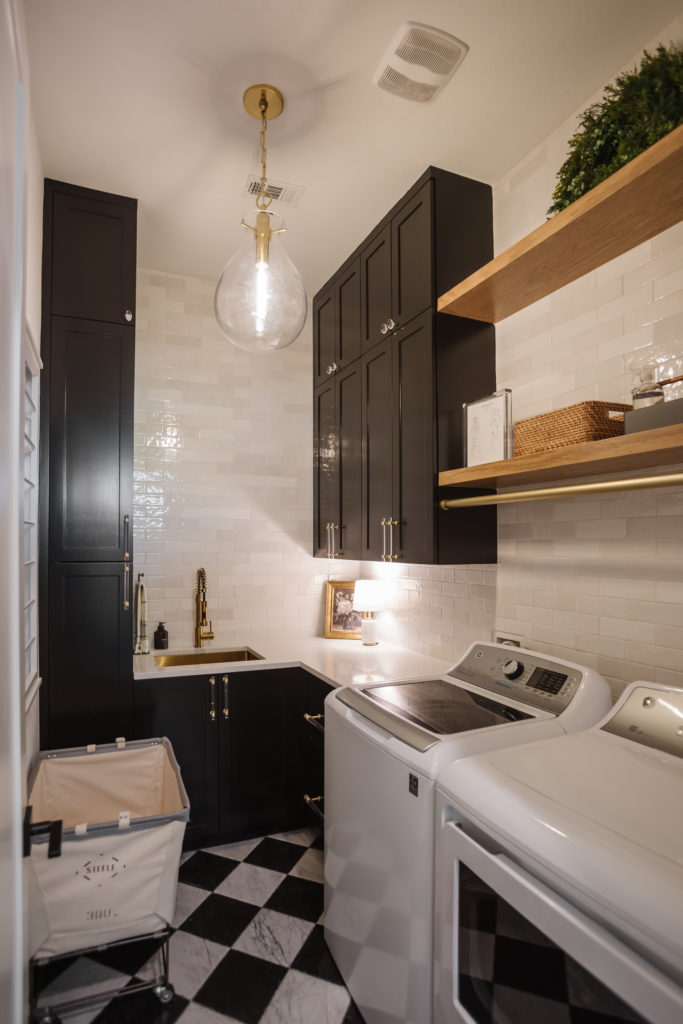
We ripped out the builder-basic 12×12 inch tile and swapped it out for a beautiful antiqued French marble. I love checkerboard floors and this was my way of having them in our home somehow. Since our laundry room is smaller, we opted for 9×9 inch tile so more of the checkerboard pattern would show.
To keep things cohesive in our home, we wanted to go with an organic white subway tile. We have white subway tile in our kitchen, which is down the short hall to the laundry. I fell in love with the movement and variation of this subway tile. Our tile installer took it all the way to the ceiling for maximum impact.
Our tile installer charged us $2,350 to demo the floors, install the new checkerboard pattern and install the subway tile all the way to the ceiling. It was pretty labor intensive and he got it done in a few days!
Countertops
You’ll see in the initial laundry room makeover design, there were butcherblock countertops to save money. After a quick chat with Johnny, we decided to go ahead and do stone instead. We wanted the cleaner more modern laundry room and to not have to worry about care.
In our kitchen, we have two kinds of stone: quartz and Silestone. Our main island is the quartz with veining and to save money we opted for a solid white Silestone for the back counters. It coordinates enough that no one really notices they are different. We opted to use the exact same Silestone, Miami White, in our laundry room. I sourced it from the same vendor our home builder used and was actually able to save $600 because they used remnants from a previous job! The countertops cost $1,600 and they also dropped in the sink for us!
Finishing Touches
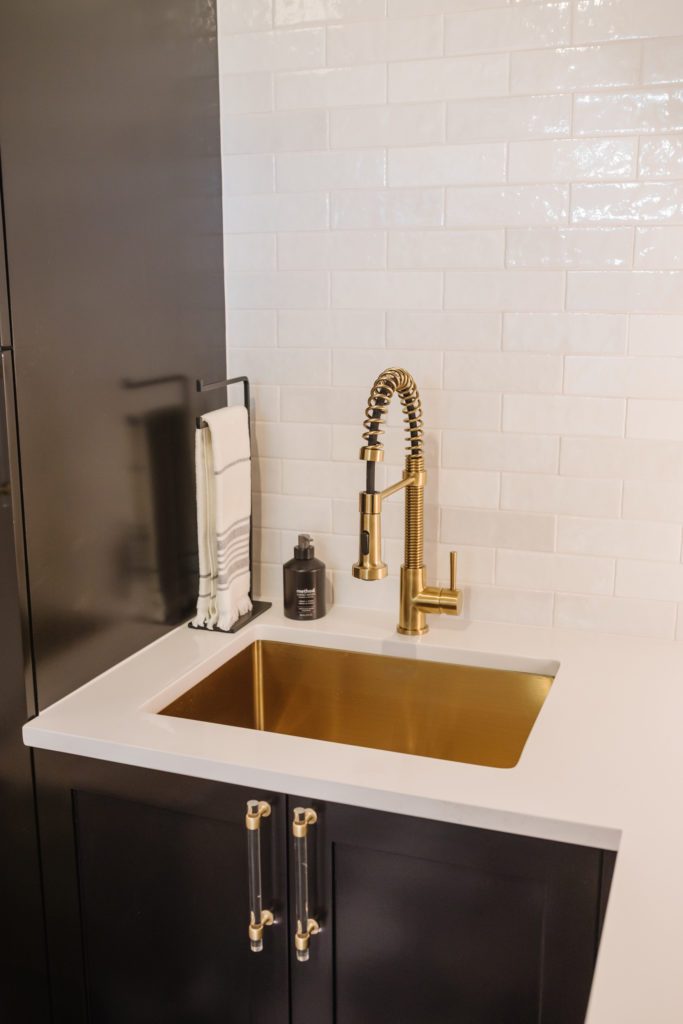
Even though we went with a dark look for the cabinets and room overall, I still wanted to add a few airy things. This acrylic and brass hardware is simply perfect. We went with six inches for all of the cabinets and the 12-inch for the drawers since we needed something hefty. At first, I was hesitant the circumference of the 12-inch was thicker than expected. However, now that they are installed and I have detergent, wool dryer balls and other heavy items in the drawer, I’m very glad!
This super cool stainless steel sink that has a brass look really helps make the laundry room! To match, we went with a pull-down brass faucet. Both were affordable finds and I’m very happy with how it all turned out. Our plumber charged us $200 for the install.
It’s a small space so I wanted an open and airy pendant light. To add just a little more lighting when needed, this tiny marble lamp was perfect. Our modern laundry room came together beautifully and we couldn’t be more thrilled.

