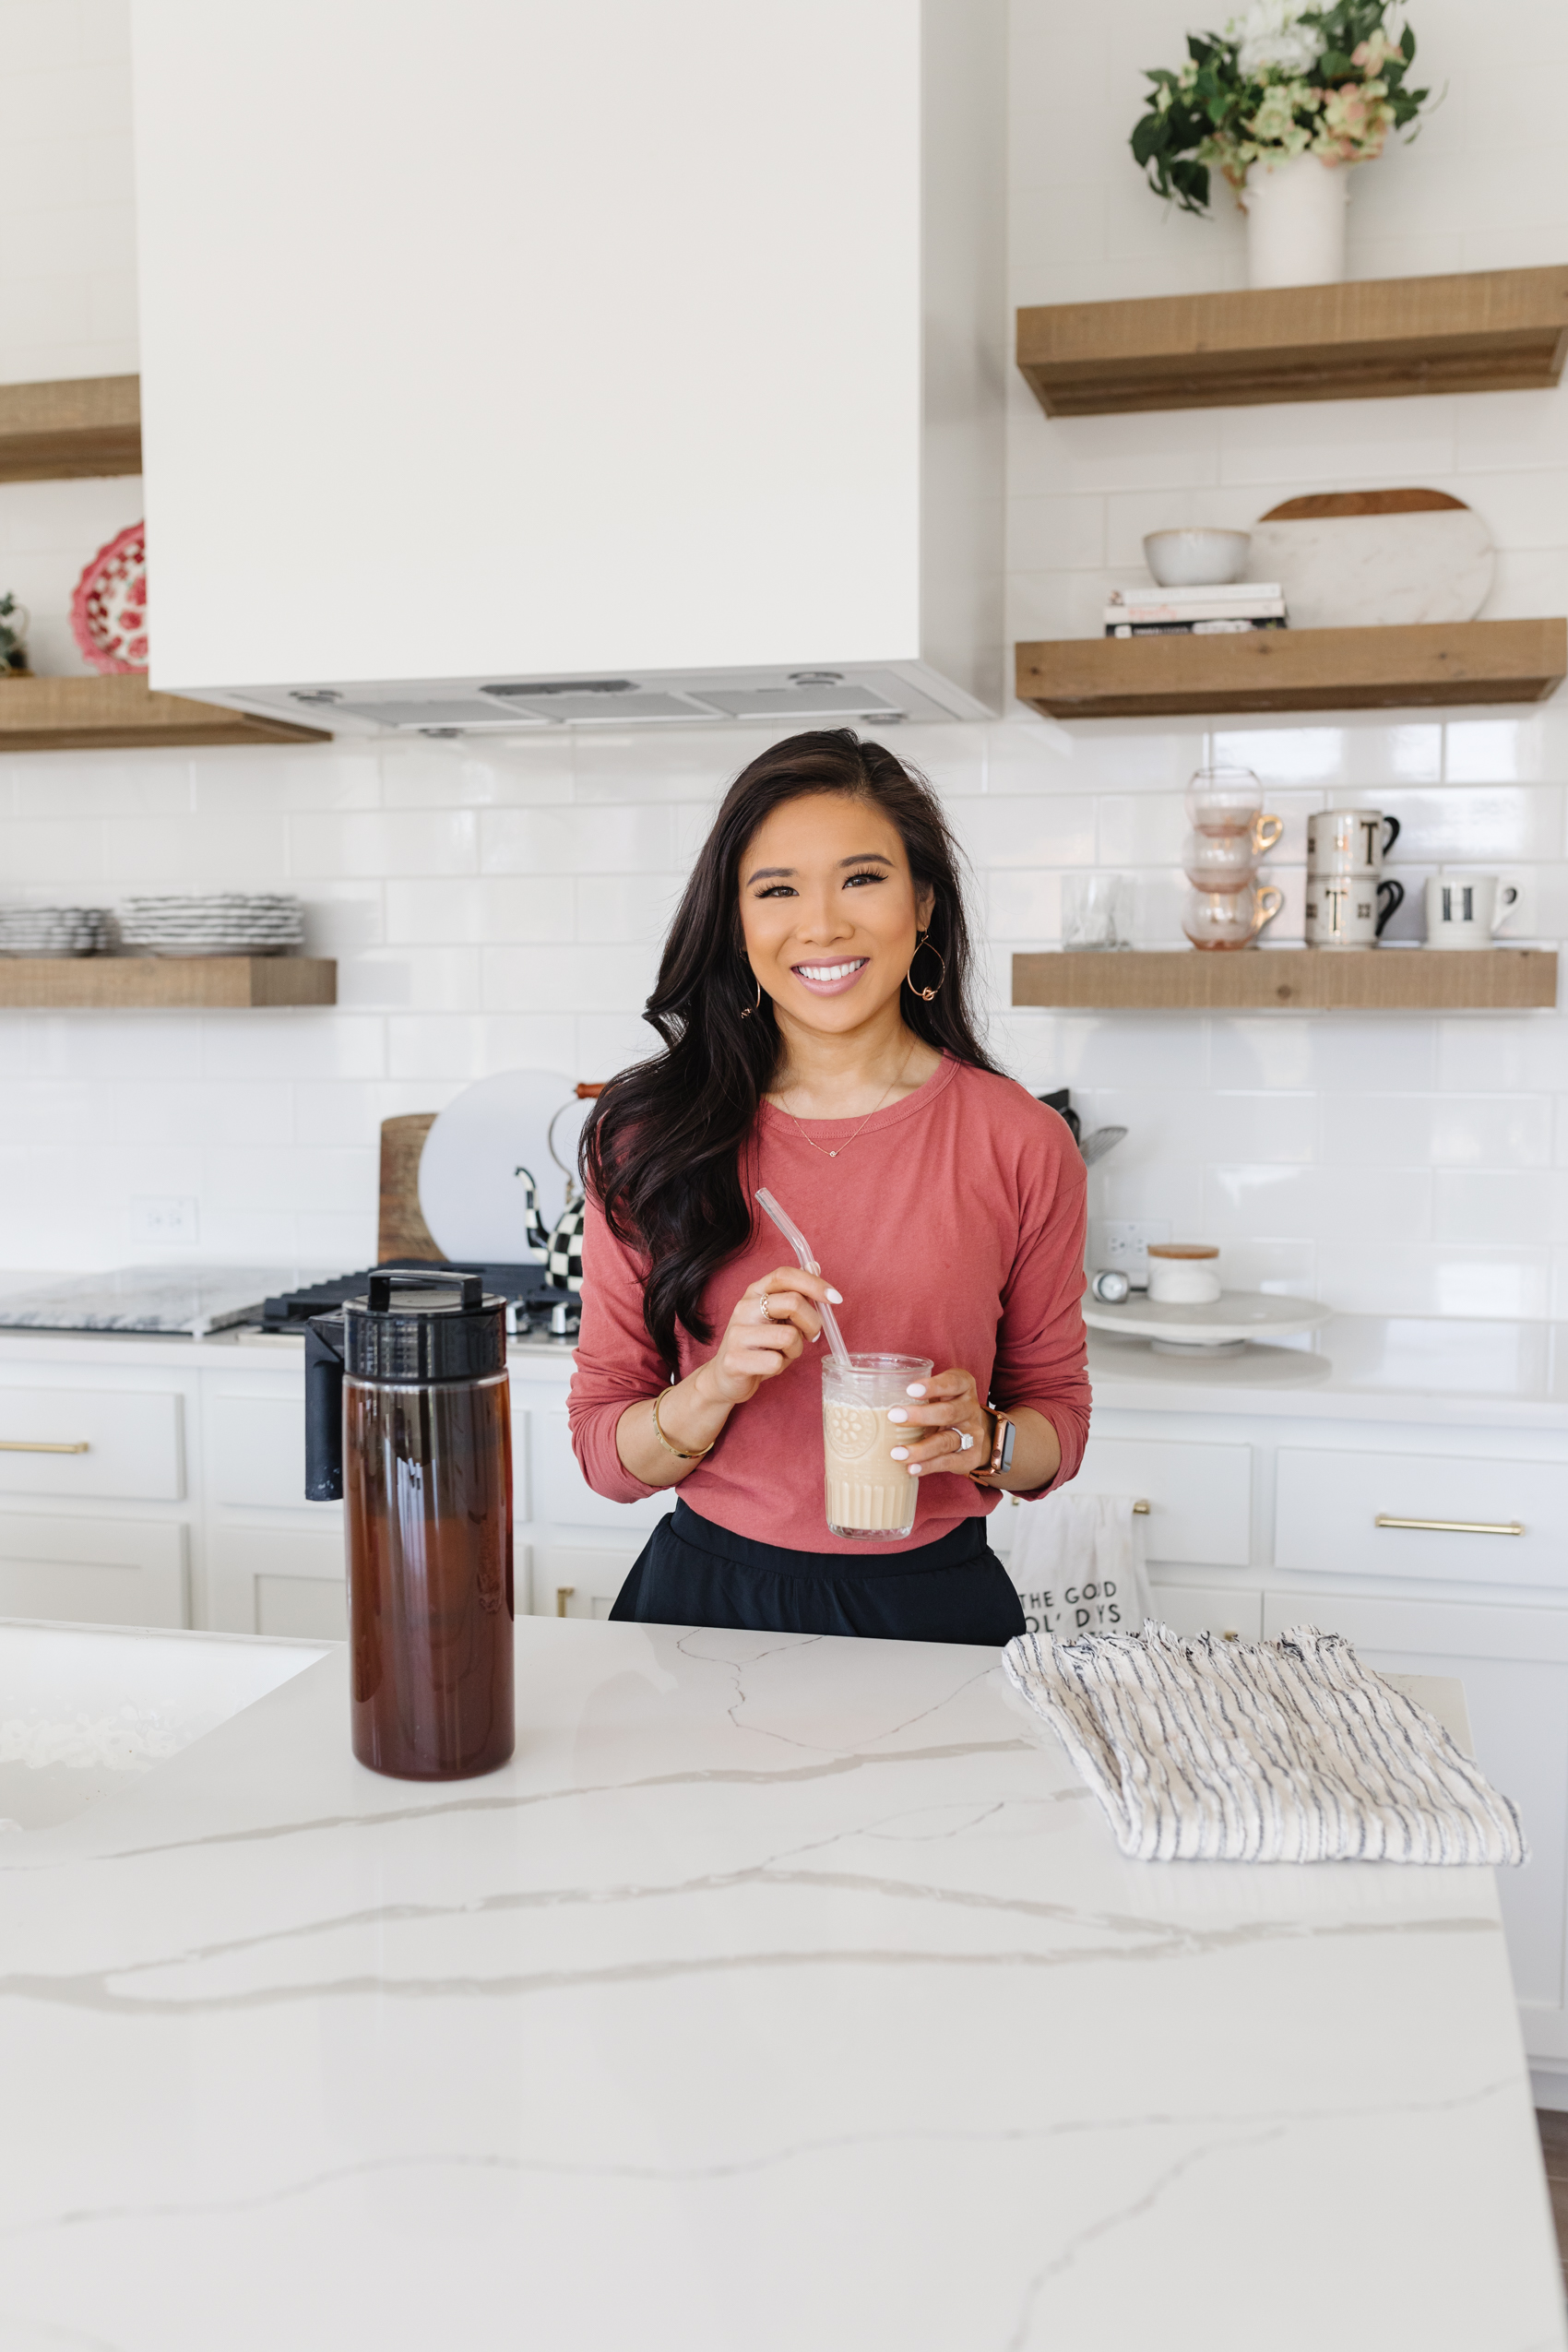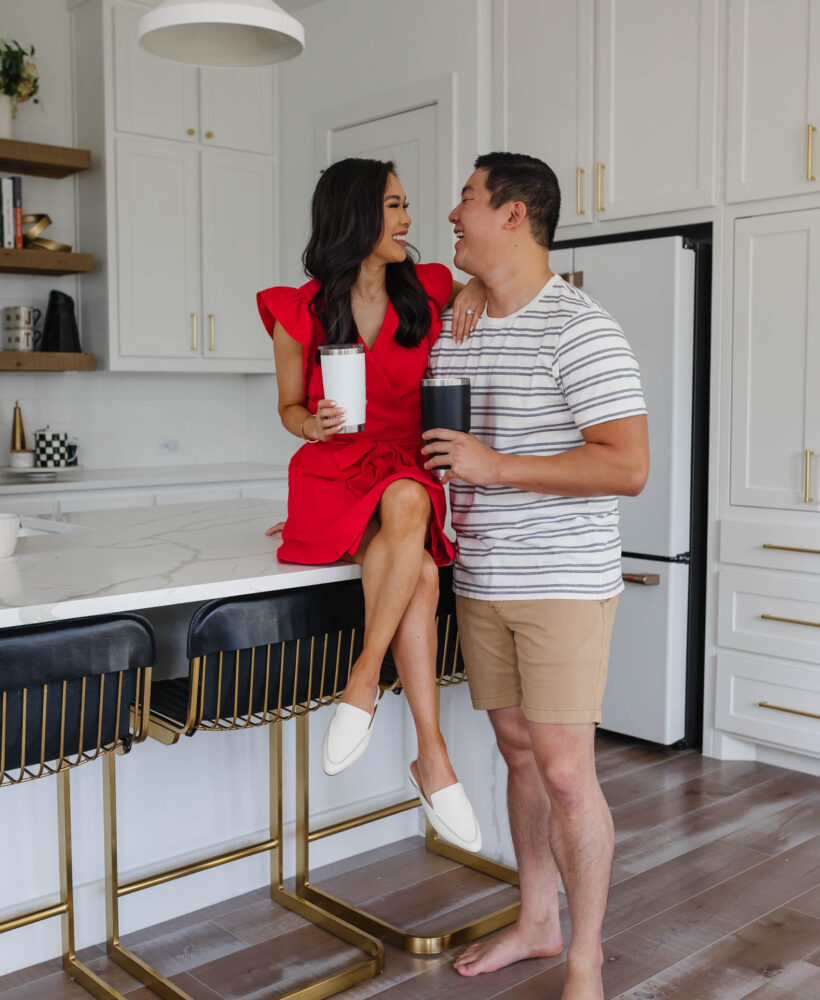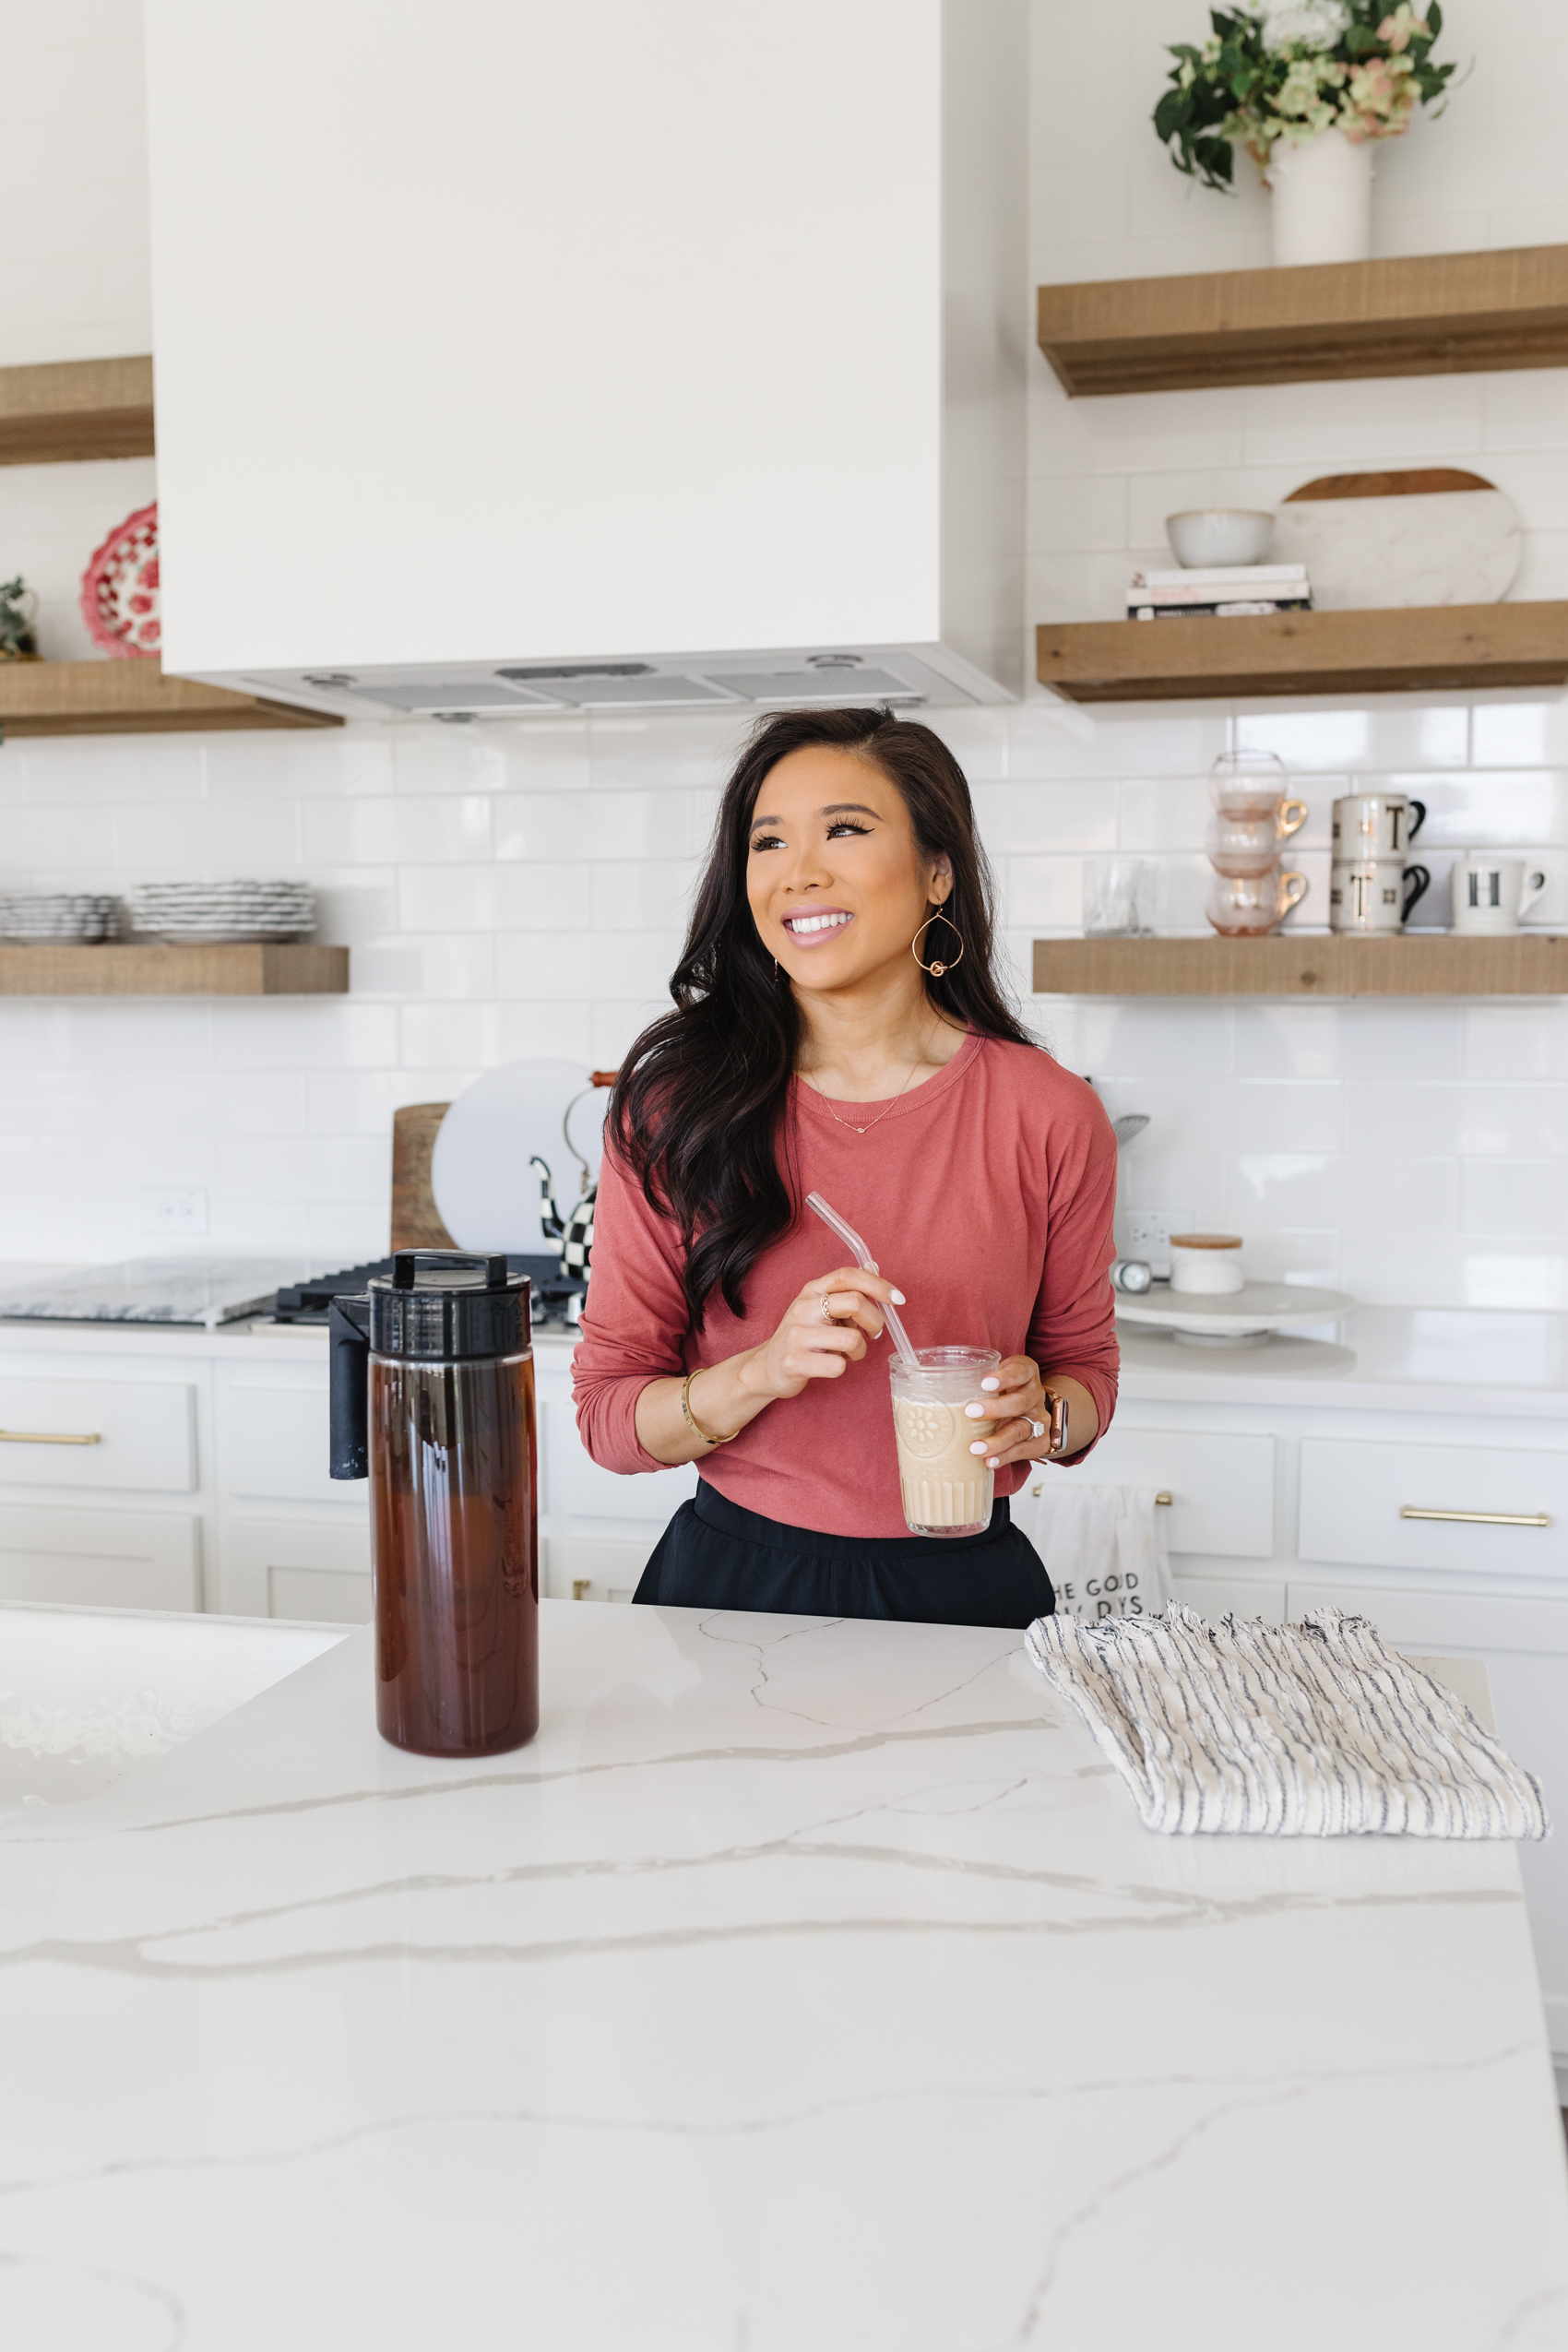
[outfit_details]Long Sleeve Tee, Black Joggers, Kendra Scott Presleigh Earrings, Leather Apple Watch Band
Charlotte Tilbury Lip Liner, YSL Lipstick[/outfit_details]
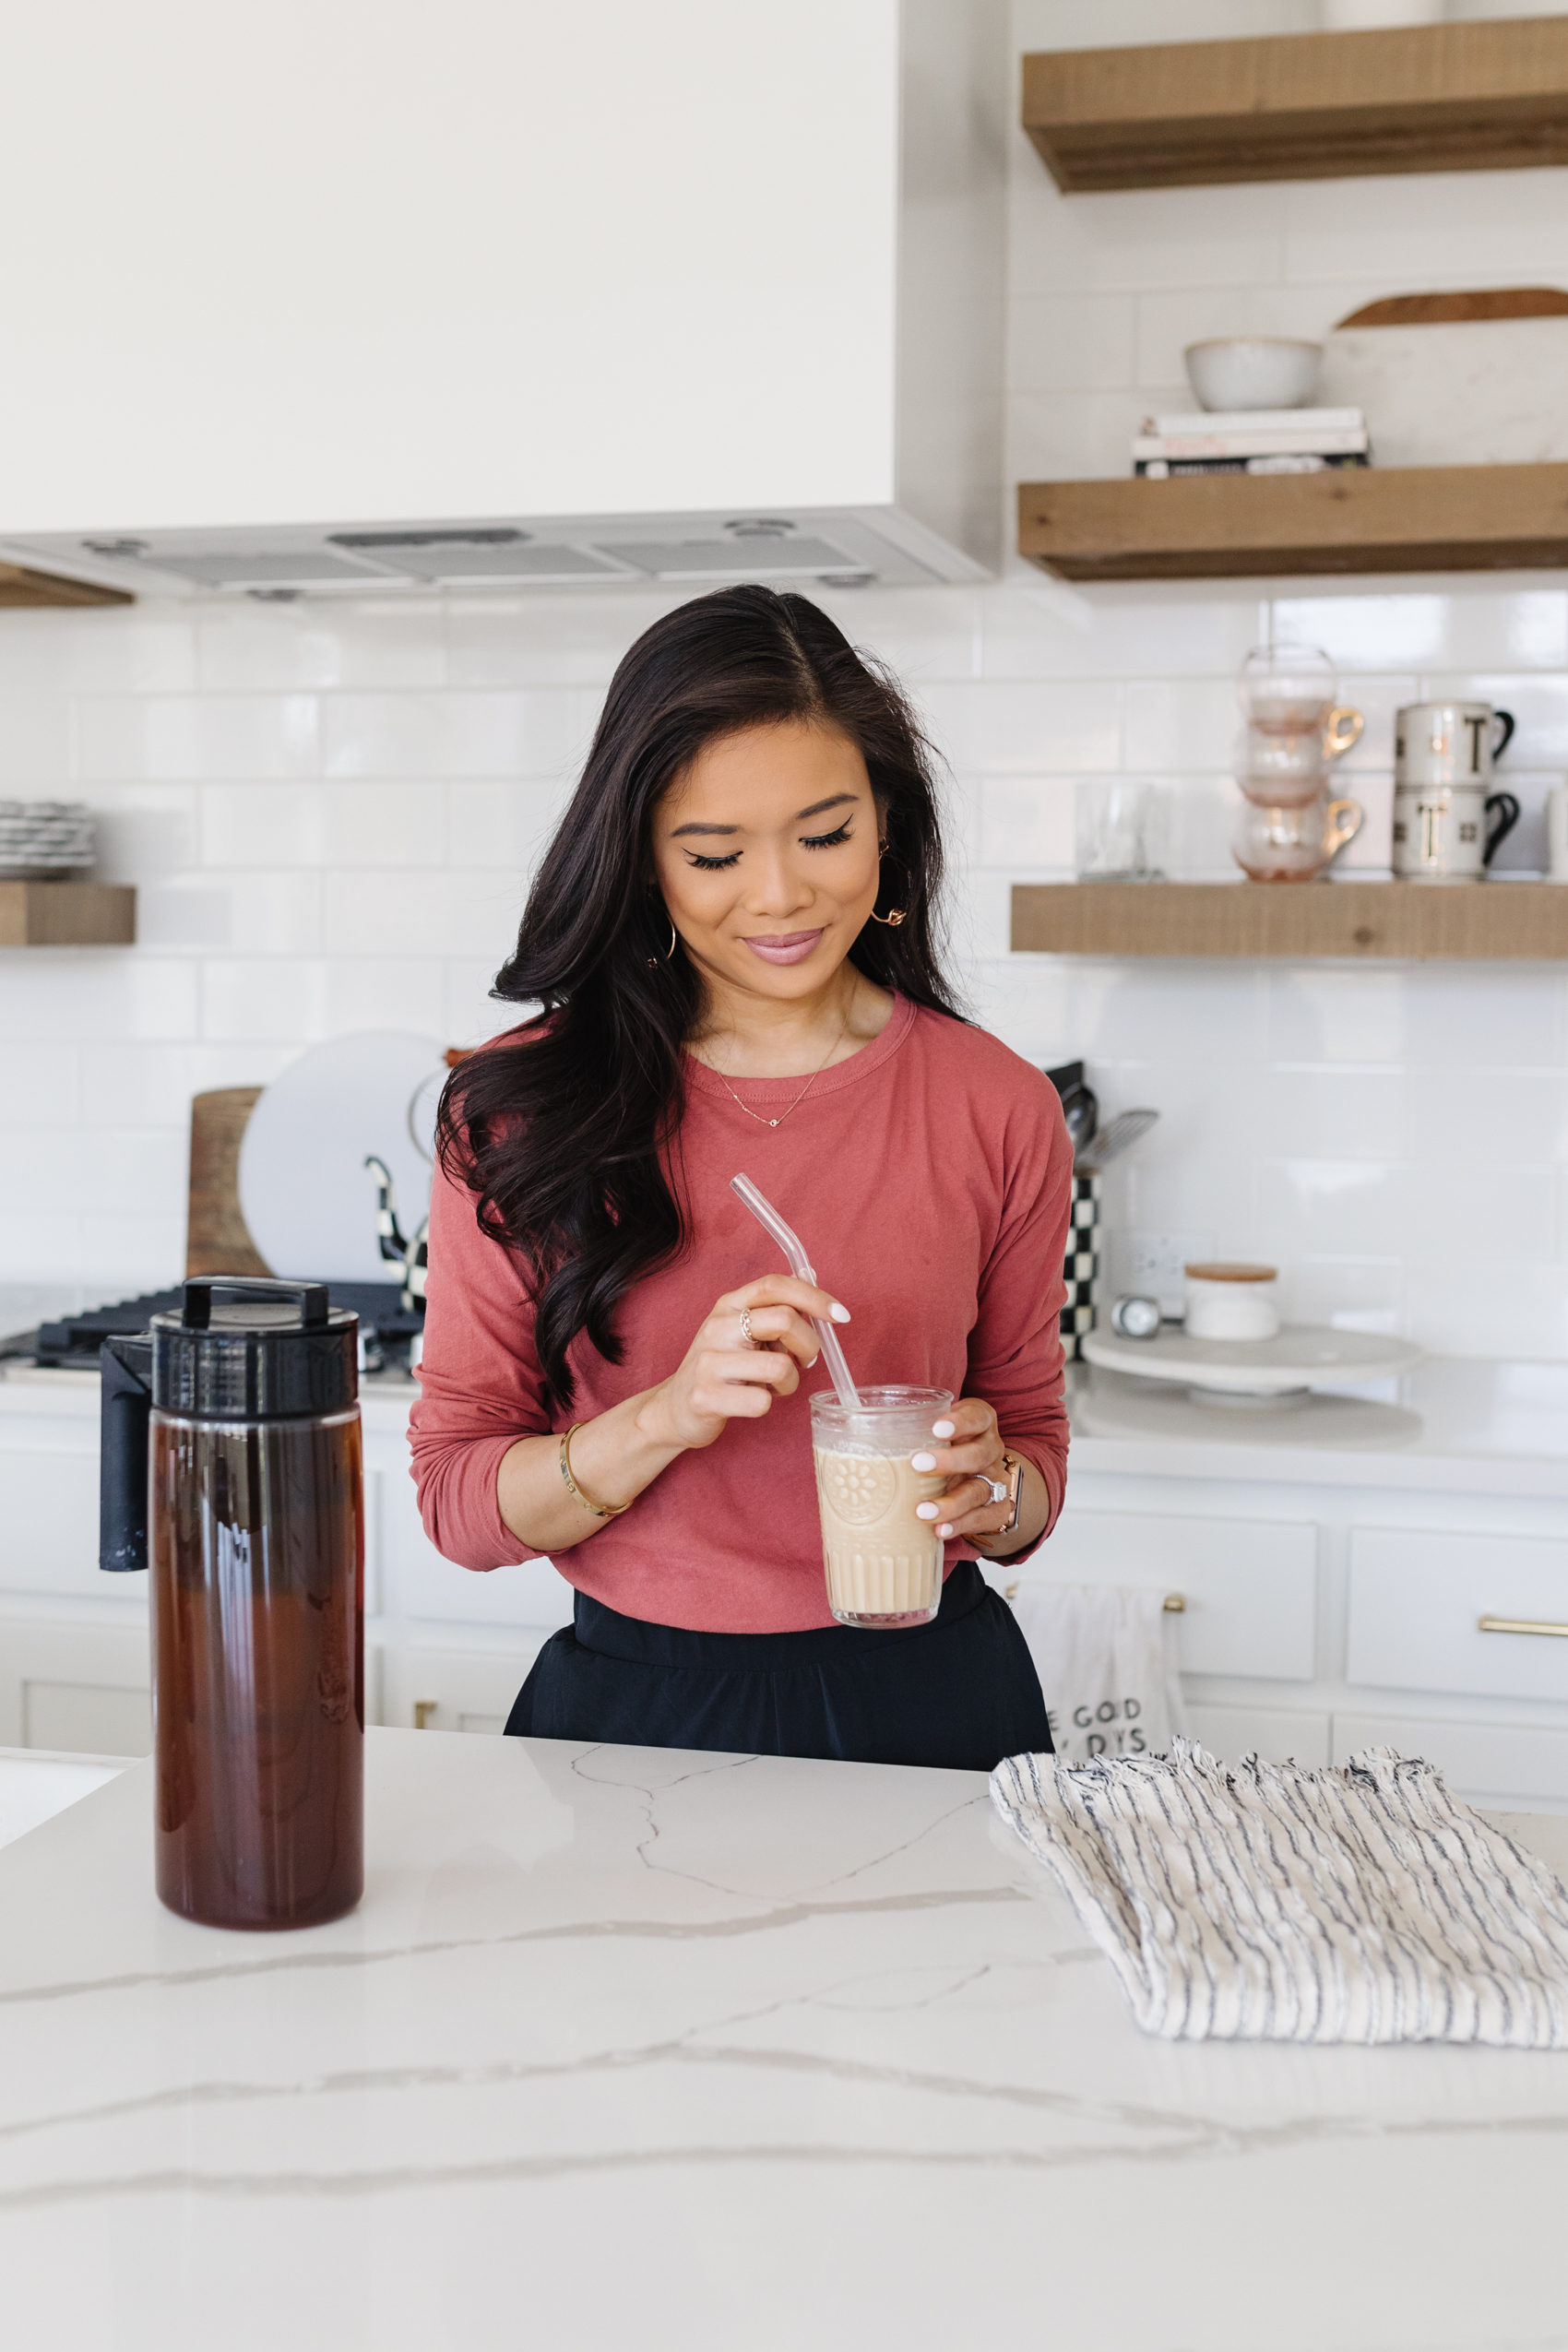
We are huge cold brew fans in our home. It’s less acidic than hot brewed coffee, has a smoother taste and is ice cold! Johnny drinks it black while I love it with creamer. We used to spend money buying cold brew either from local shops or in pre-made bottles from grocery stores. You can easily make it at home and it doesn’t require a ton of training to taste just right! Plus, it’s not expensive either and you’ll most likely be saving money in the long run, so let’s get started!
Set Up For Success
Before we dive into the tutorial, I want to point out a few things to set you up for success:
- Use this cold brew maker: It’s failproof. So easy, anyone can do it! We have the two-quart version.
- Use coarse grounds: When your coffee grinds are smoother, they can seep through the filter leading to your coffee getting that sandy, muddy feeling and taste. The more coarse, the better. We used have our local shop grind them for us
- Filtered water is preferred: This will improve the taste of your coffee and just a good habit overall. We use this water filter.
- Steep for at least 12 hours: Patience is a virtue and you’ll want to let your cold brew steep in your refrigerator for at least 12 hours or you’ll get a weaker cup of coffee. We prefer the 18-hour mark, but have heard to do no more than 15 hours.
How to Easily Make Cold Brew Coffee
Equipment
- Cold Brew Maker
- Spoon
- Bottle or jar for holding your cold brew
Ingredients
- 12 oz coffee beans
Instructions
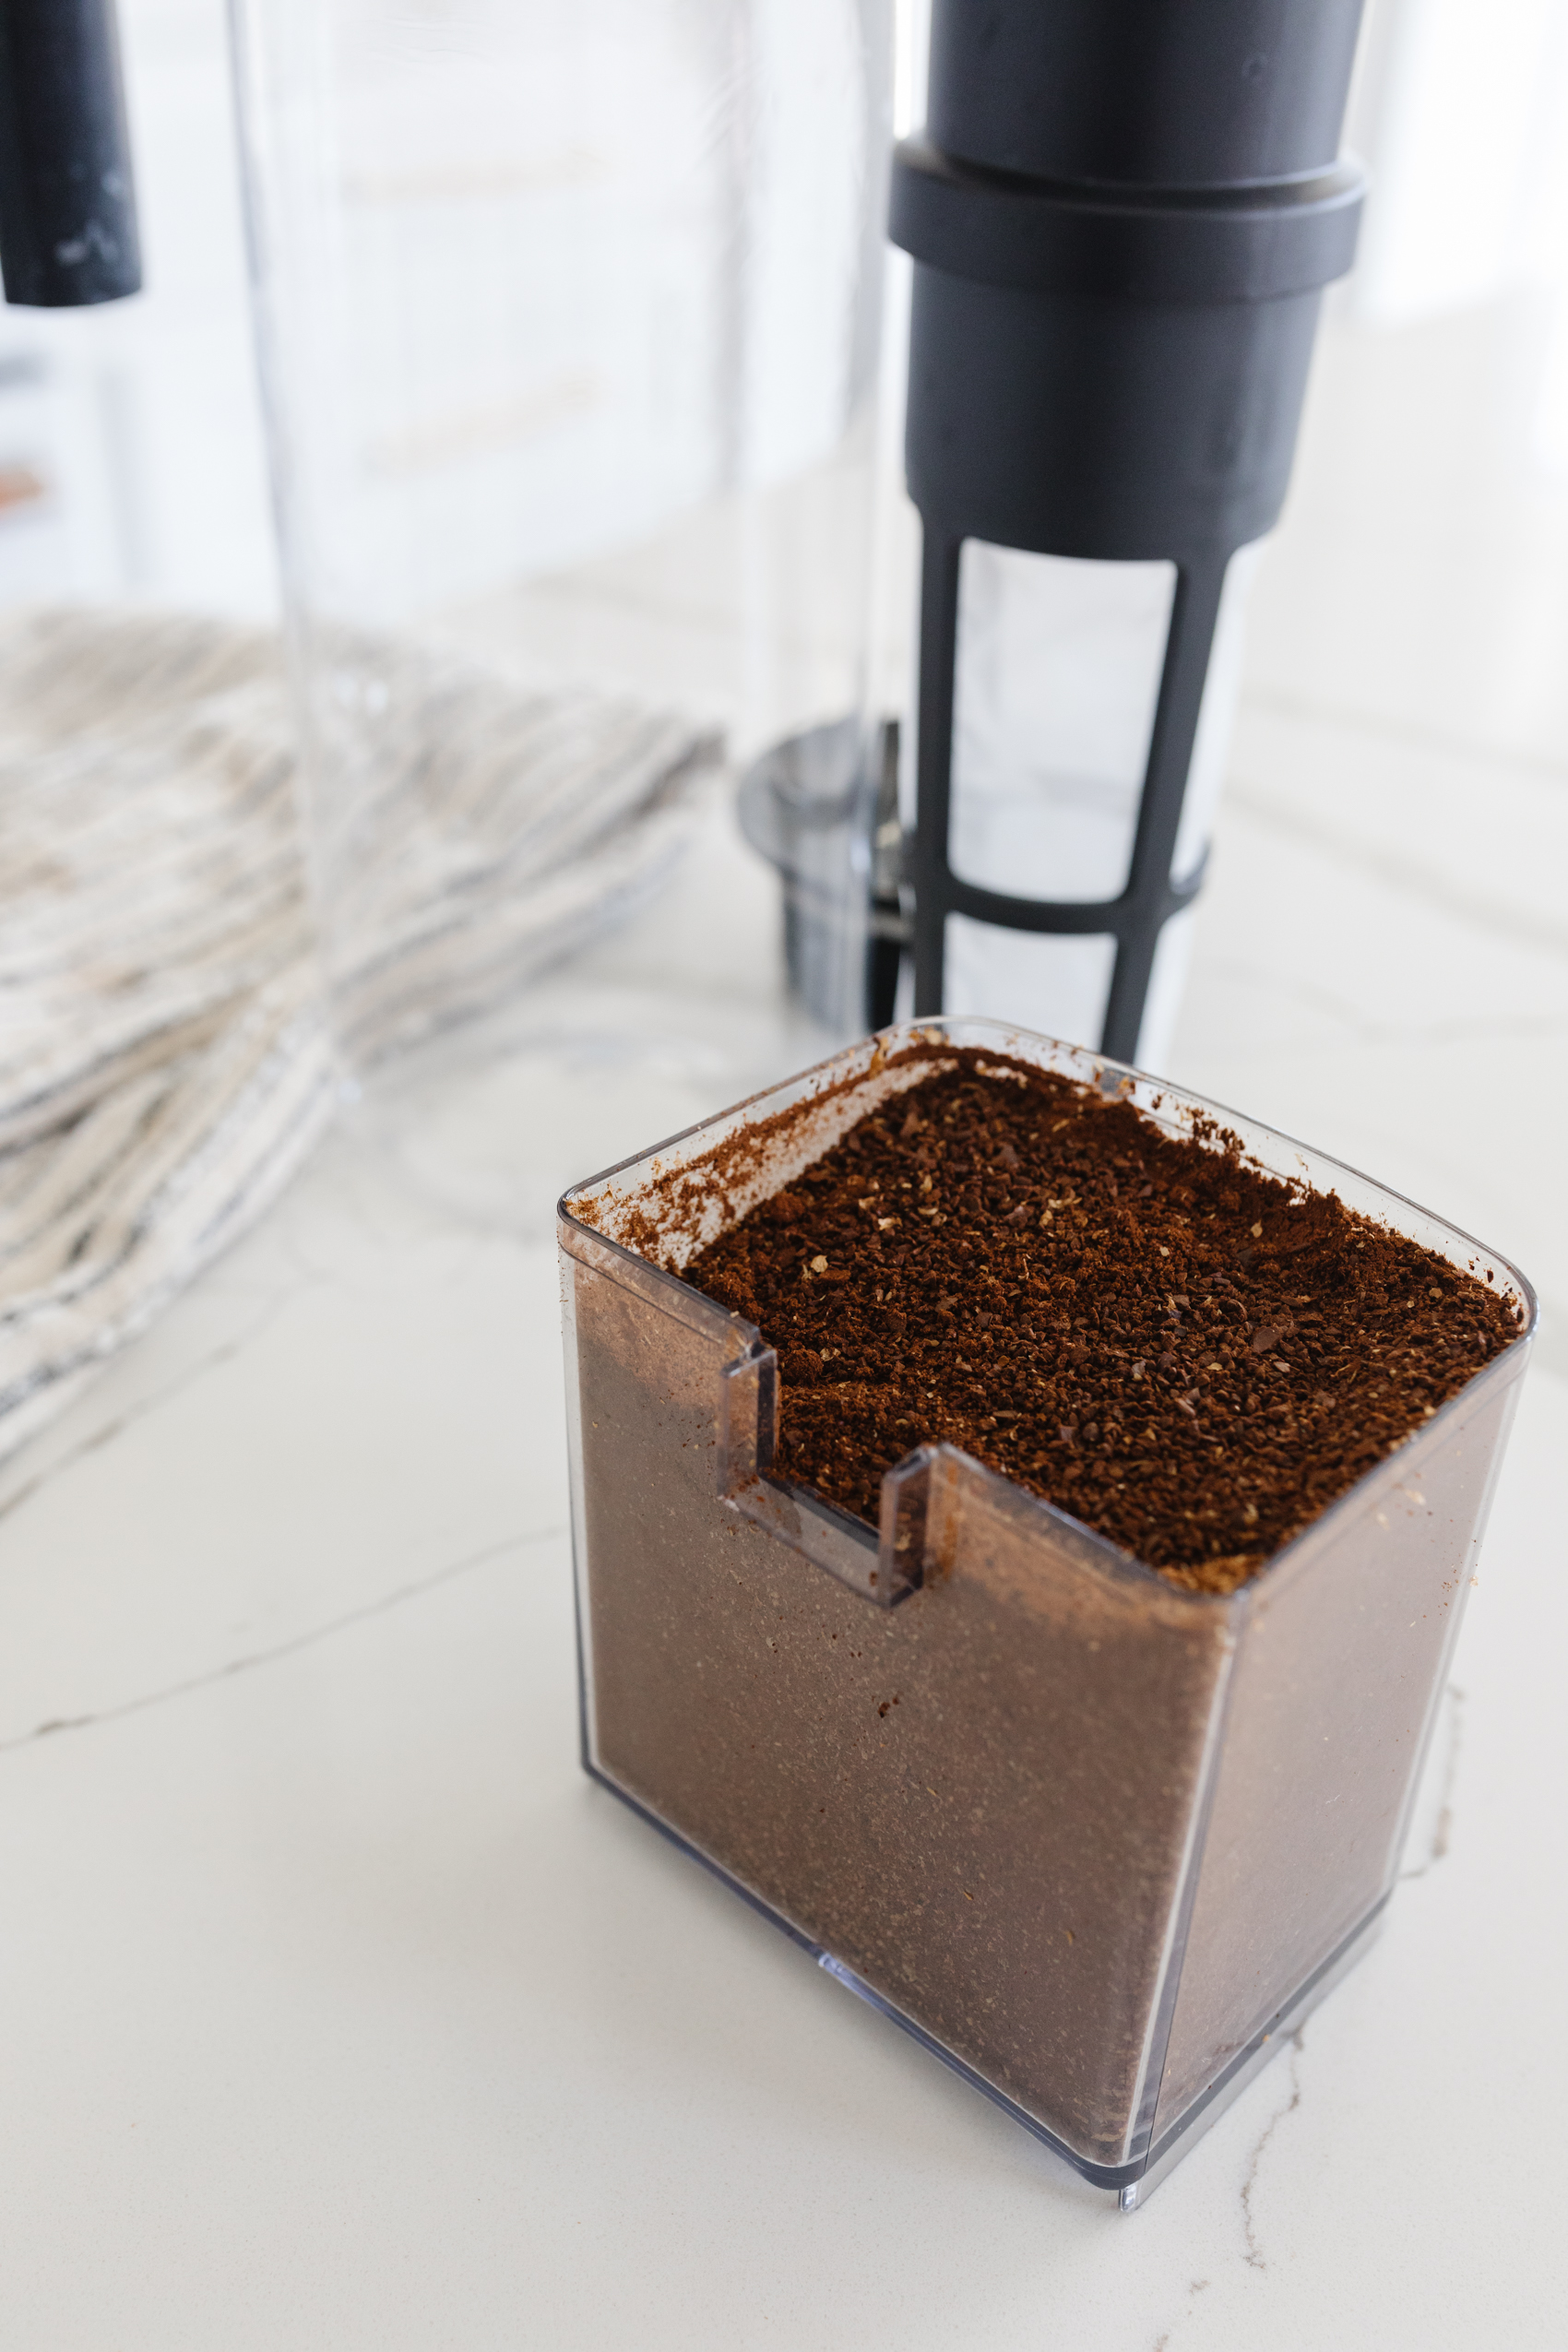
- Coarsley grind your coffee beans. If you are grinding it yourself, make sure it's on the coarsest setting. You want it to look like cornmeal and not a fine powder.
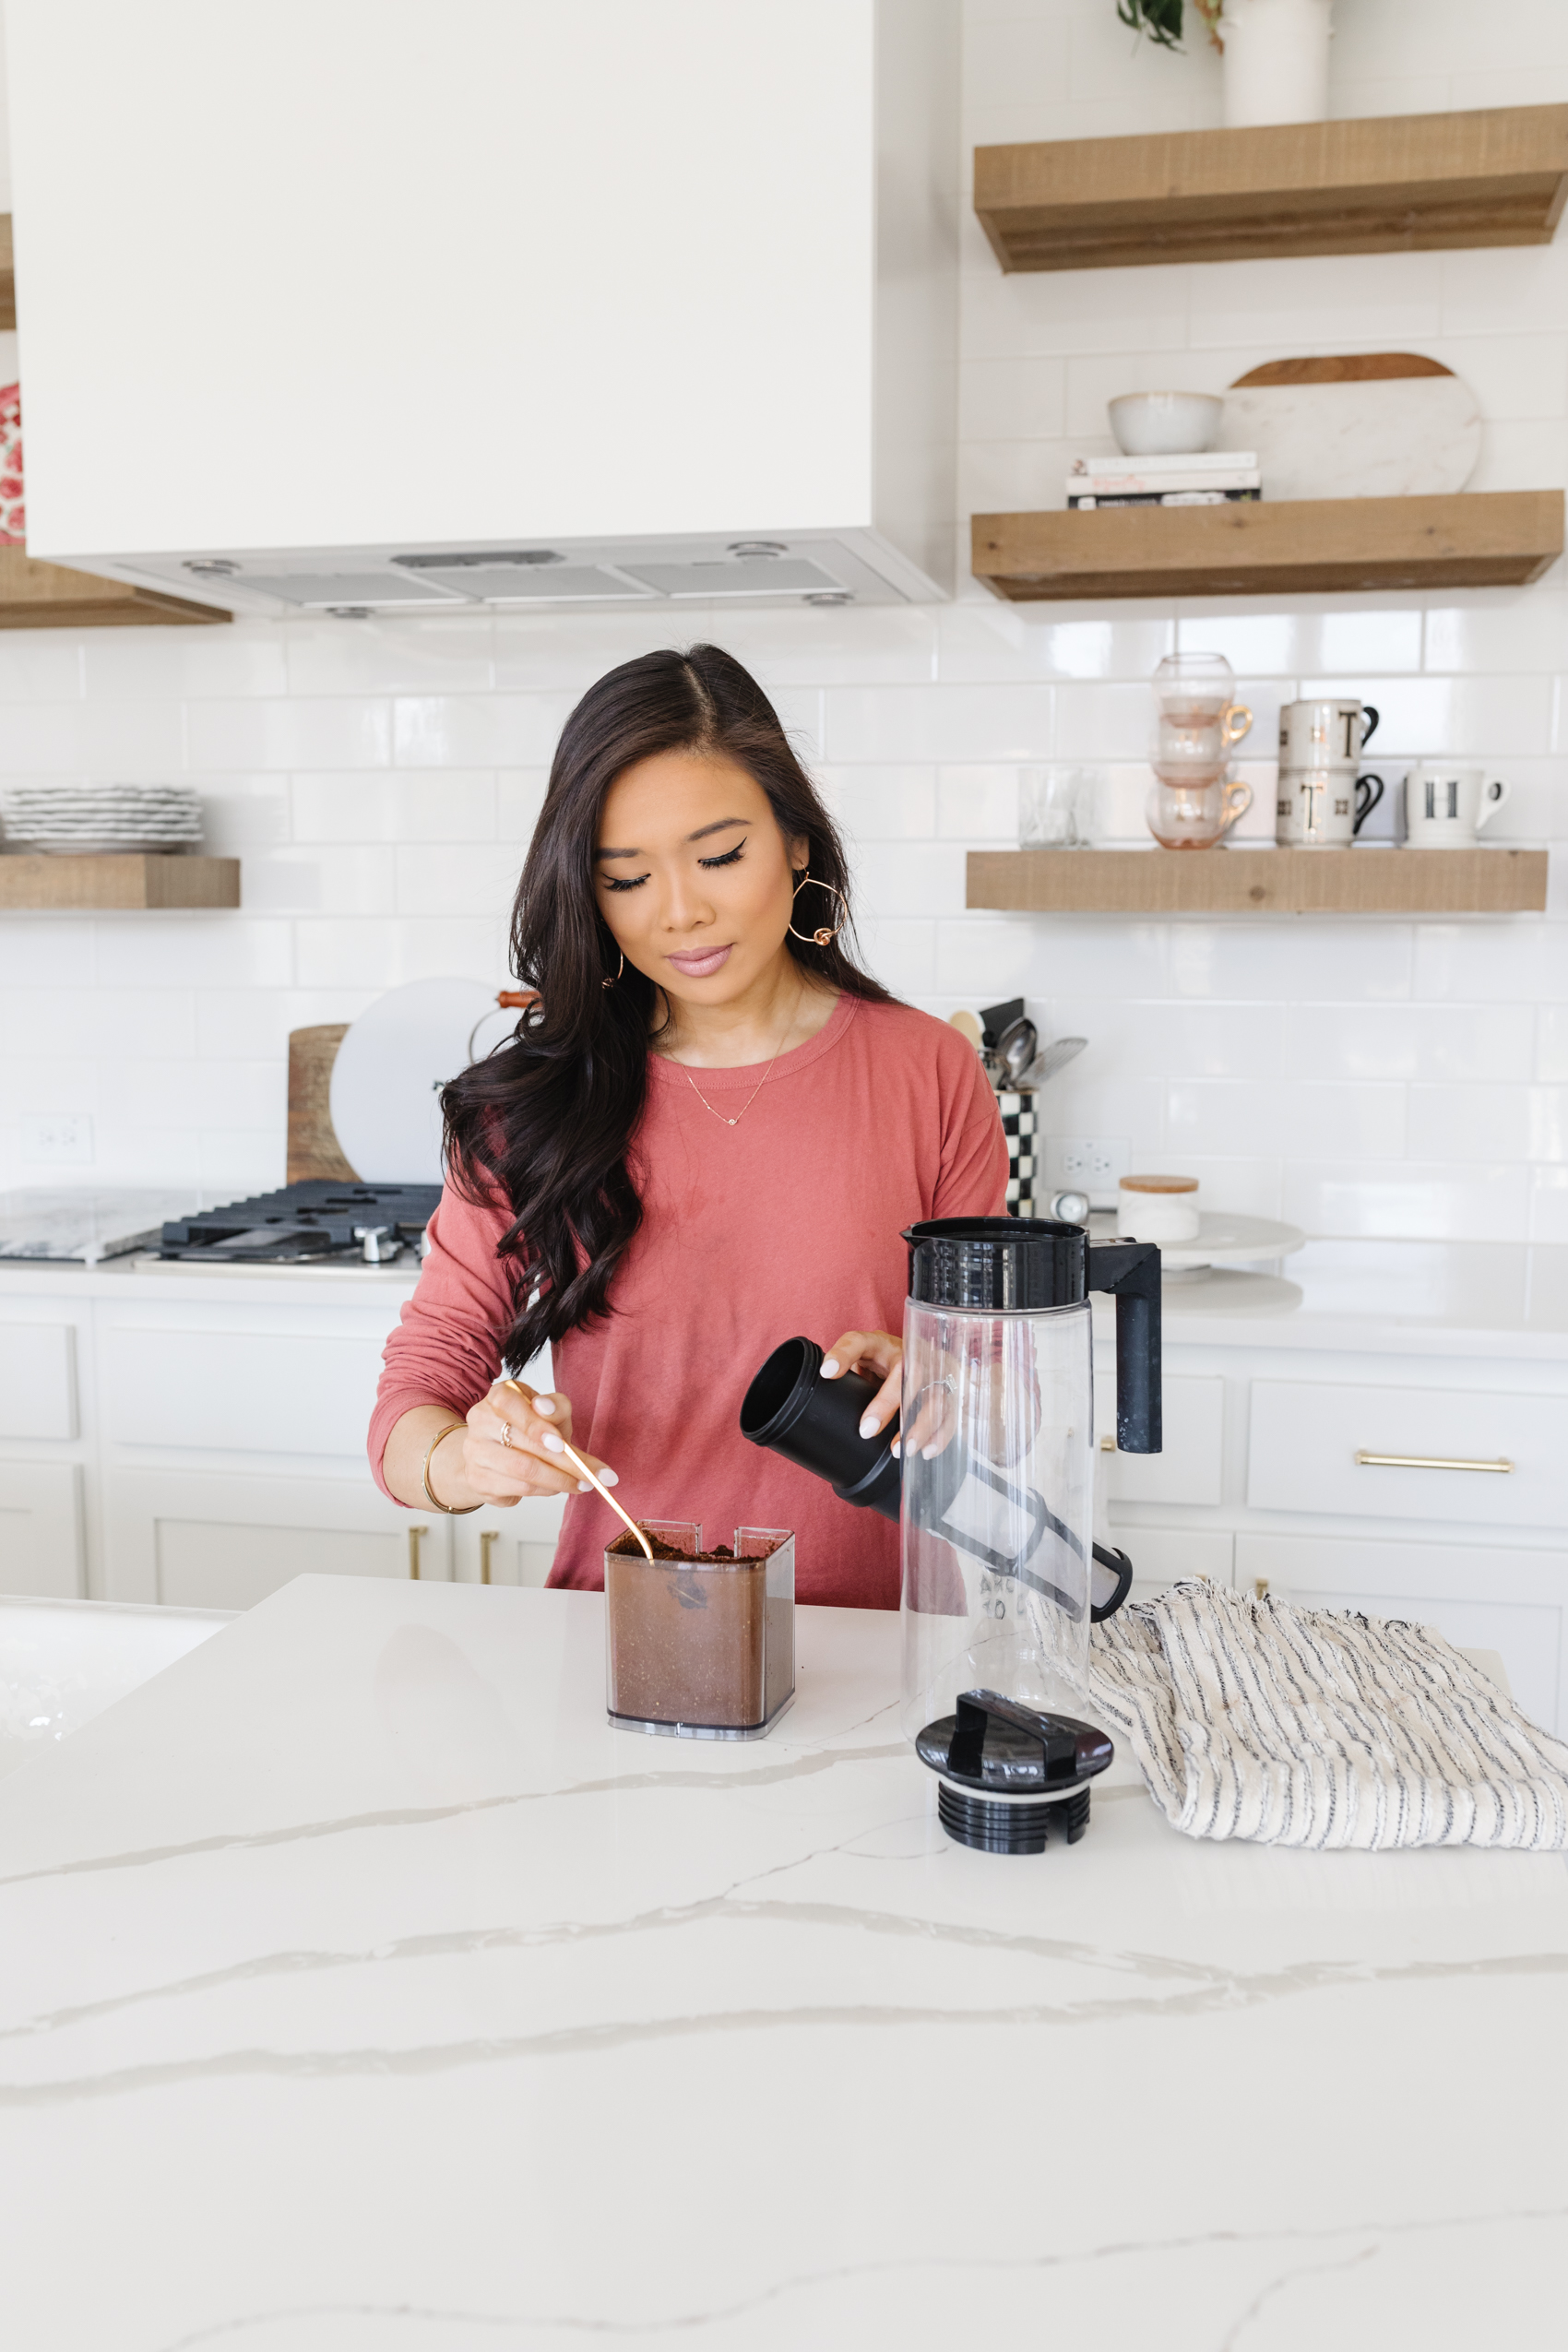
- Using a spoon, fill the coffee filter until you cannot see light coming through.
- Fill the cold brew maker with about 2 quarts of filtered water.
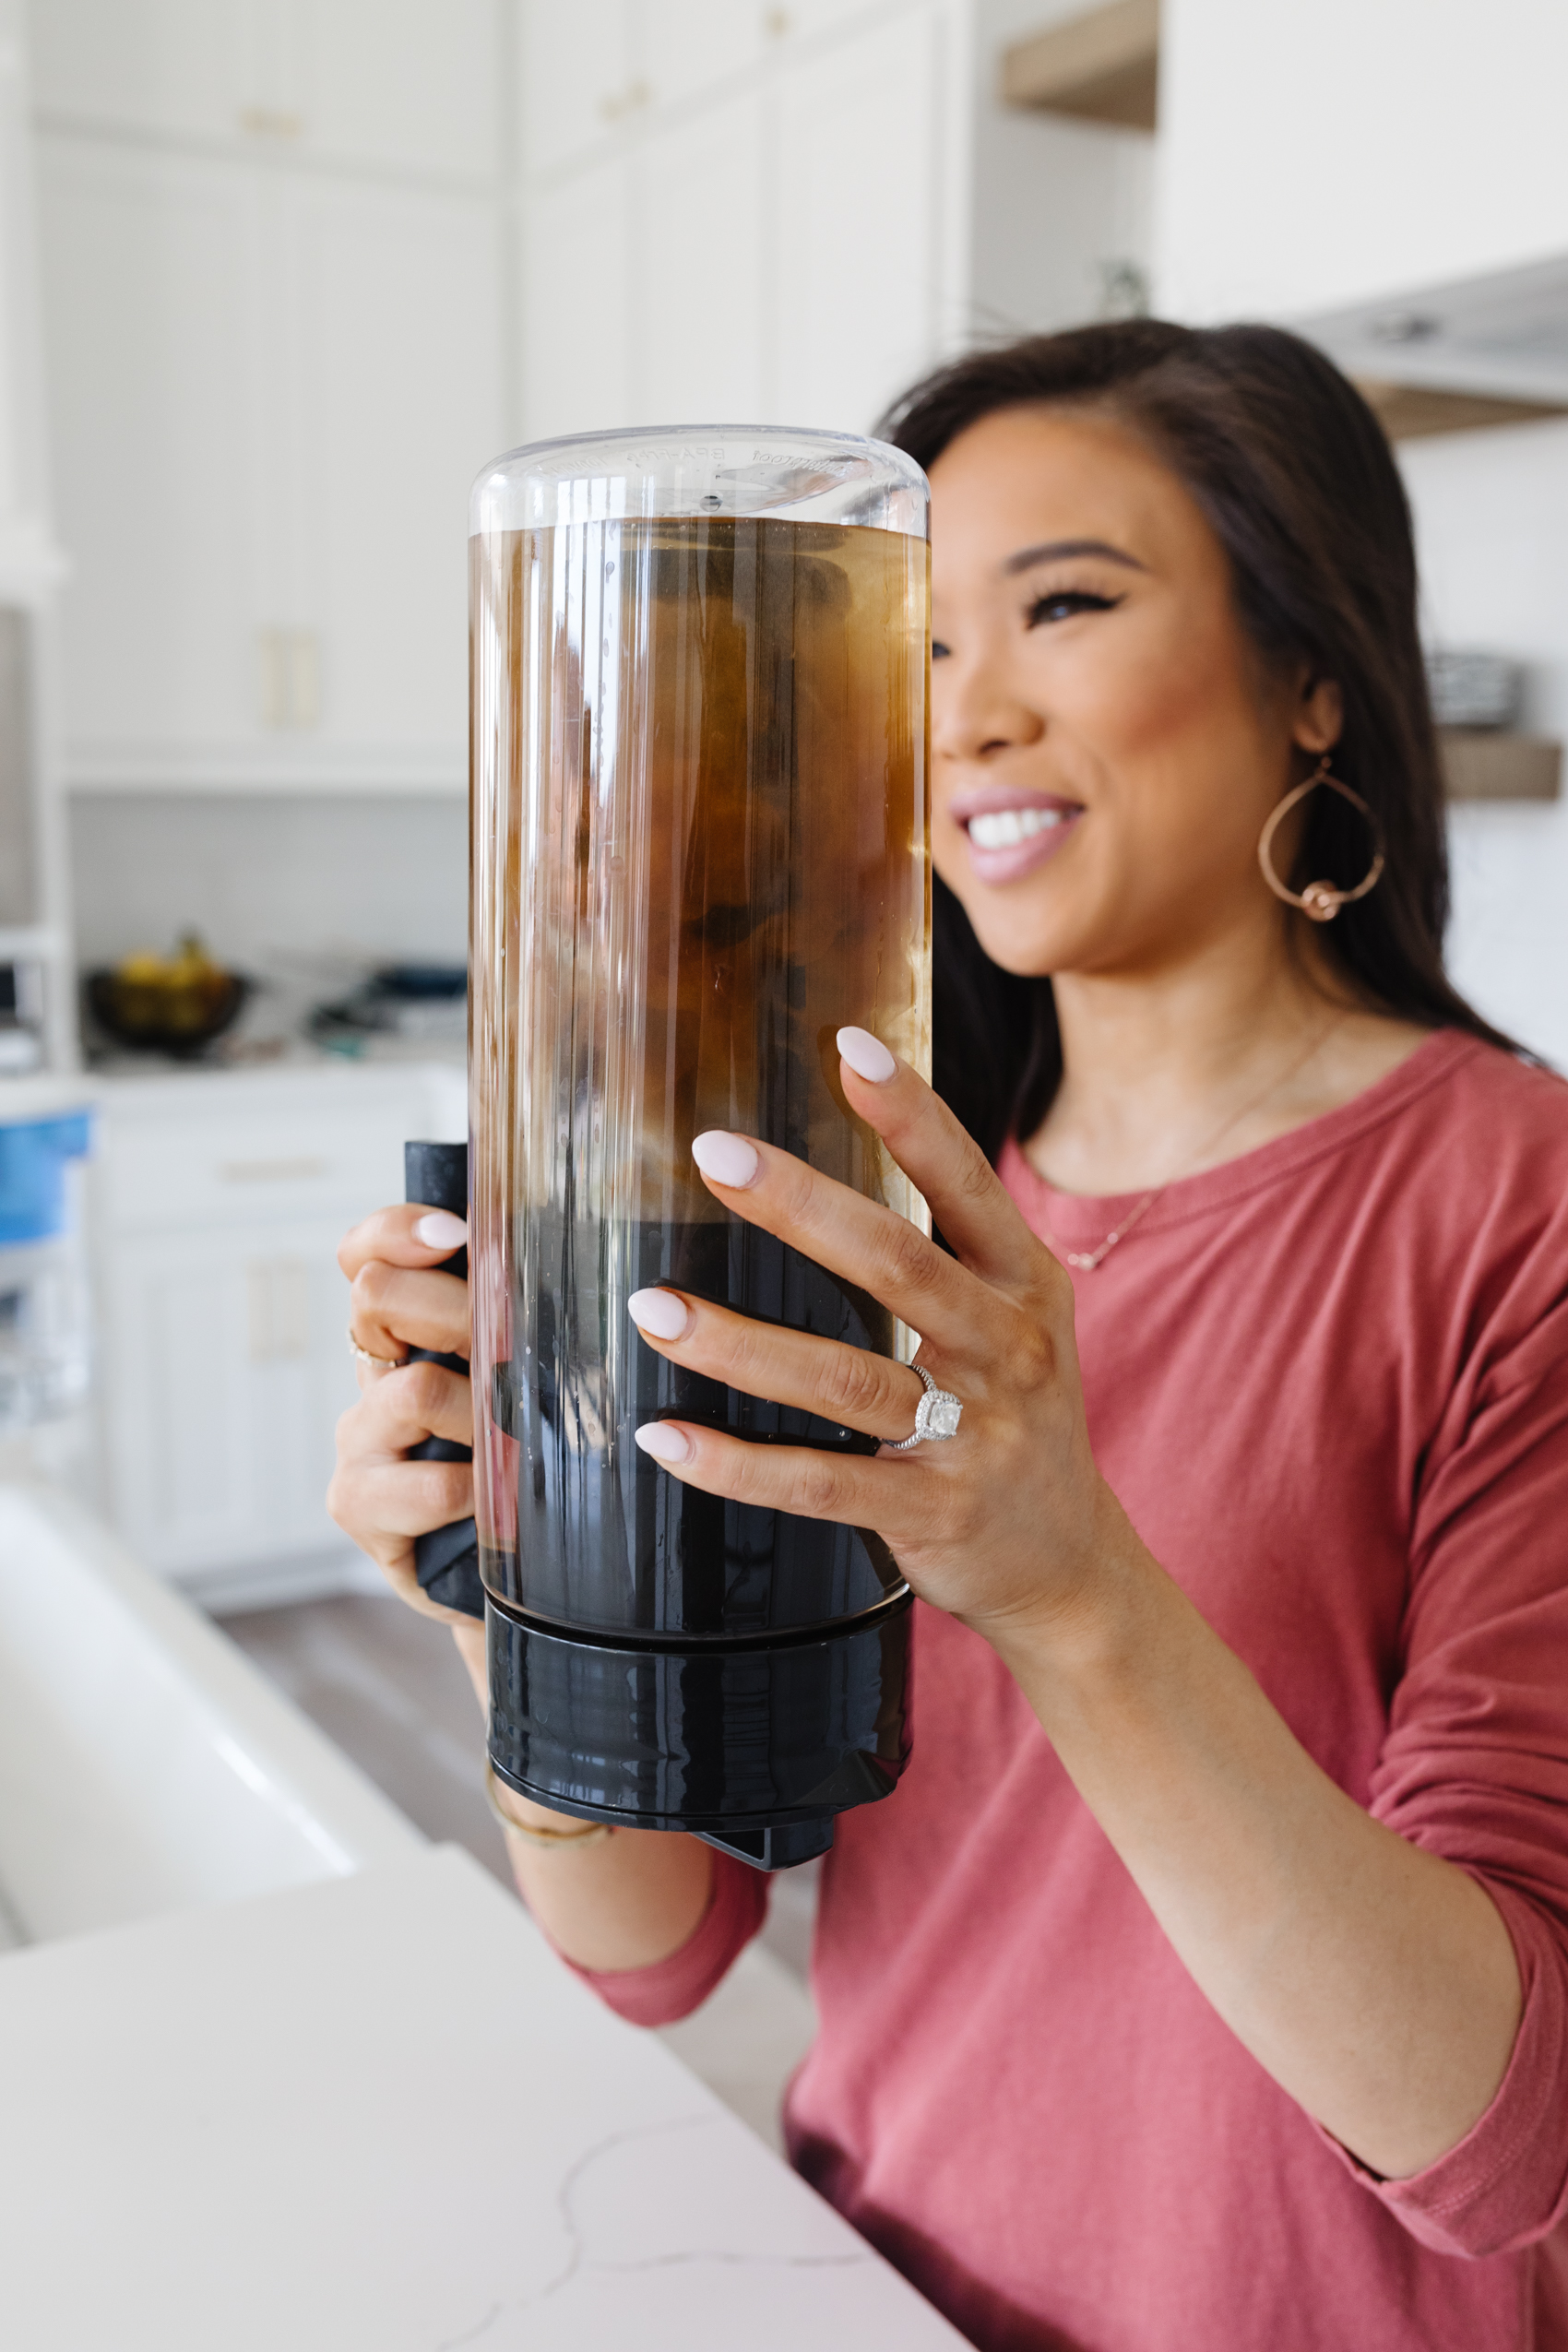
- Screw the filter and lid on. Make sure it's tight, then flip the entire cold brew maker upside down until you see a little explosion. Then, flip it right-side up and place in the refrigerator.
- Let your cold brew steep for at least 12 hours. We prefer 18 hours but after 12 hours, it's all personal preference.
- Store in a bottle or jar in the refigerator and enjoy!
STEP 1
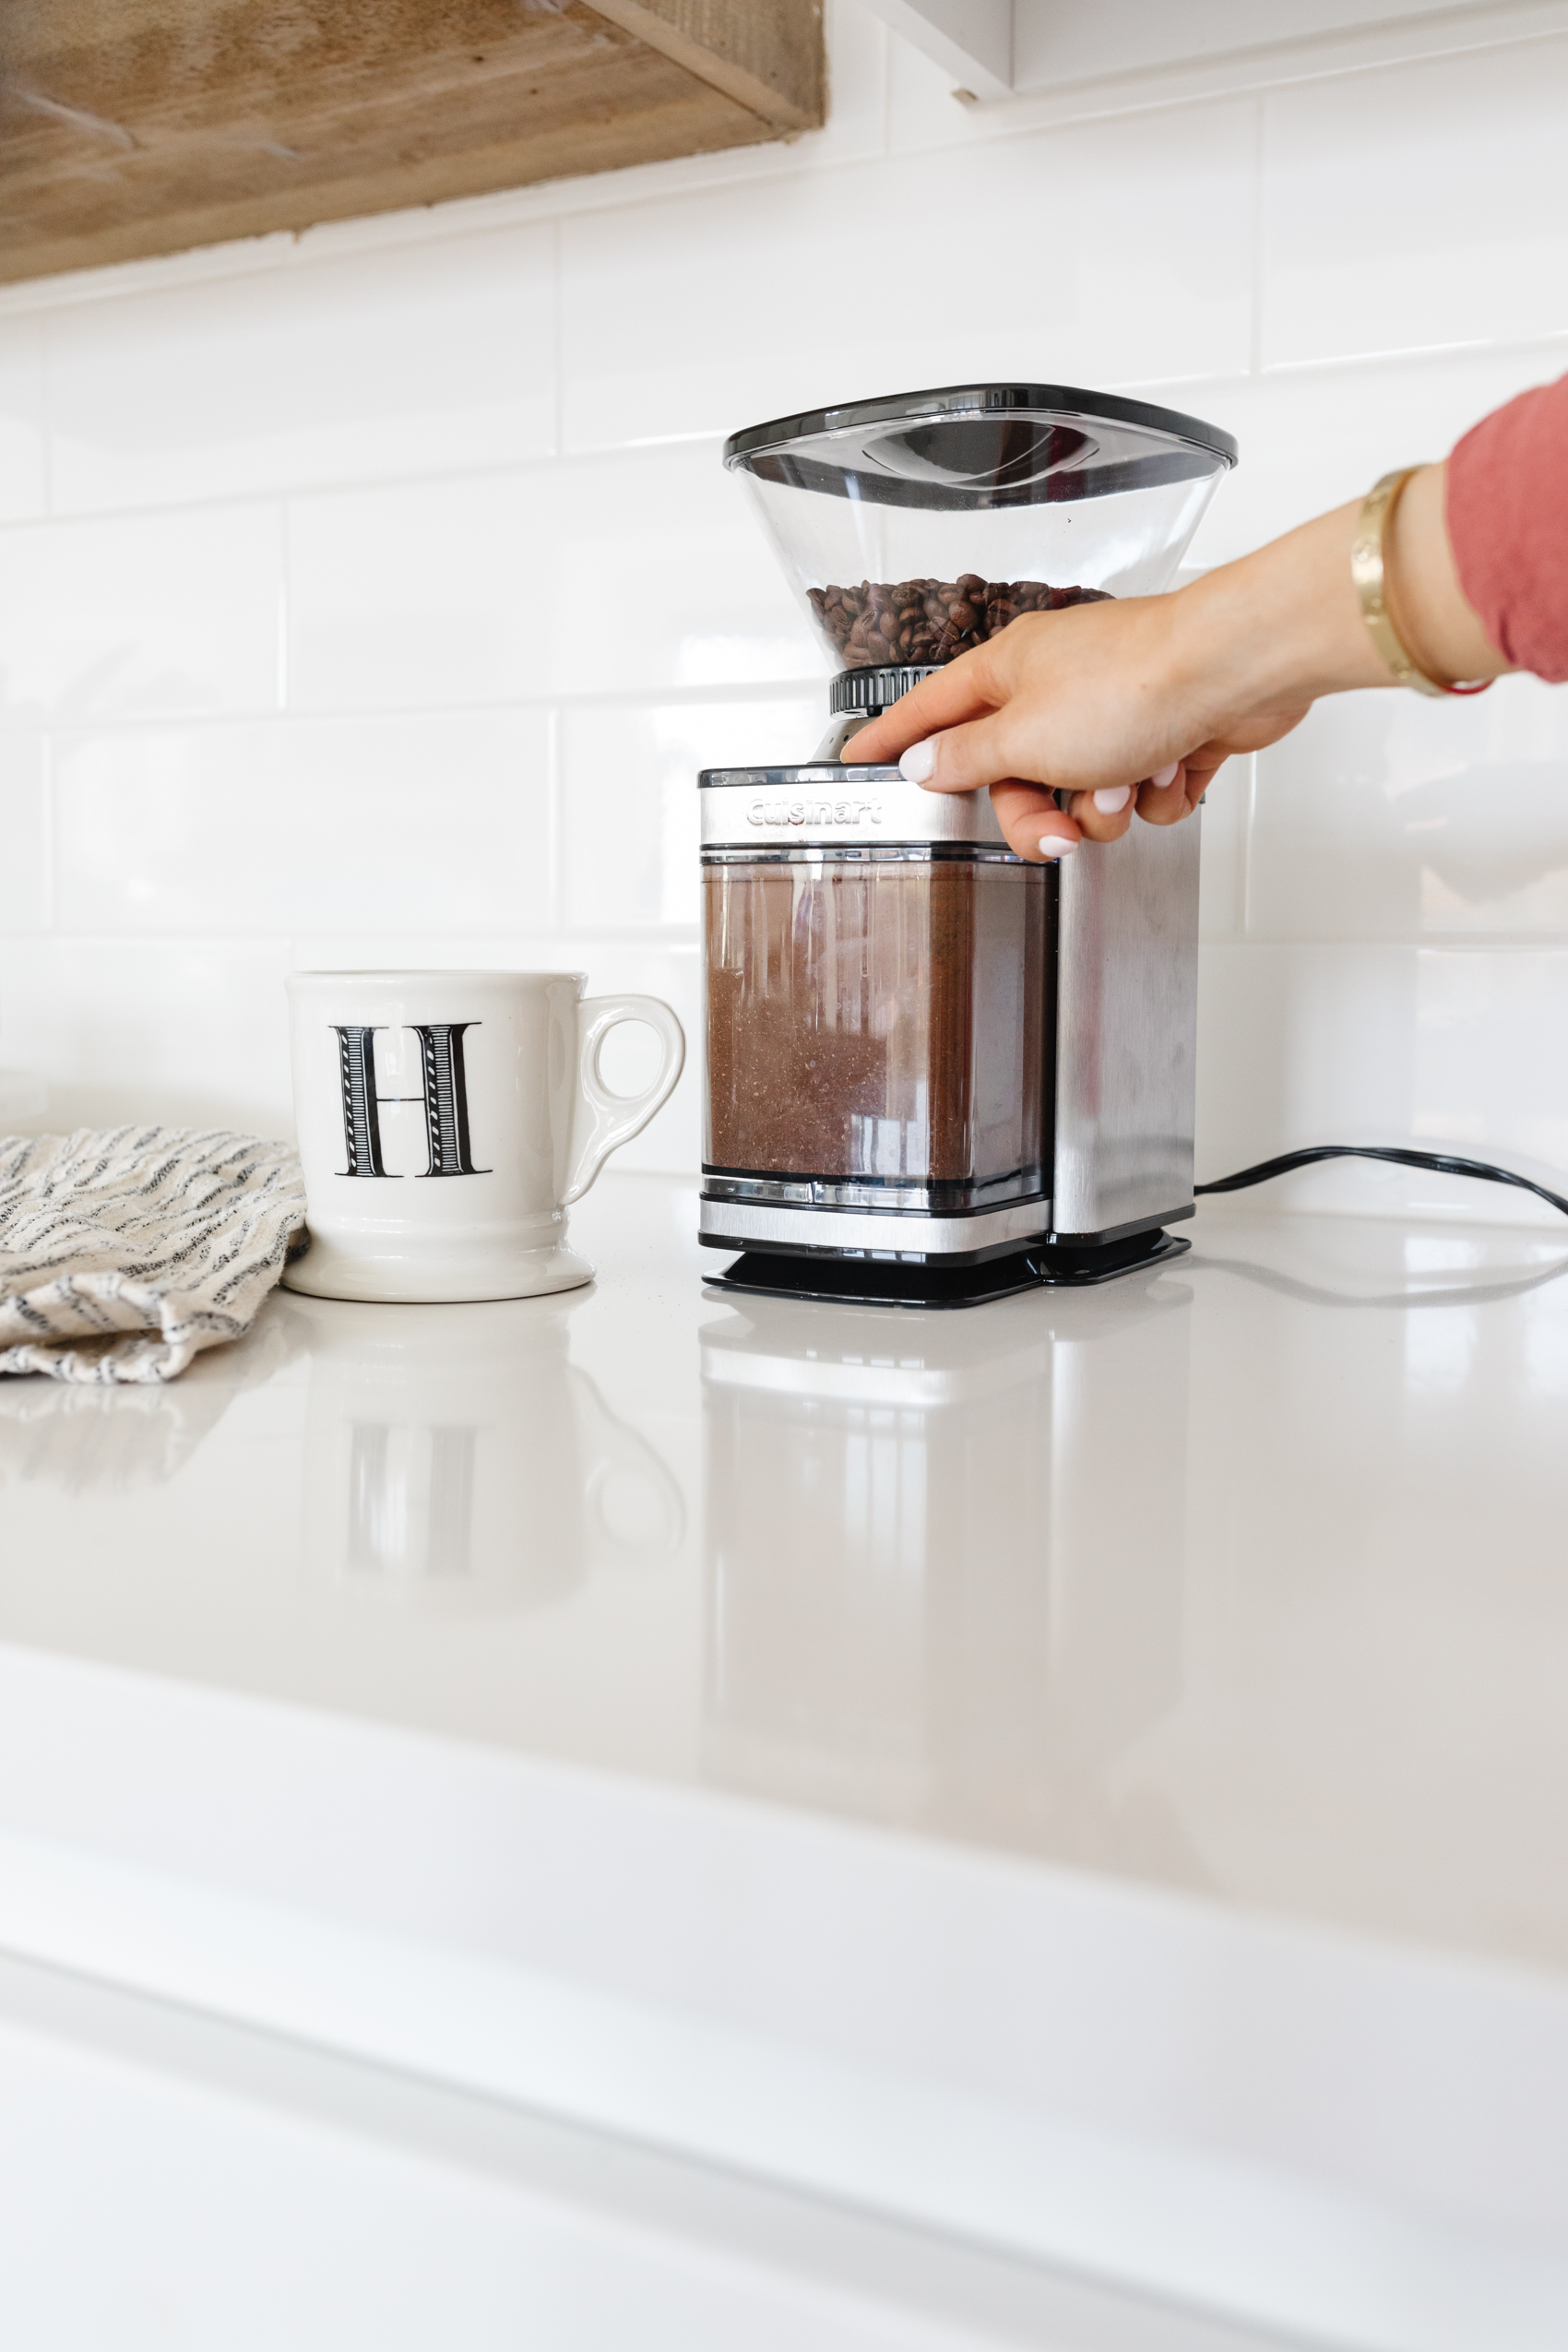
Coarsely grind your coffee beans. If you are grinding it yourself, make sure it’s on the coarsest setting. You want it to look like cornmeal and not a fine powder. You don’t want it to be thin because it might seep through the filter, making your coffee muddy. We got this coffee grinder and have enjoyed it so far. No complaints! If you are local, we get our beans from Ascension.
STEP 2
Using a spoon, fill the coffee filter until you cannot see light coming through. This step is crucial – make sure it goes all the way to the top of the white part of the filter or your coffee will be very weak, even if you brew it for a long time. I also recommend doing this over a sink or trash can since there’s usually some fallout.

STEPS 3 & 4
Fill the cold brew maker with filtered water. You’ll want to stop the water right below the black cap or it will overflow. Place the filter inside, screw the lid on tightly, then turn it upside down. I love doing this because it helps the water break up the coffee and you’ll see a mini-explosion (pictured above), which is so soothing to watch.
SERVING COLD BREW
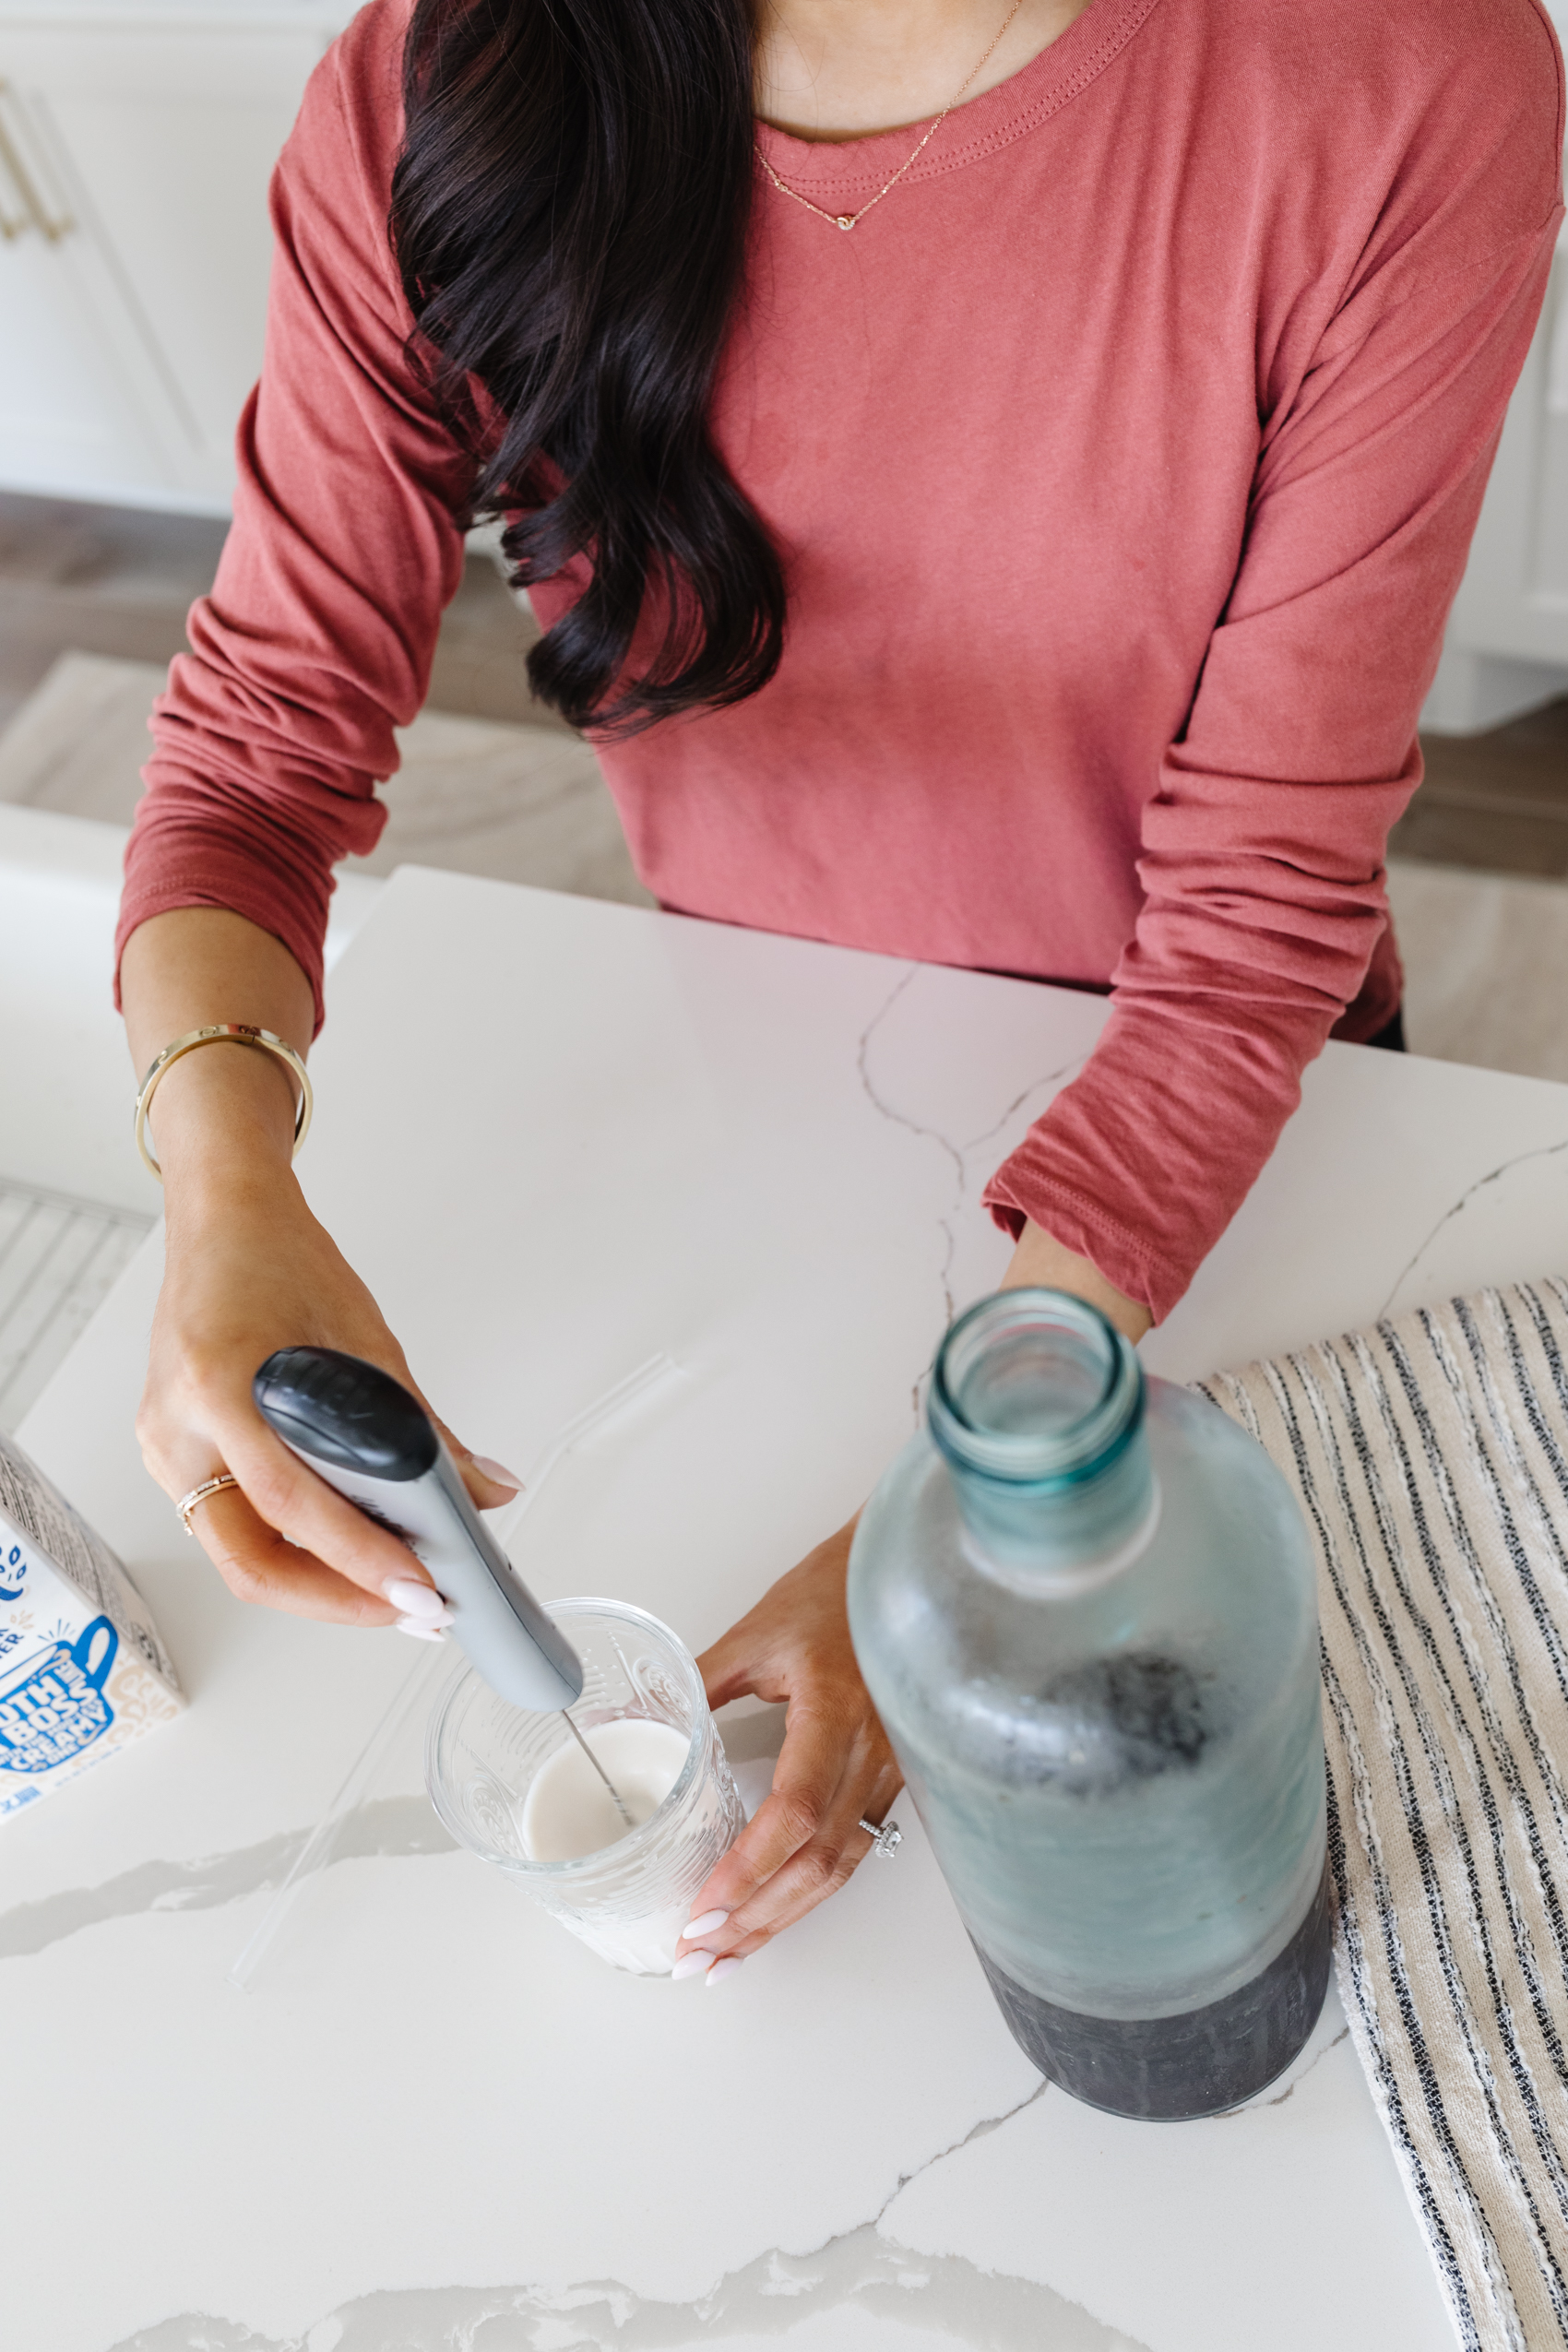
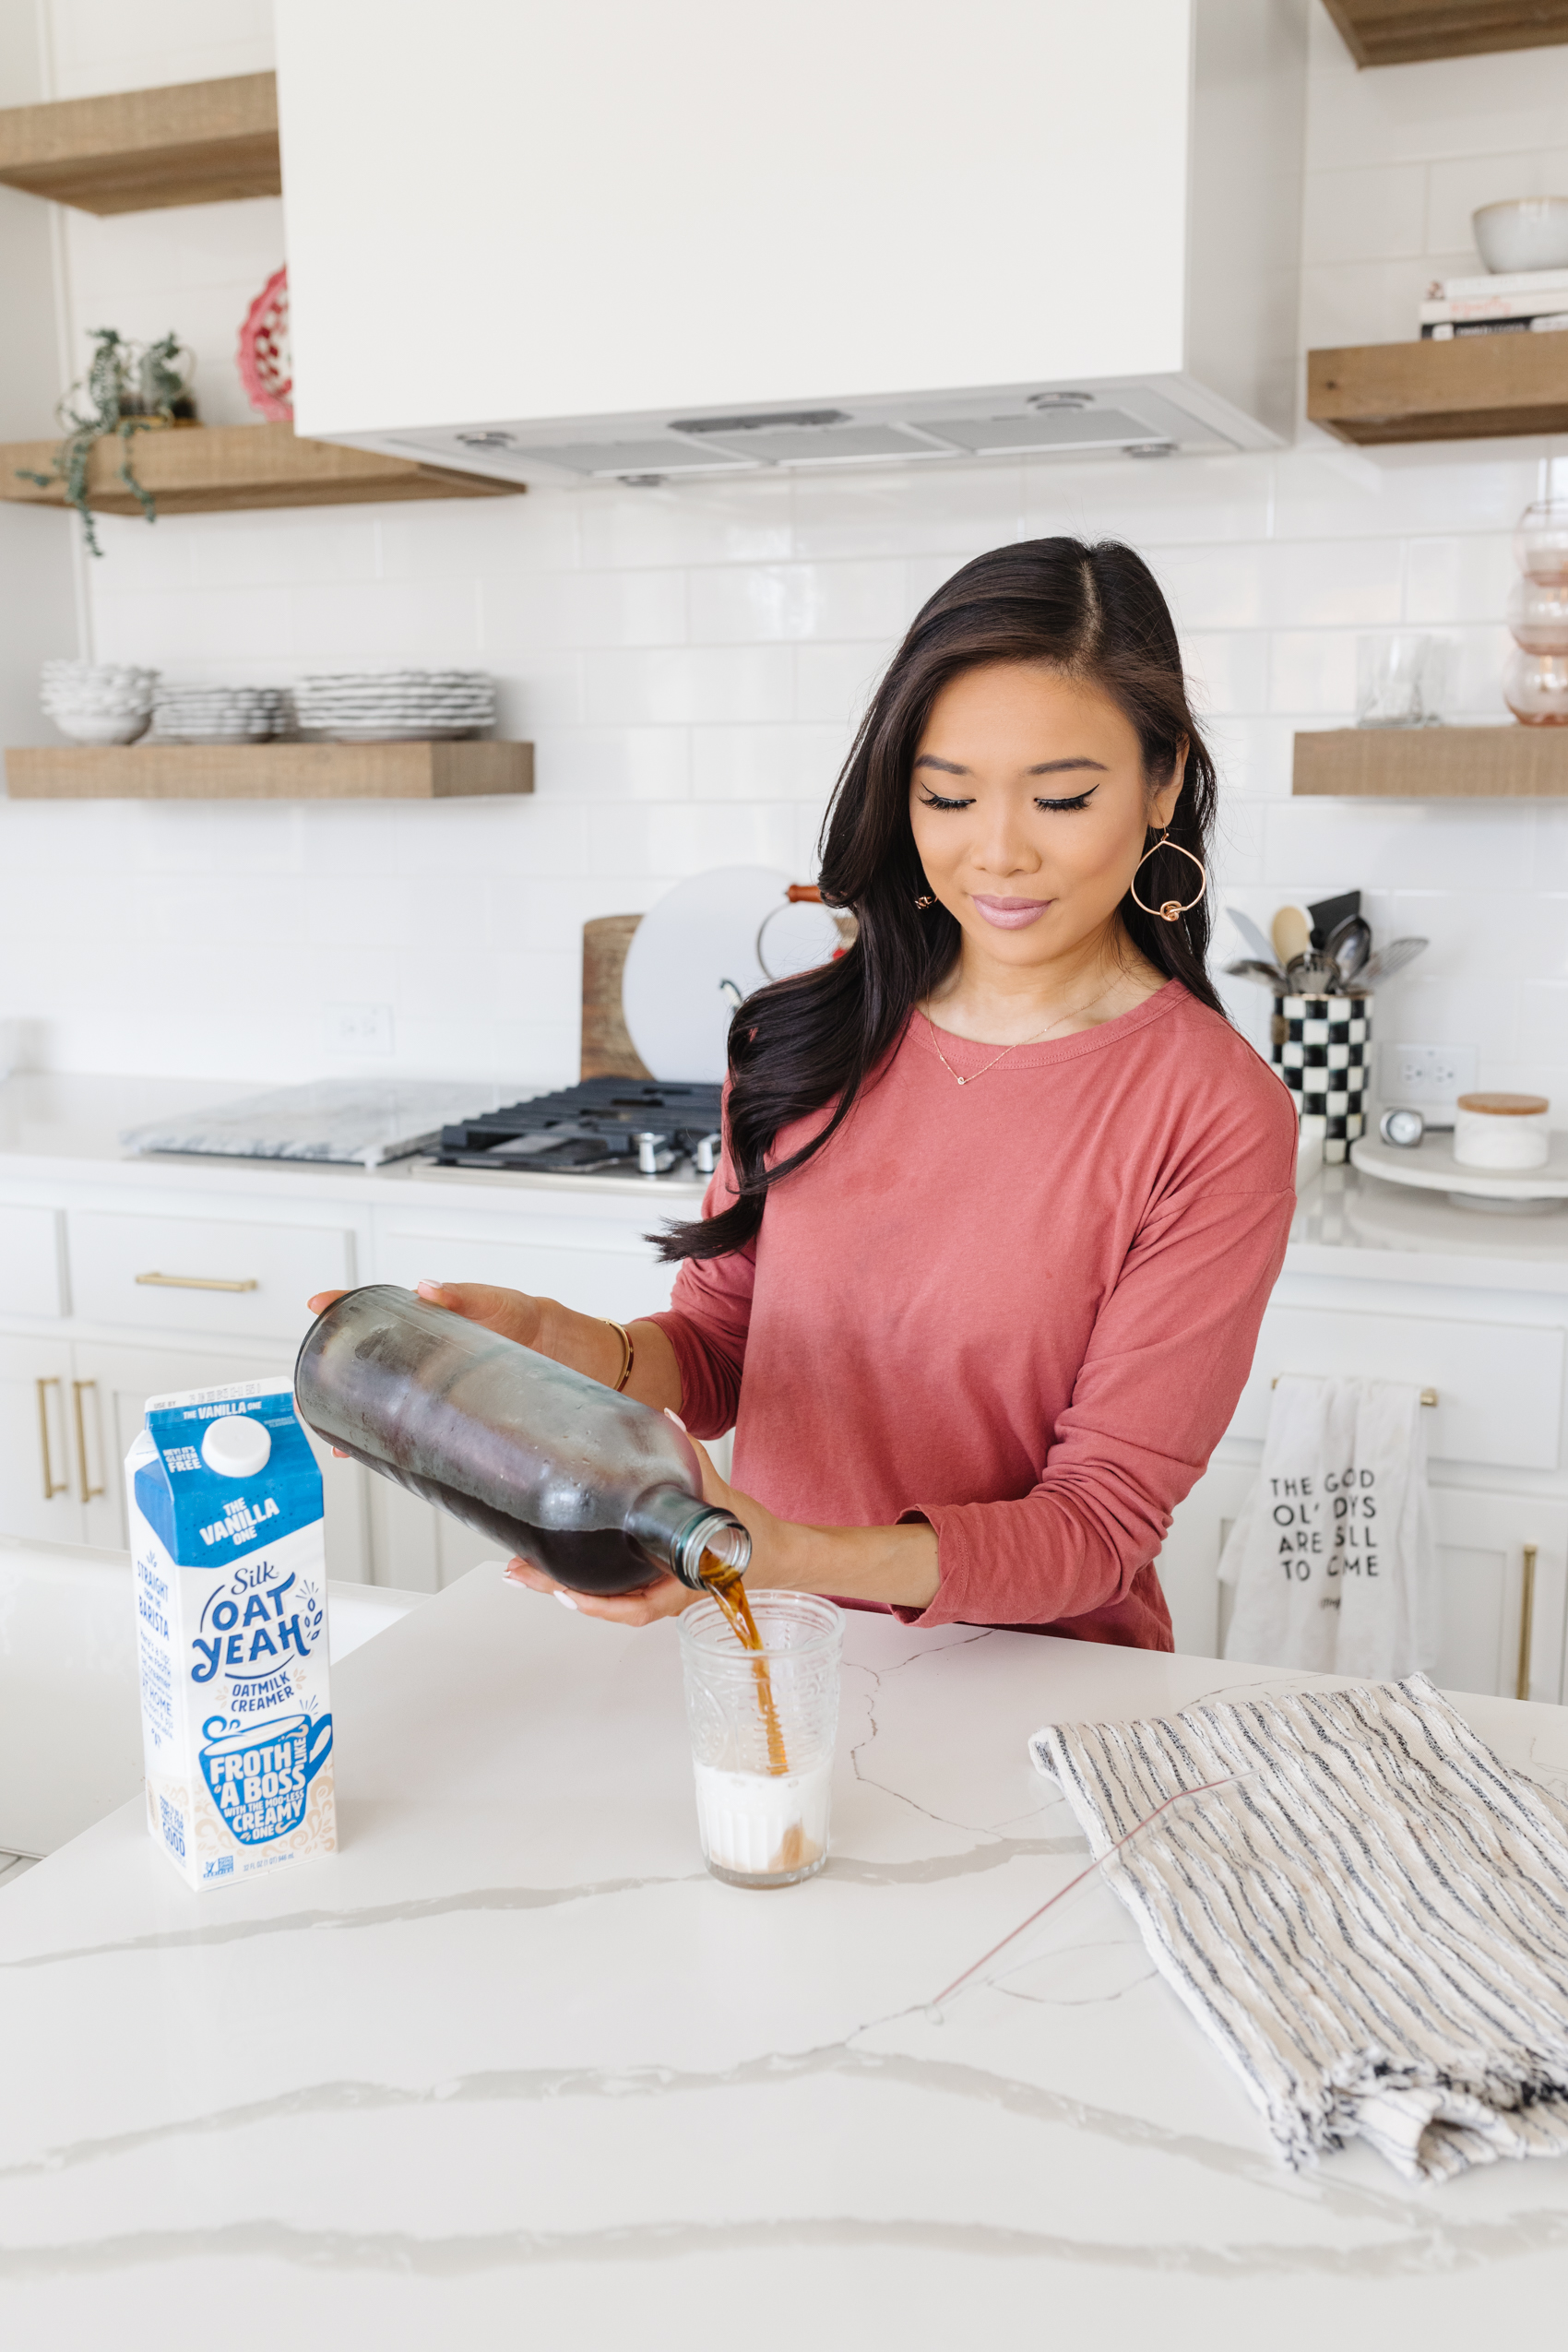
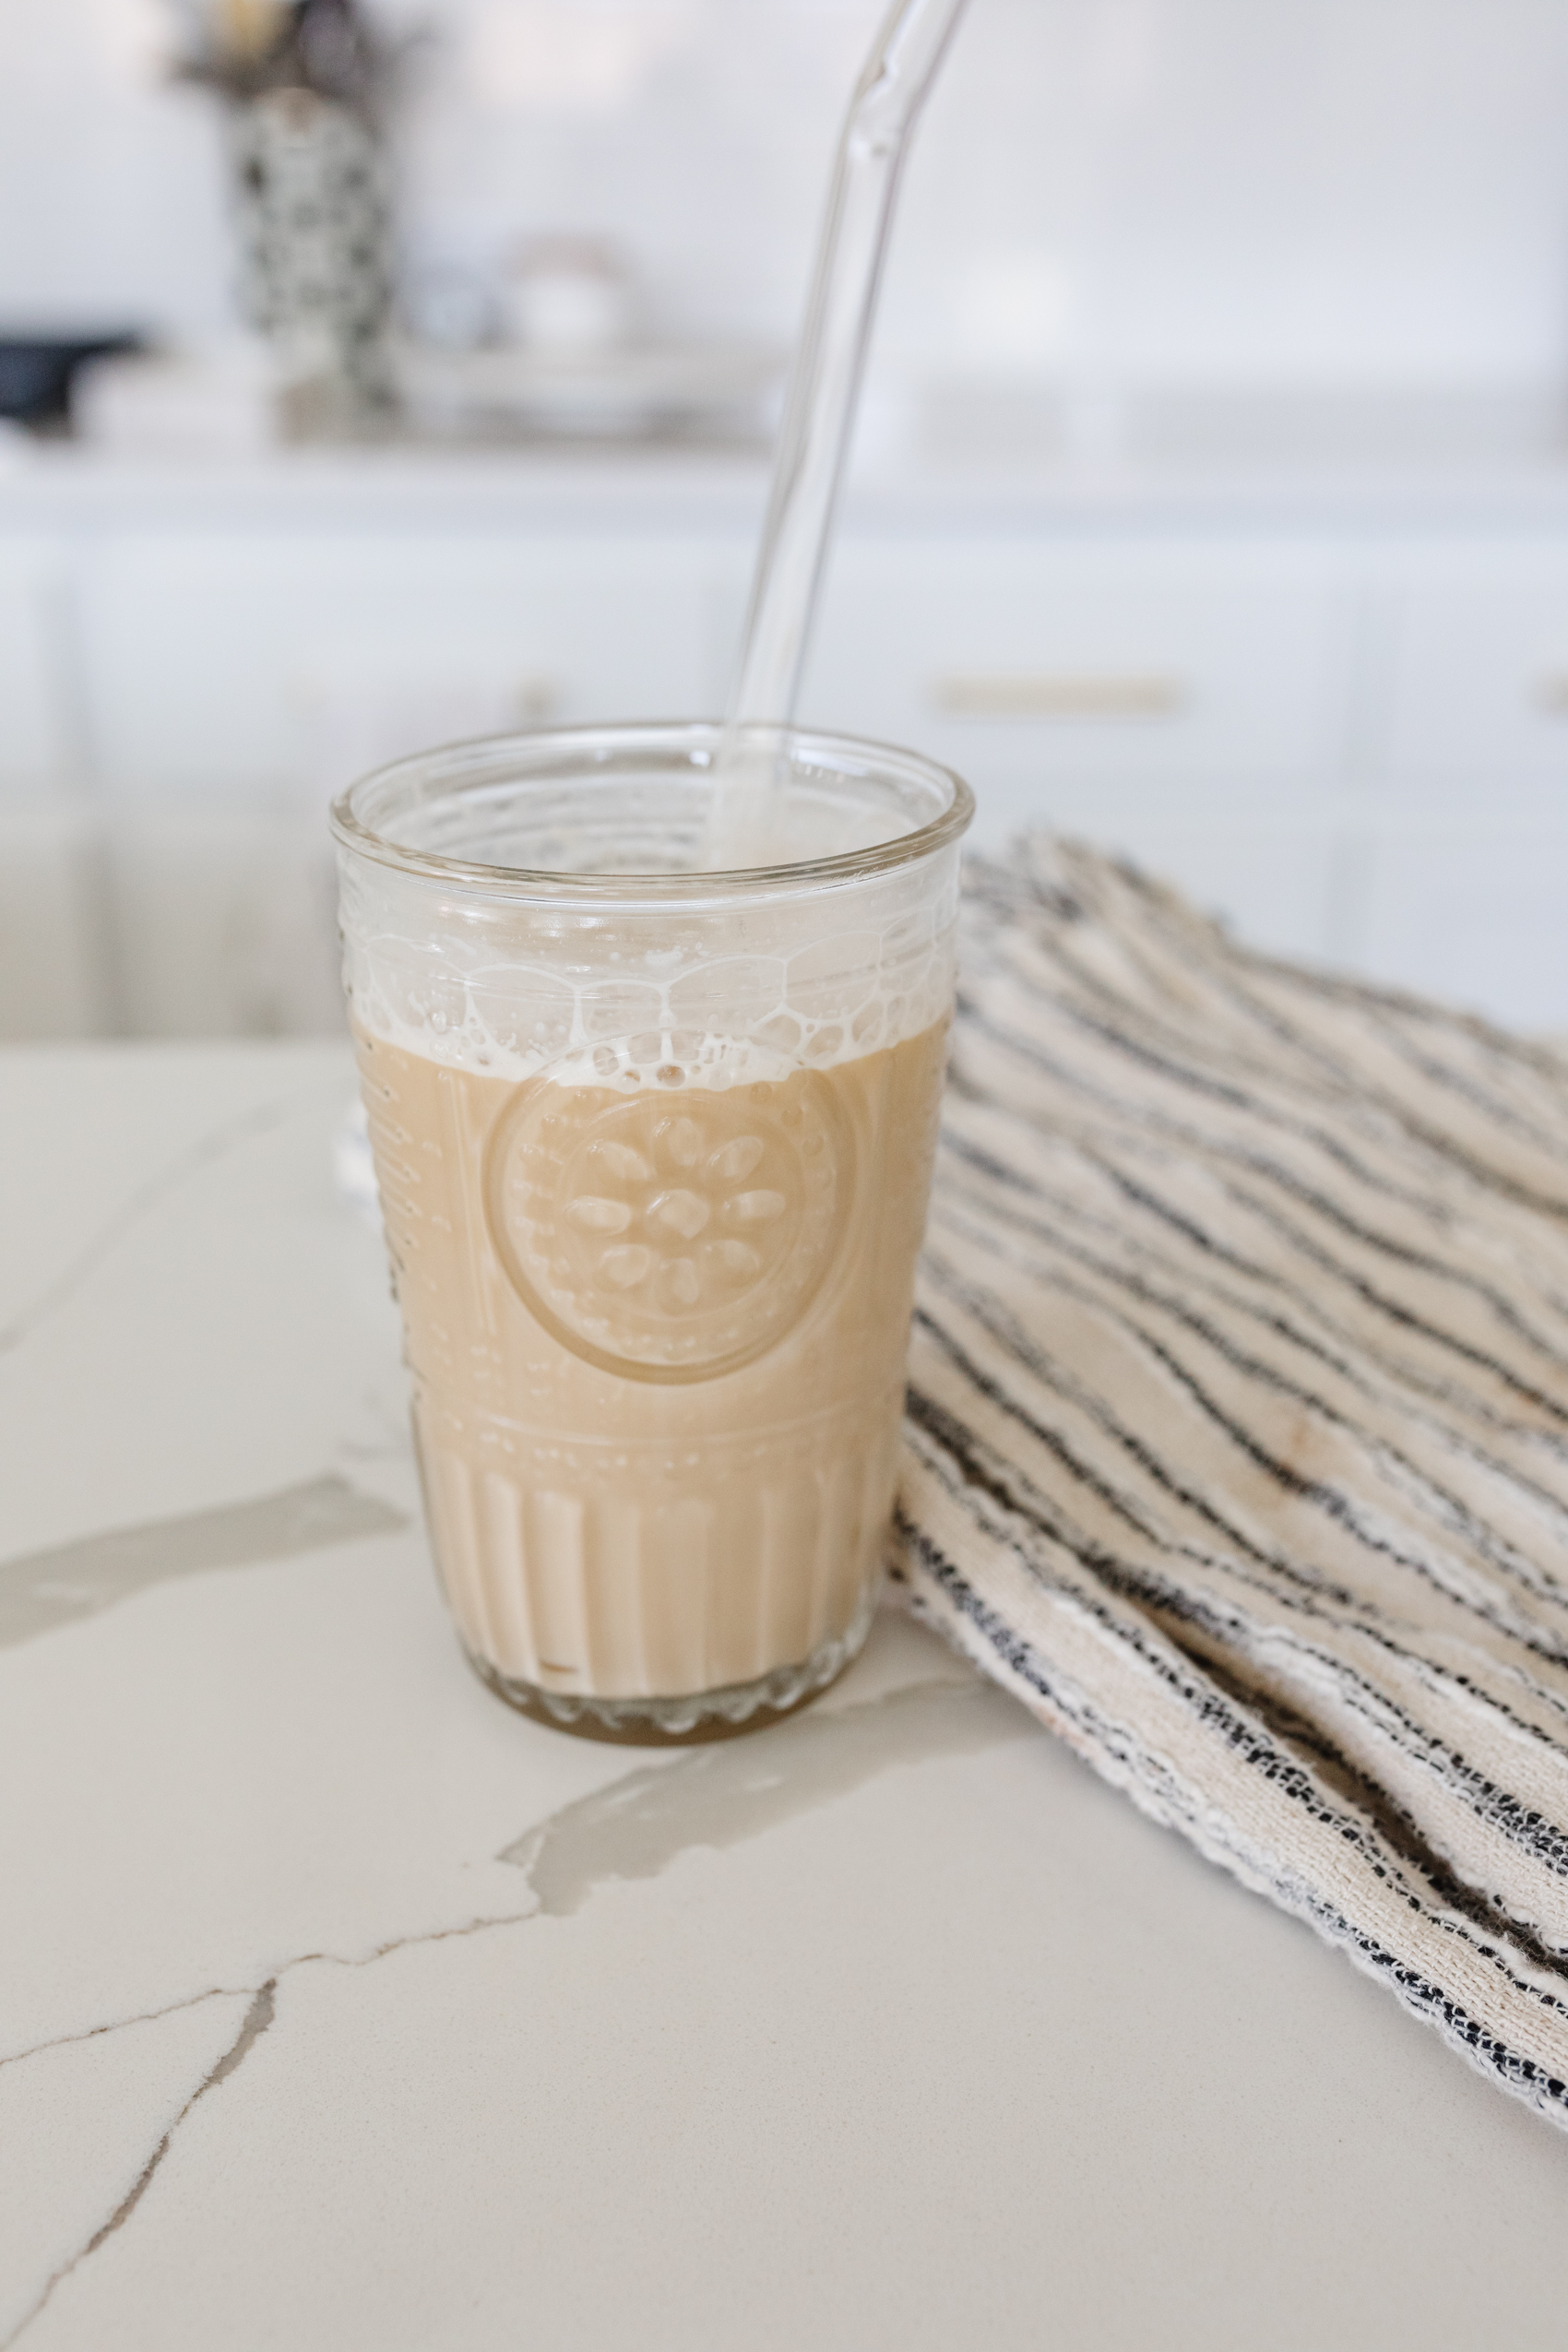
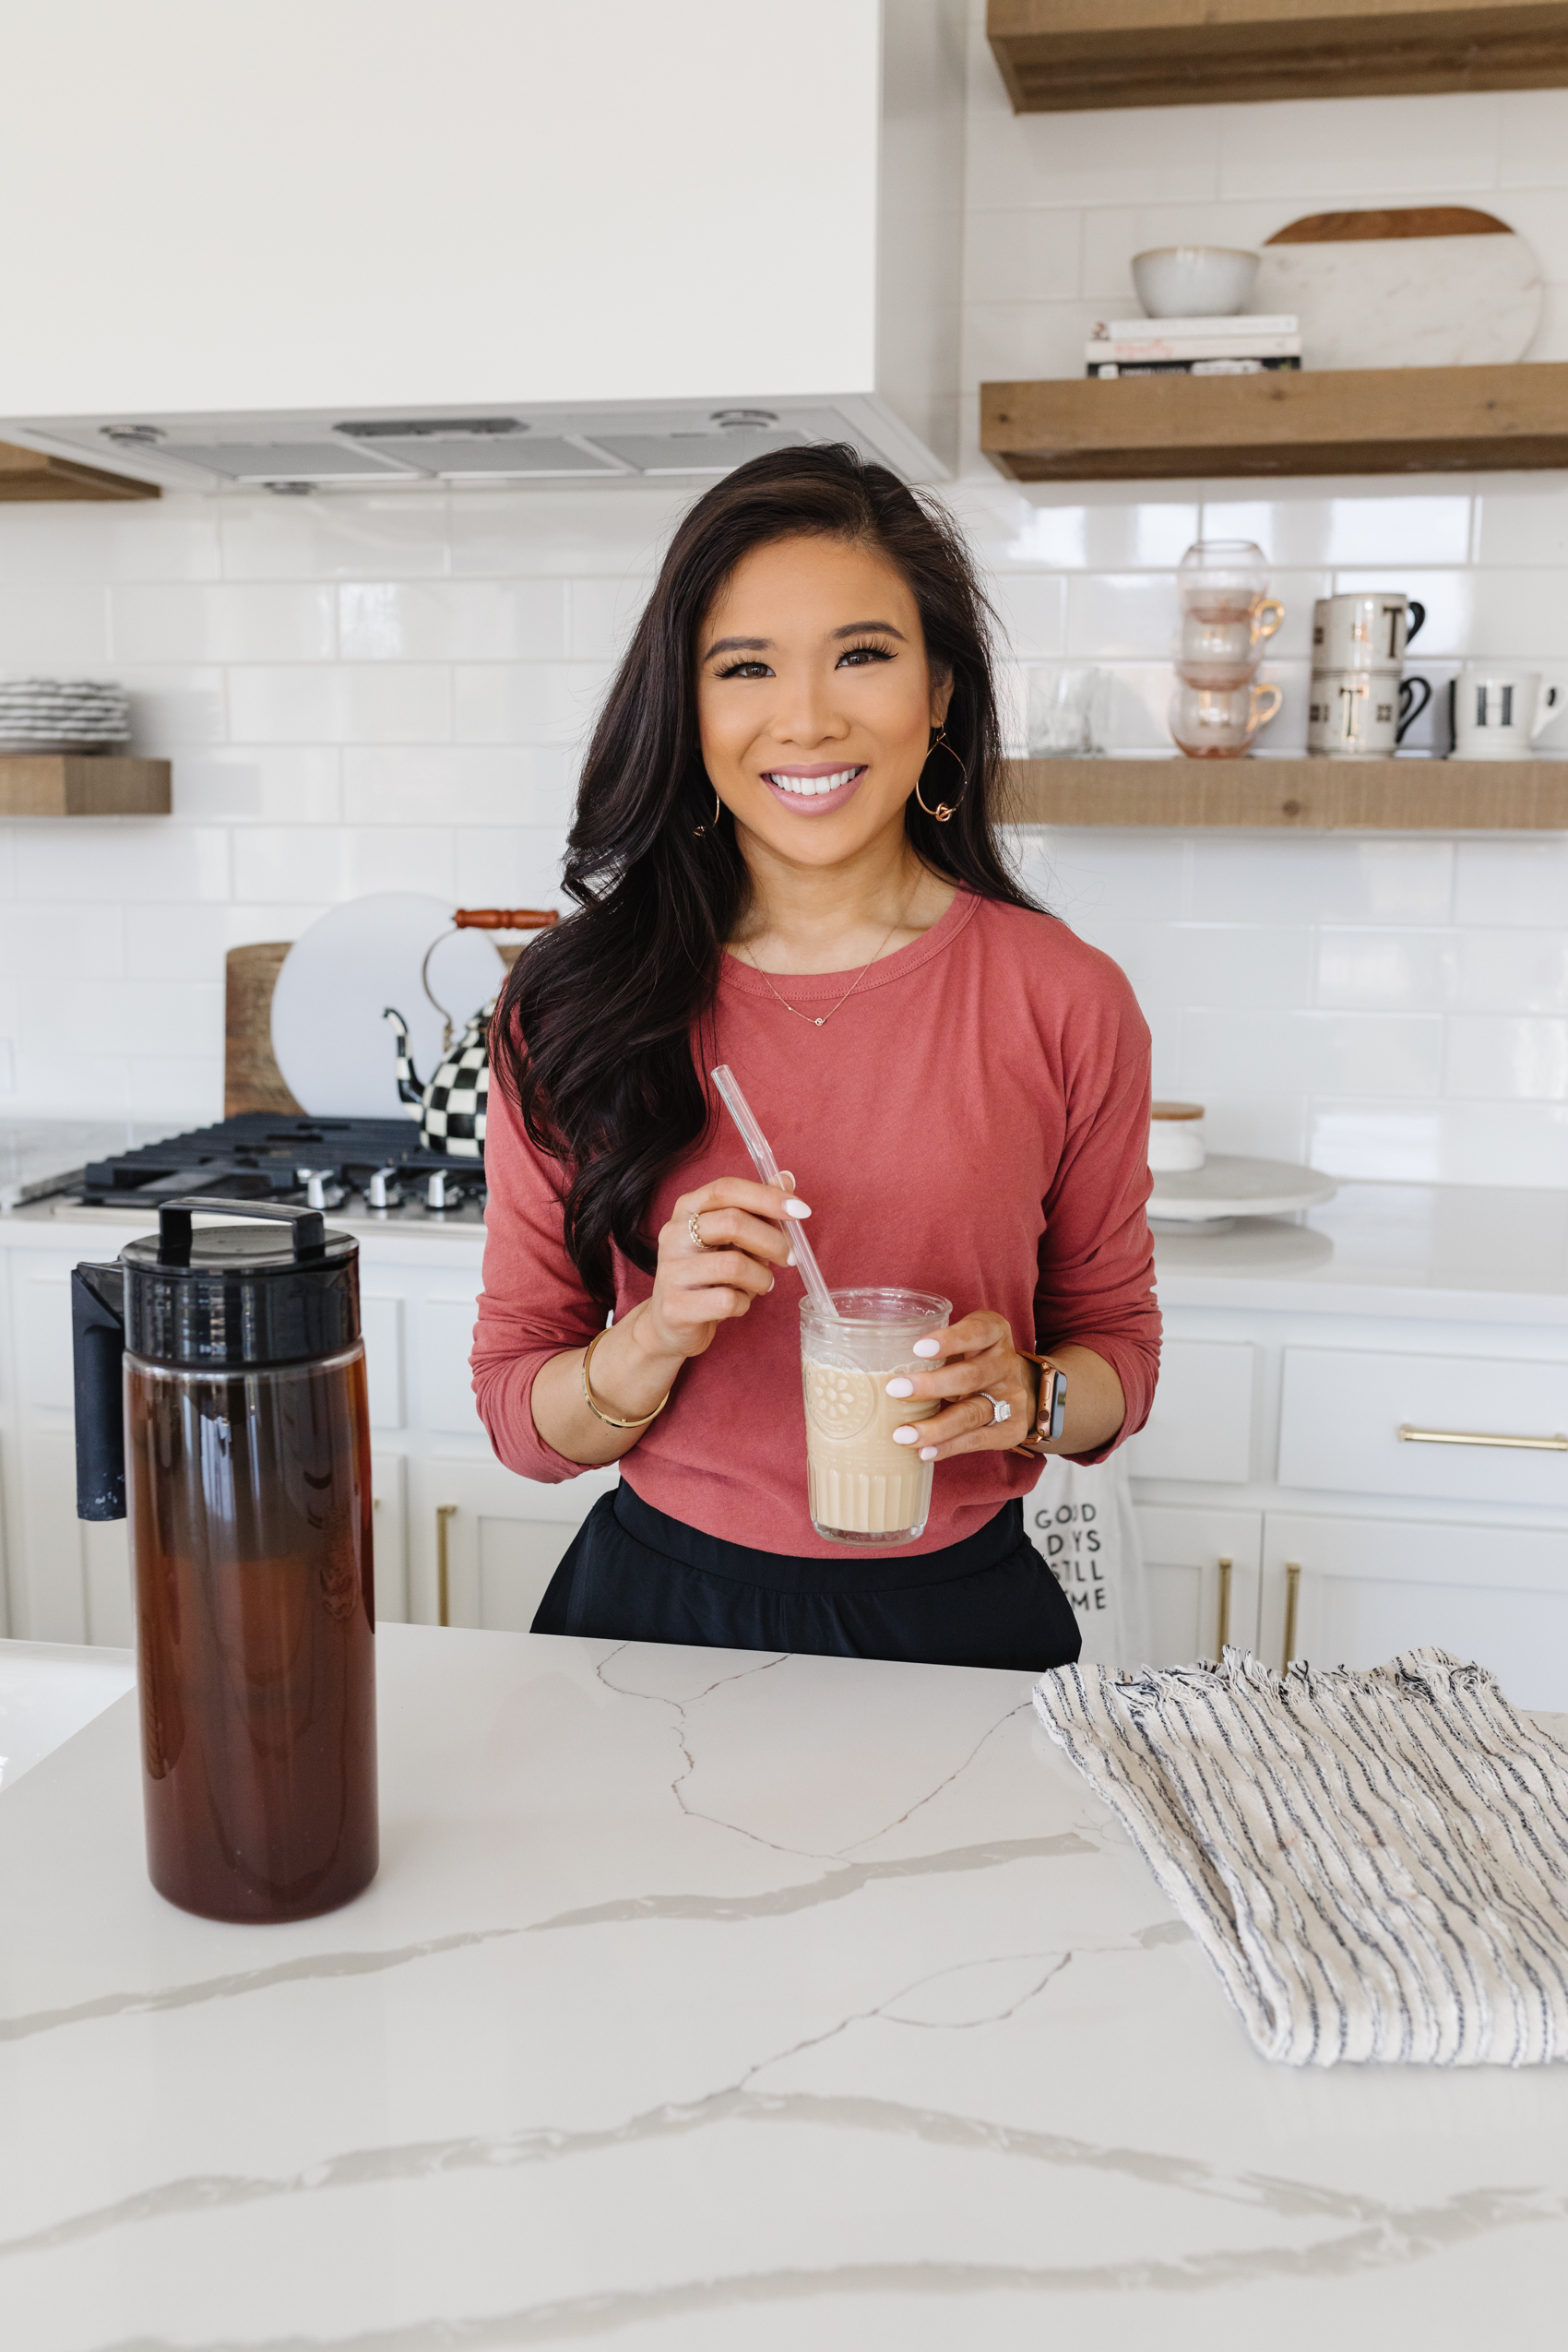
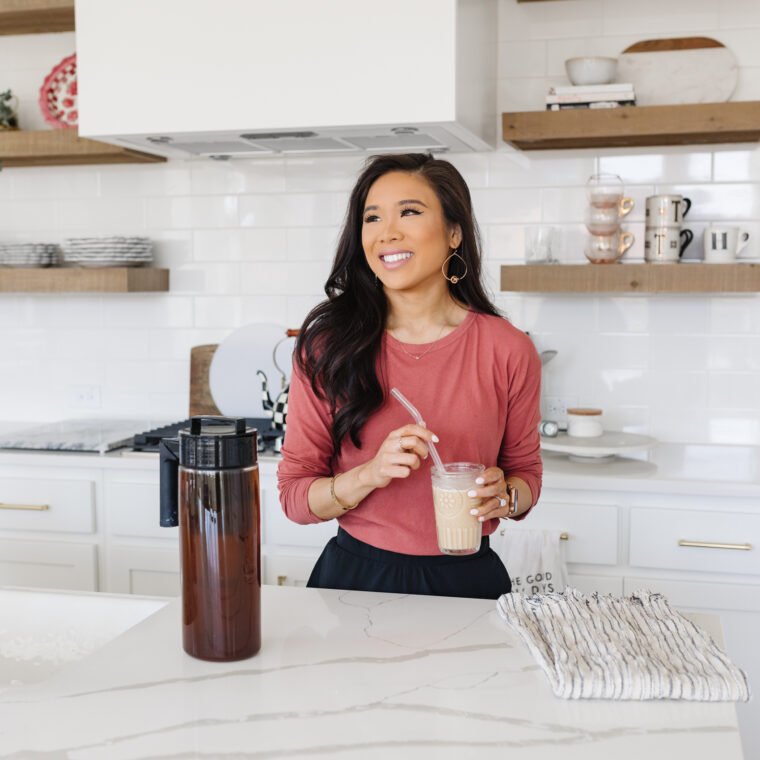
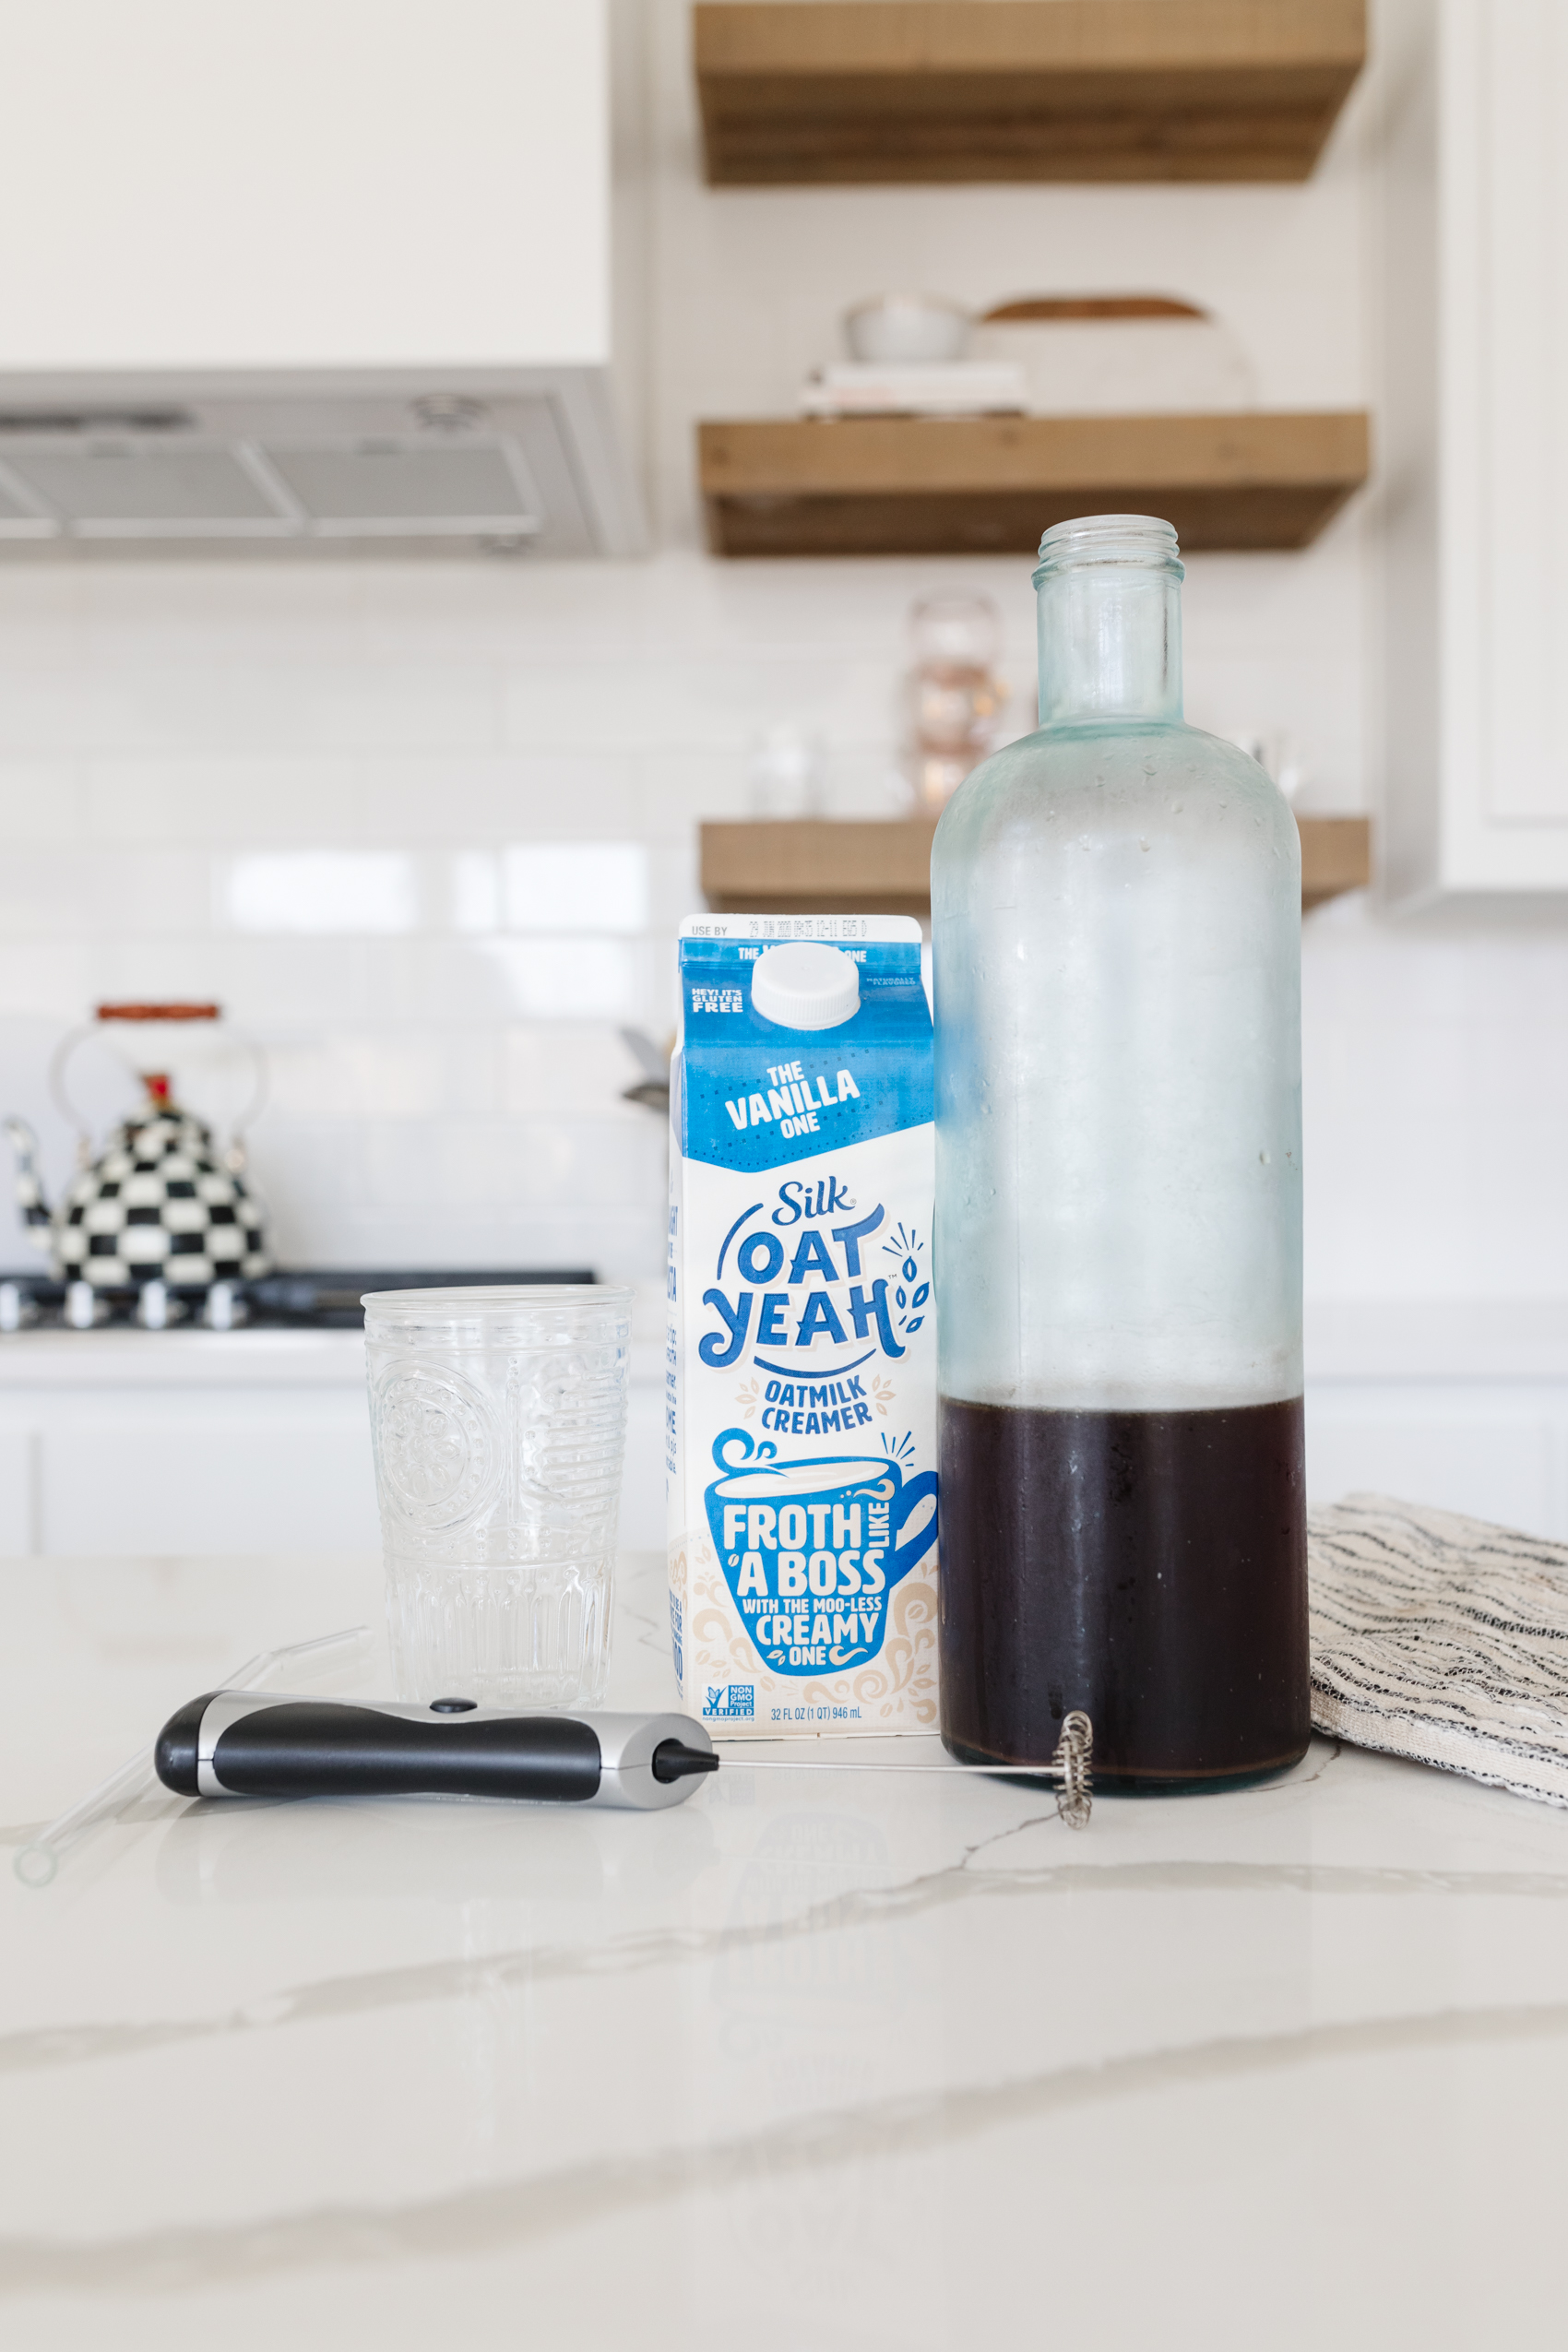
Everyone has a different preference for how they like their cold brew. Johnny drinks it black with tons of ice. I prefer no ice since it’s already cold and some creamer. I just discovered a new favorite creamer and I wanted to share it with y’all! Silk has a new oat milk creamer and it is divine. I have both the Vanilla and Oatmeal Cookie flavors and they are perfect! I like to froth them up with this handheld frother before pouring in my cold brew. I’ll link my cups below!
To shop items in our kitchen including home decor & organization, head here.
